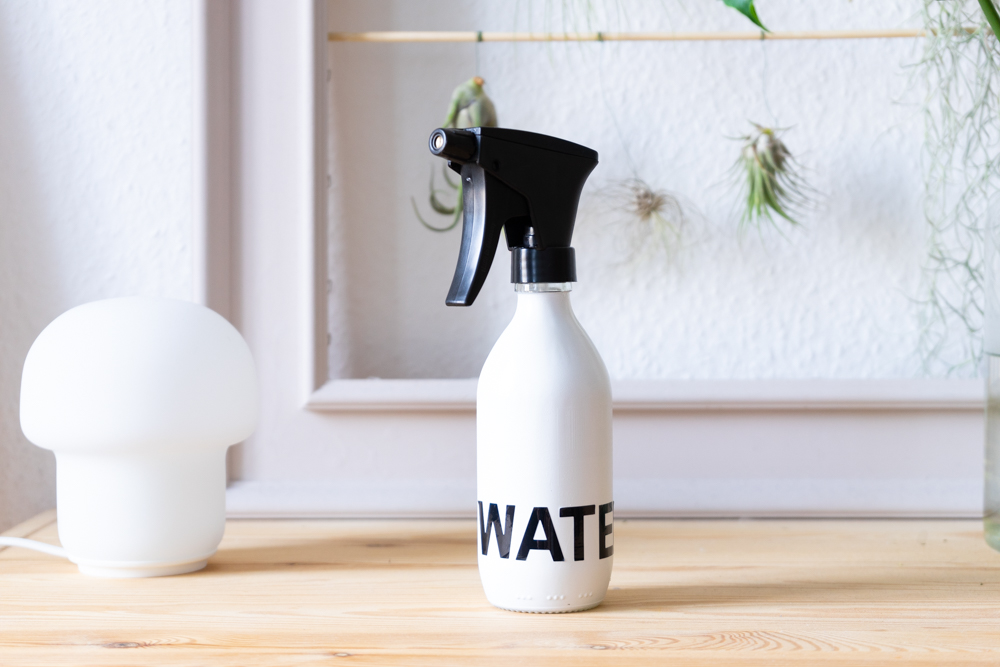

Upcycling with old glass: An empty lemonade bottle can be used to create a plant sprayer with a minimalist typo design in no time.
DIY plant sprayer – a green upcycling with old glass
When it comes to upcycling, there is one material that is high on my list: recycled glass! Whether empty Jam jars, Smoothieflaschen or Water bottles – there are so many exciting ideas that can be implemented with waste glass. So when an empty soda bottle fell into my hand the other day, I knew straight away: I was going to use it to implement another upcycling project!
As luck would have it, at the top of the list of things I urgently needed was a plant sprayer. Not for me, but as a gift. I had recently grown Monstera offshoots and I wanted to give one of the plants away – together with a plant sprayer, because the Monstera loves it when its large leaves get a little shower every now and then.


From the soda bottle to the plant sprayer
The small, bulbous soda bottle was perfect for making a small plant sprayer, as the screw cap is identical to the standard screw caps on most spray bottles that you can buy in many shops for little money. The principle is actually really easy: the spray attachment is unscrewed from the bottle and simply screwed onto the soda bottle. How the plant sprayer is ultimately designed is up to each individual. I chose a very minimalist design in black and white with letters. Do you want to know how I went about it? You can find the instructions below!


DIY plant sprayer made from glass bottle
Material:
+ empty glass bottle with a suitable screw cap (here a Lemonaid bottle)
+ Spray attachment of a simple plastic spray bottle (e.g These ones)
+ Universal primer
+ Acrylic spray paint in white
+ Painter’s tape
+ letters sticker in black
Prepare bottle
In the first step, the lid of the bottle is removed and the screw thread is taped with painter’s tape. Make sure that you stick a nice straight edge on the neck of the bottle and press it firmly so that no paint can get under the band.


primer
I first sprayed the glass bottle with a universal primer so that the white acrylic paint would stick better later. This is definitely recommended for a very smooth material such as glass. I did the spraying myself on the balcony and covered everything adequately with old cardboard. To ensure the surface is nice and even, remember not to spray too much paint at once (it’s better to always work with individual sprays instead of spraying constantly). I also raised the bottle slightly using a plastic cap that is smaller in circumference than the bottle itself so that paint doesn’t collect at the bottom of the bottle.


Color white
Once the primer has dried, you can apply the white paint in the same way.


Add letters
Now wait until the white paint is completely dry. You can then stick the letters on the bottle as you wish. I decided to simply glue “Water” to the bottom edge.


Add spray head
What’s still missing now? Exactly, the spray head! At this point at the latest you should remove the adhesive tape from the bottle opening. You can then simply screw on the spray head – done!


Do you like this small but nice upcycling with old glass?
If, like me, you are a big fan of ideas with and for plants, then take a look HERE. And if you’re looking for more upcycling ideas, you’ll find them in mine Upcycling corner found. And if you don’t want to miss any of my new projects in the future, then follow me on Instagram!


similar posts
Source: www.schereleimpapier.de


