Are you looking for a special idea for Mother’s Day? Then I have just the right thing for you: a circular waterfall card that not only looks beautiful, but also ensures a real wow effect when opening! This refined variant of a leporess is not only a real eye -catcher, but can easily be made with a little patience.
Waterfall card with WoW effect
Whether with loving messages, small photos or creative drawings, this card is a small work of art that is guaranteed to be remembered. Perfect for everyone who wants to put a smile on the face of their mom (or another person) with a homemade surprise. Of course, this card fits Mother’s Day or other beautiful occasions such as an anniversary or birthday.
In this article I will show you step by step how you can design your own round waterfall card-including material list, tips and ideas for design. So grab your paper, scissors & glue – and off you go!

Instructions
Take a piece of paper (16 x 16 cm) and draw two lines diagonally so that a cross is created.
Pull a circle with a circle with a 1.5 cm radius in the middle.
With the circle, pull a second circle with a radius of 8 cm around the same center.
Divide the area into 16 equally large segments. To do this, put on an angle knife at the center and the angles on both sides each at 15 °, 30 °, 45 °, 60 °, 75 °, 105 °, 120 °, 135 °, 165 ° and 180 °.
Now draw lines between opposite points. This creates a star -shaped pattern.
Cut out of the 16 areas so that 9 segments remain.
Cut out inner and outer circle so that a circular template is created.
Fold all lines marked – first back, then forward. (Sharpen optionally with a folding leg or ruler.)
Now take the paper in 21 x 21 cm.
Draw diagonal lines to mark the middle and cut out a 1 cm hole in the middle.
Design a ring (e.g. with heart). This should be as large as the circular shape, which was designed at the beginning.
Glue this ring in the middle on the 21 x 21 cm paper.
Prepare a small circle (Ø 2 cm). Record a 1 cm circle on it.
Make two small cuts outwards, fold the wings up.
Thread the wings through the hole and fold the wings outwards.
Cut 16 pieces of paper (6.5 x 6.5 cm) and put it ready. Glue from the beginning to the fields of the basic form, but save the first area.
Attach each with glue, then fold back and attach the next piece of paper.
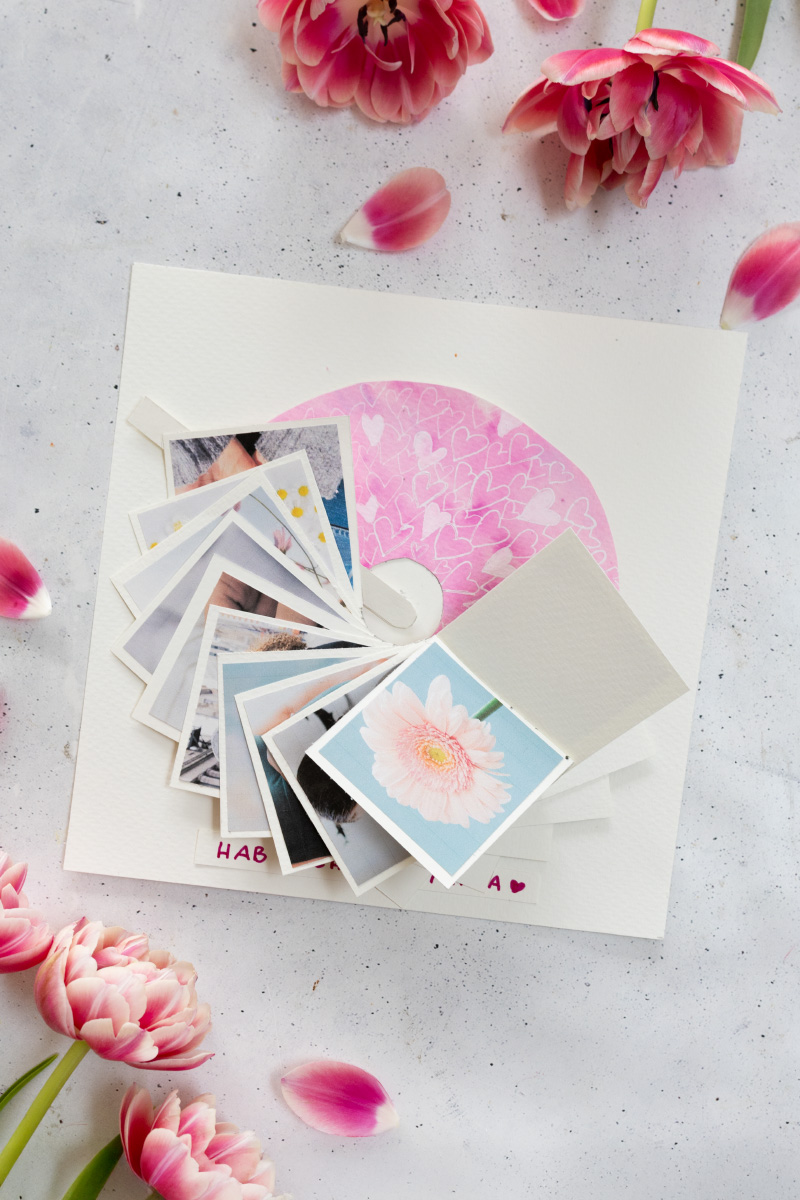
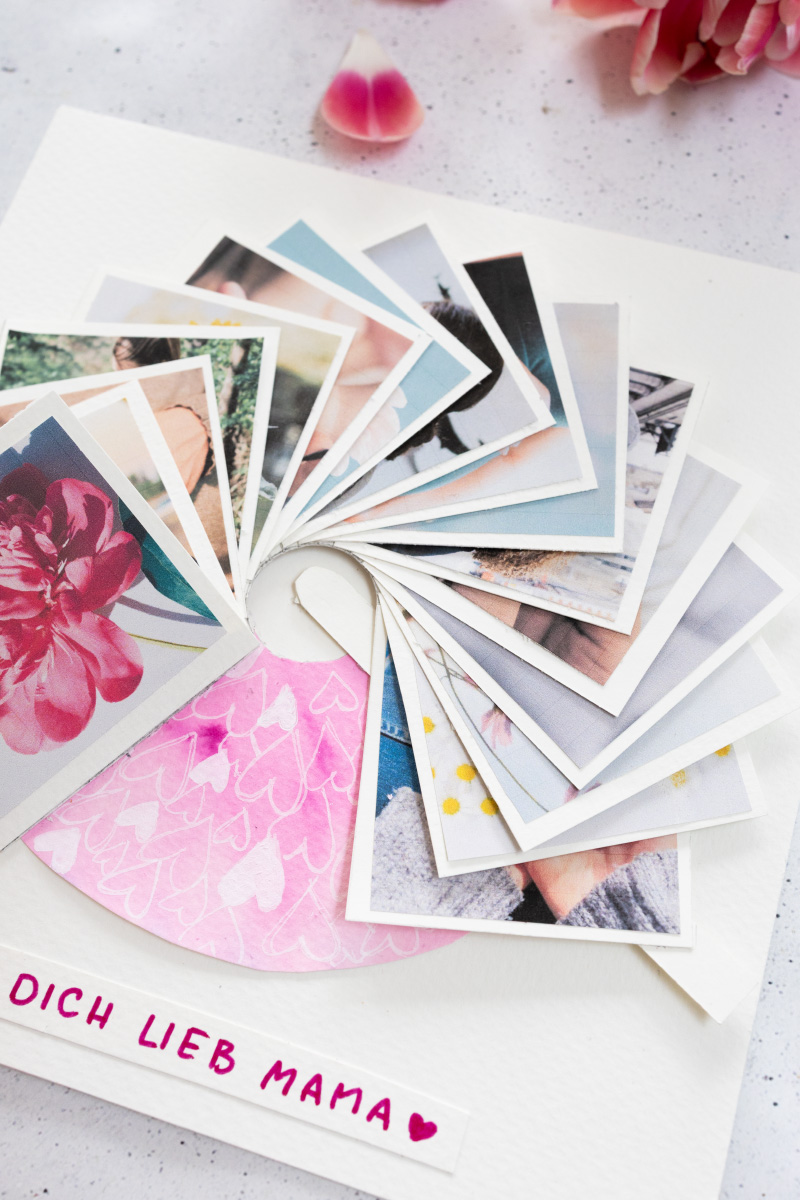
Repeating until a complete “waterfall” is created.
Brush the part of the basic form that was previously left out with glue. Fold this surface back and stick it onto the ring.
Make sure that the part is fixed – use craft glue if necessary.
Glue two paper strips (1 x 12 cm) for the handle, round off one end.
Brush the round tip of the handle with glue and only attach the handle to the wings of the rotary mechanism (not on the surface!)-
Draw the position with pencil, distribute the glue and glue.
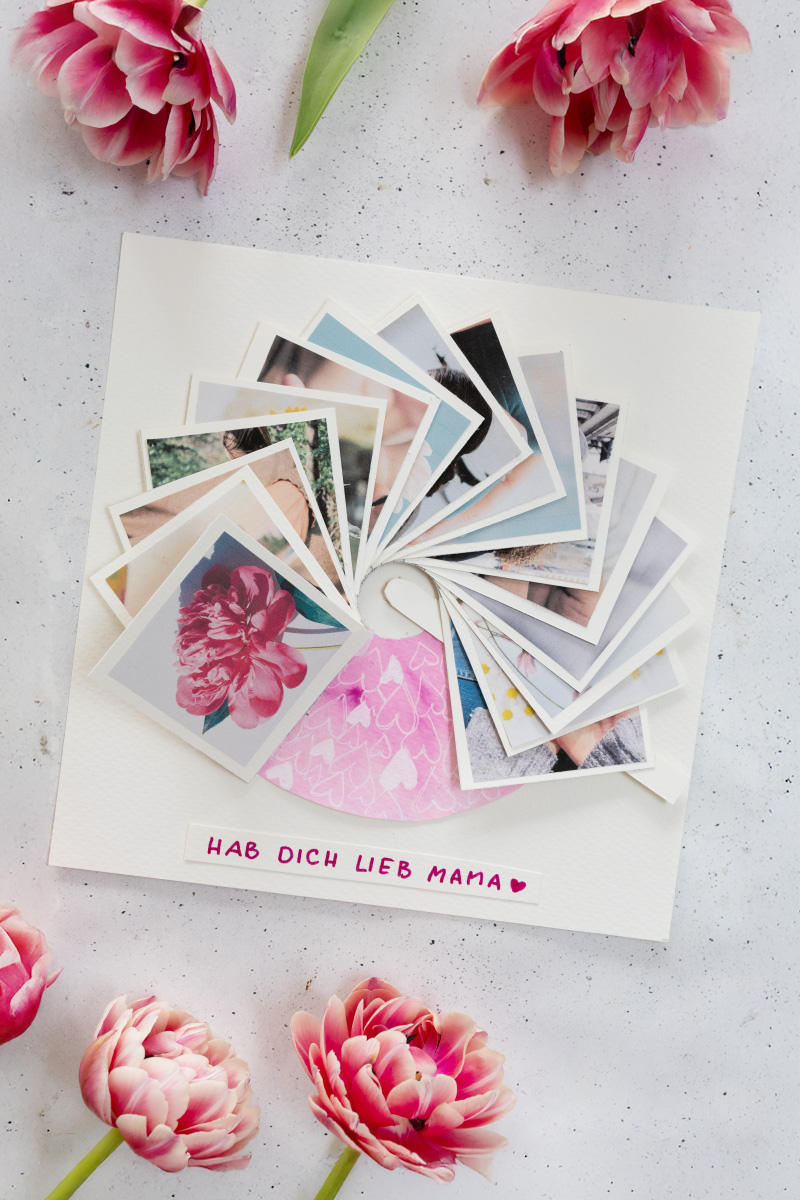
Finally, the 16 pictures can be glued to one of the fields each. Carefully test the rotary mechanism and remove excess glue if necessary.
The circular waterfall card for Mother’s Day is ready.
Not just for Mother’s Day: a waterfall card as an eye-catcher gift
With this homemade round waterfall card, you not only give memories, but also a real wow moment. Whether for Mother’s Day, a birthday or as a creative message of love, this card is guaranteed to be remembered. It looks particularly beautiful with lovingly selected photos, small sayings or a handwritten greeting on the back.
See you then. Your Laura
Source: trytrytry.de