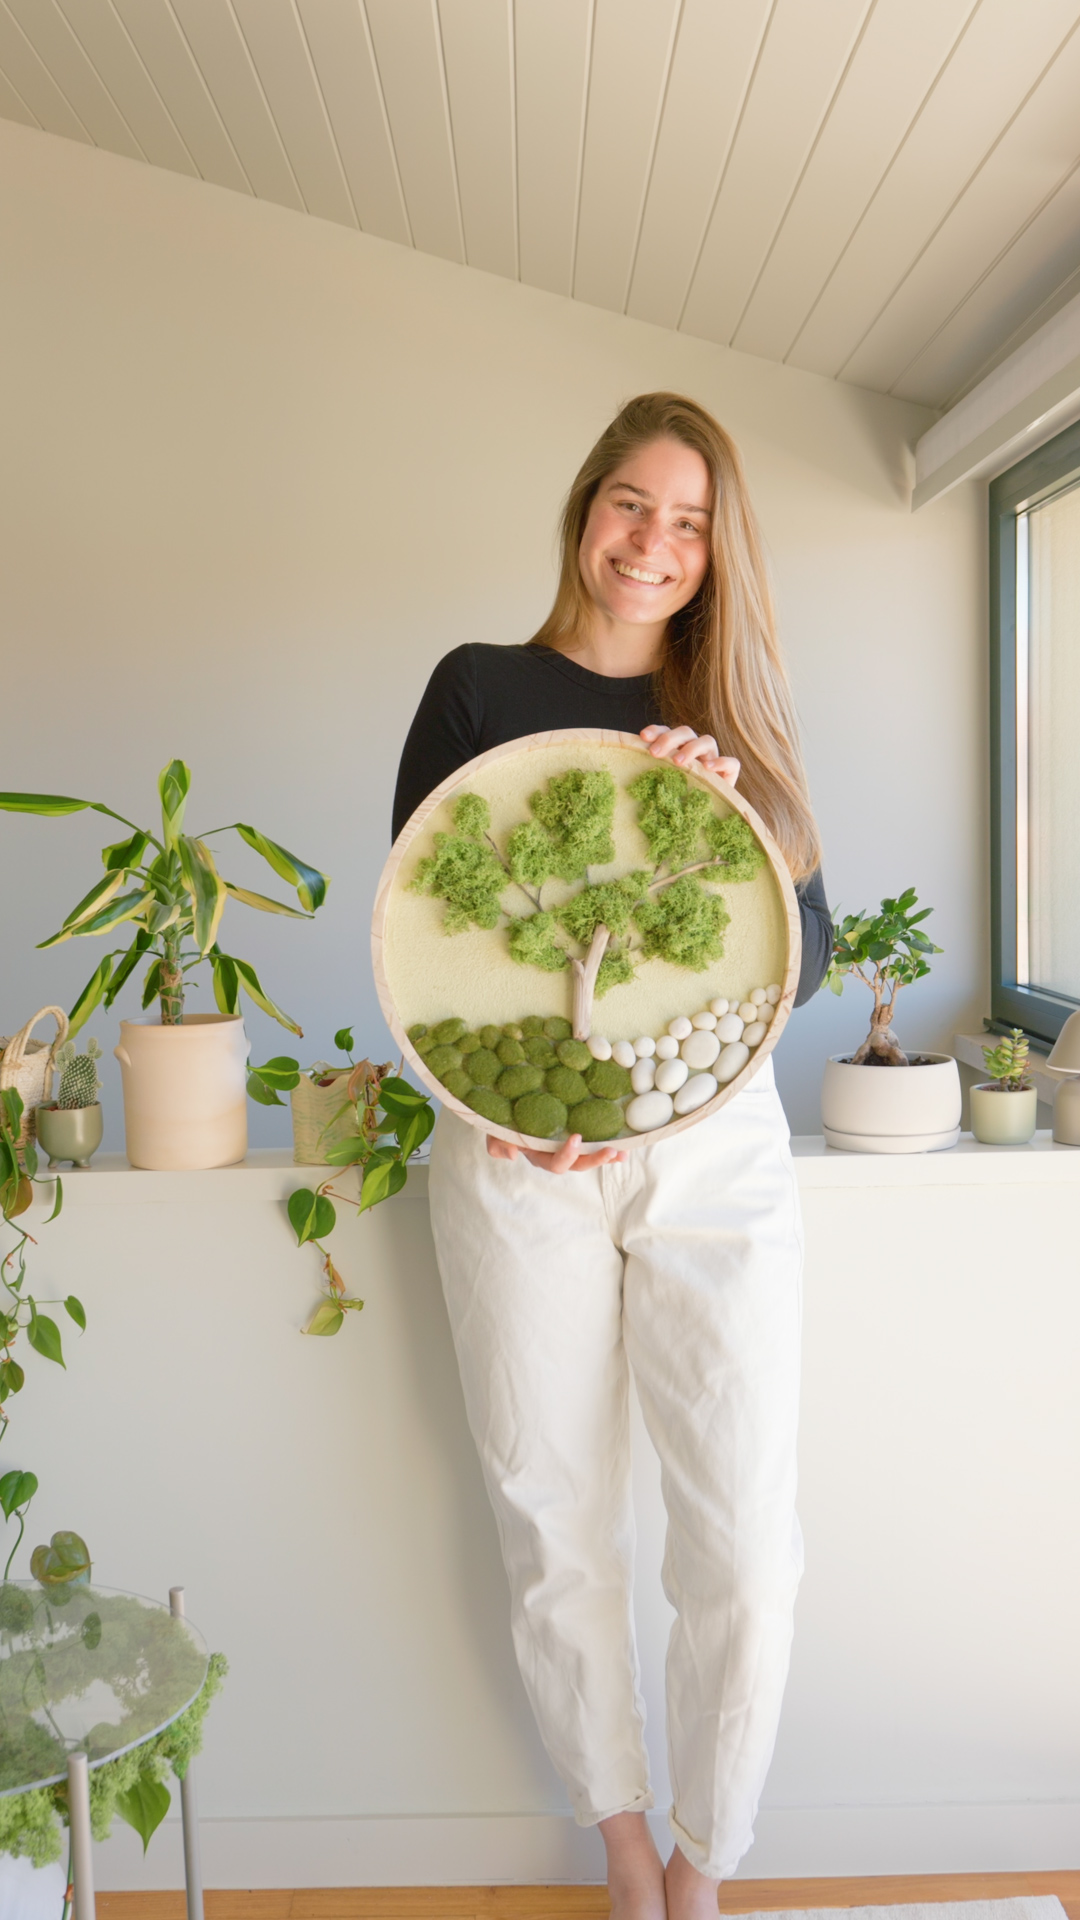
Today I would like to introduce you to a very special DIY wall decoration idea: I will show you how you can take a moss picture yourself-with a small landscape scenery in Japandi style. This mural brings fresh green in your home, without watering and also suitable for dark corners, because I used preserved moss and artificial grass powder. The motif with the tree on the stony landscape radiates calm at the same time and brings serenity and grounding to your four walls.
Do you want to get started right away? You can find the instructions below!
By the way: For even more green in your home, I like to take a look at my Kokedama Moos Balls or these vertical air plant garden.

Make the material list DIY moss image yourself
For the project you need the following material:
*Affiliate on the left: I get a small commission if you buy something via these links. This does not make the product more expensive for you.
Instructions DIY MOOS PICTURE Make yourself
Step 1

In the first step I primed the inside of the wooden tray with acrylic paint in white. To do this, first glue the inner edge of the tablet with a painter tape. Of course, you can also color the complete tray. I found it particularly nice for the DIY moss image to leave some of the wood visible.
Step 2


Once the primer has dried, the next layer continues. I designed the background of the DIY moss image with structural paste, which I had initially colored with a small blob of acrylic paint in olive. I used a painting knife to apply the structural paste.
Step 3


Then it went on with the stones because I wanted to take a landscape for my moss picture myself. I left the white stones so much, I designed the gray stones with grass powder. To do this, I first distributed the craft glue (dried transparently) with the brush on the stones and then placed the grass powder on the stones. You can also pour a blob on the paper and then roll the stones in it. Then let it dry well.
Step 4

After the glue had dried, I attached the individual stones to the inside of the tablet using assembly adhesive.
Step 5

Finally, I glued on branches, driftwood and Iceland moss with hot glue to shape a tree. The DIY moss image is ready!

Make video for the DIY Moosbild project yourself
You can also watch the complete instructions as a video on YouTube:

By loading the video you accept the data protection declaration from YouTube.
Learn more
Load video
If you are looking for further ideas with plants, have a look HERE.
And if you don’t want to miss any new projects from me in the future, then follow me Instagram!

Similar posts
Source: www.schereleimpapier.de