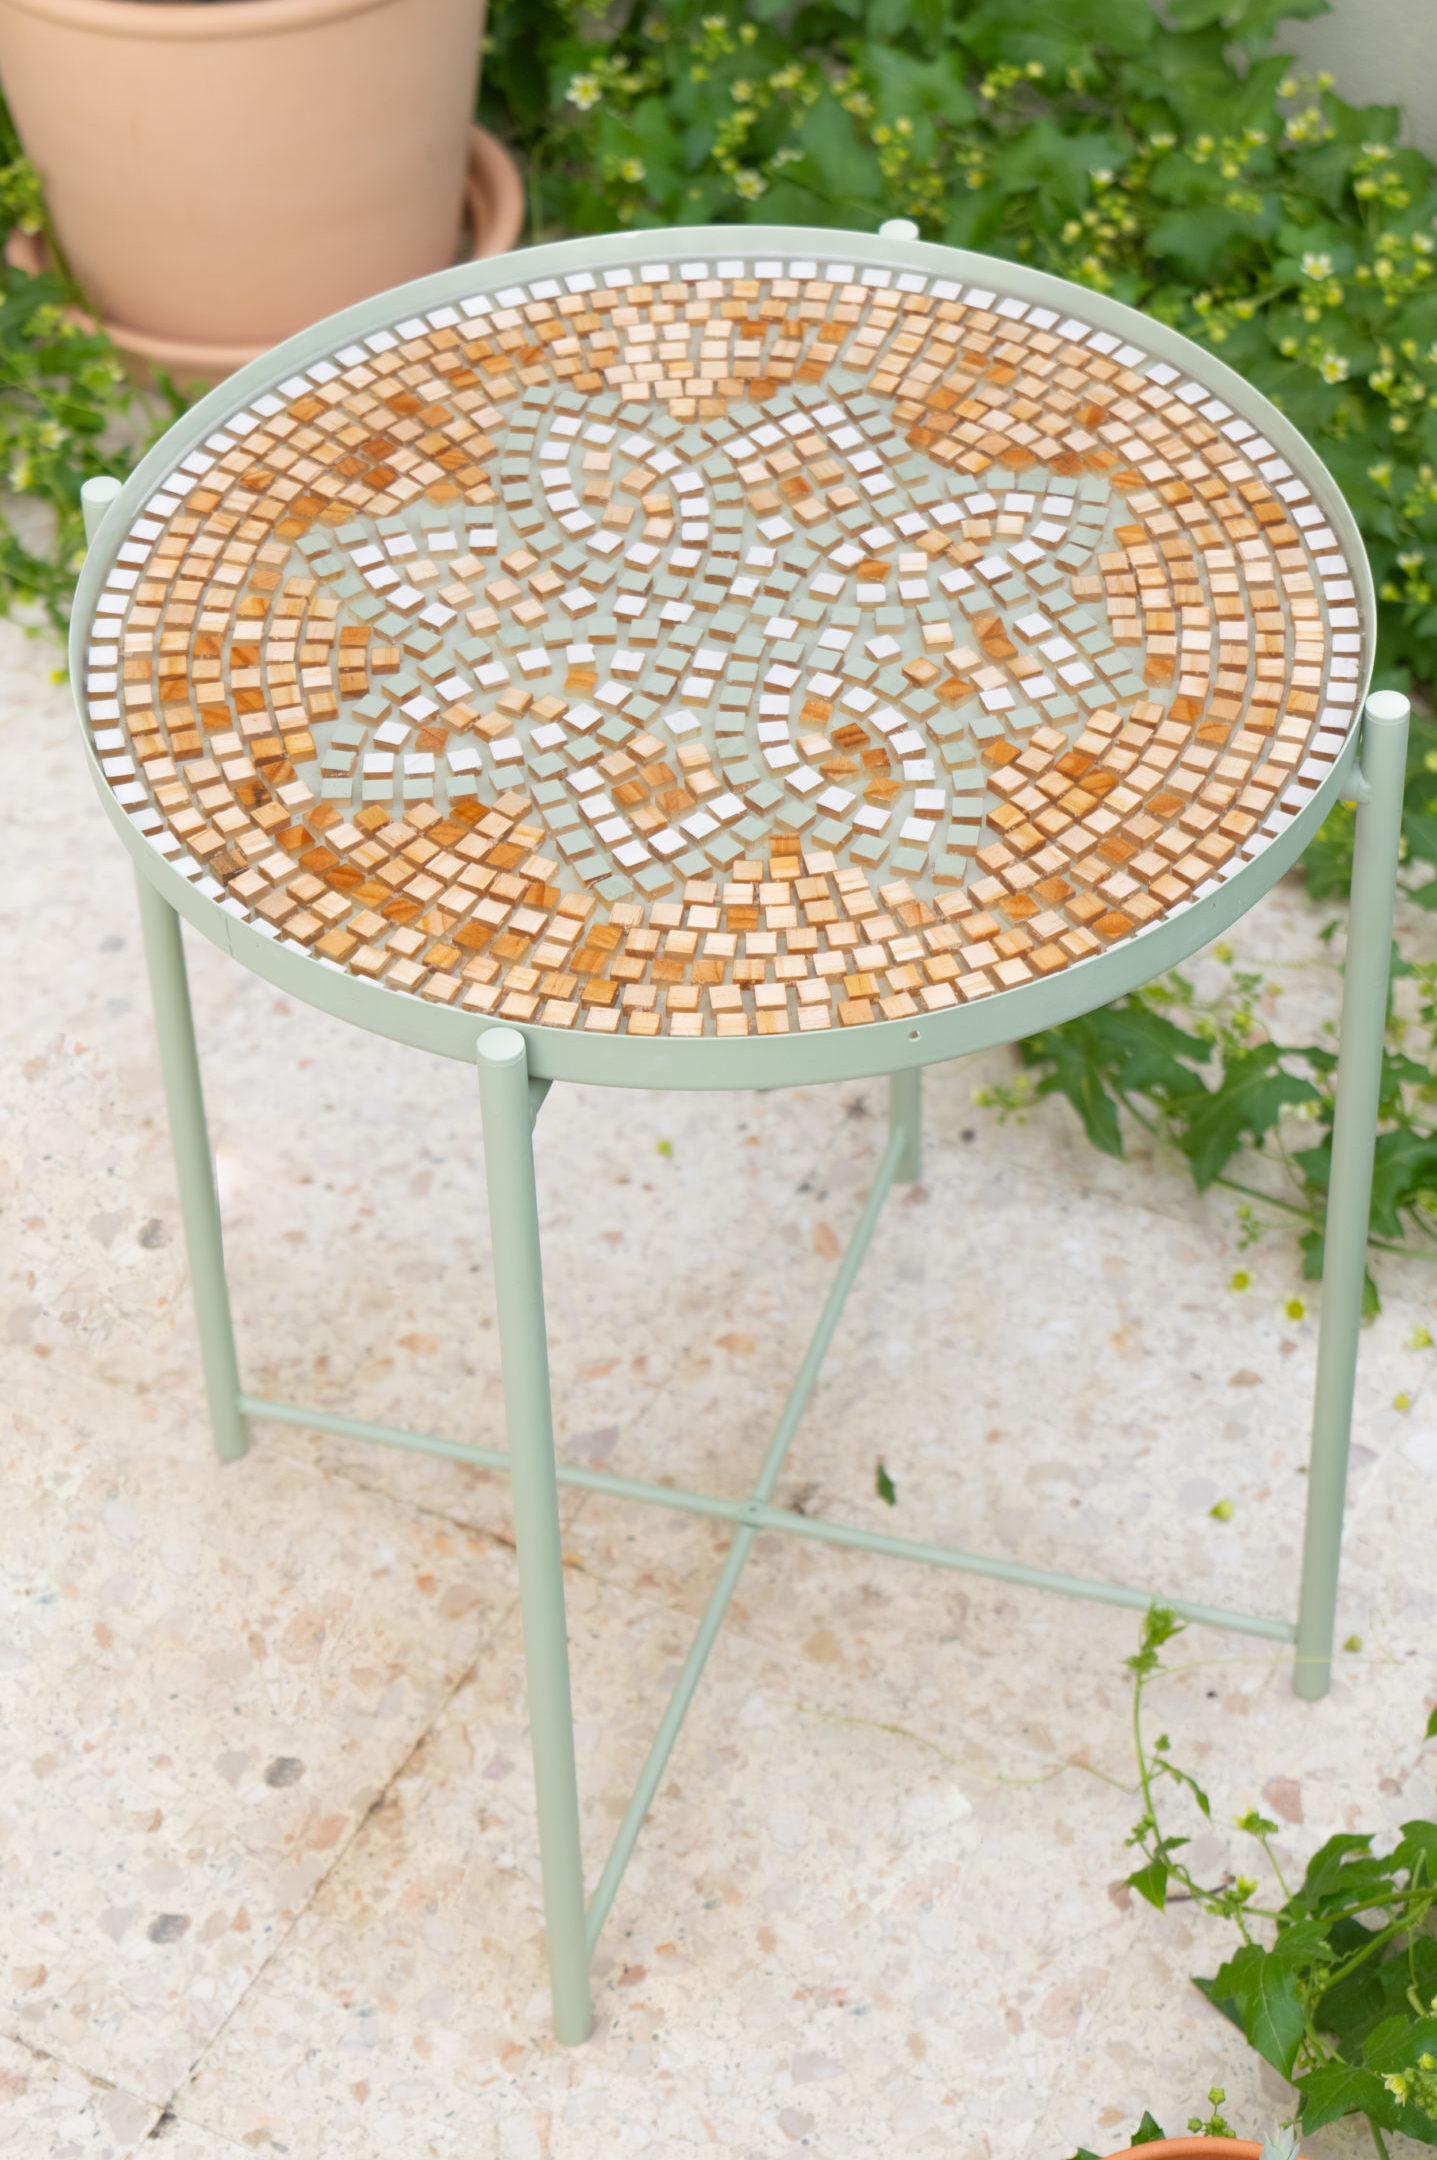
The Gladom table tablet table places invites you to make it creatively. I had already tried an IKEA Gladom hack in the jungle style and now wanted to venture into another furniture hack with the tray table: I wanted to make a mosaic myself-with wood! For this I have merged a mandala pattern from many small wooden forces. To seal the plate then, I used transparent casting resin. You can find the complete guide including a material list below!

Make the material list of mosaics yourself
For the project you need the following material:
* Affiliate on the left: I get a small commission if you buy something via these links. This does not make the product more expensive for you.
Tip: I spontaneously developed the pattern for my mosaic when gluing – you can of course take it as a template to make your own mosaic.
Step 1

First I colored the frame of the table with spray paint in olive. For even more stop, you could first grind the table and spray a primer.
Step 2

Then the wooden zyosity are attached with assembly adhesive. I first glued the outer rows, then the mandala in the middle and finally the transitions between Mandala & outdoor area. I recommend that you leave a small distance between the individual stones, as with a cobblestones.
Step 3

Once the glue has dried, the tops of individual stones can be colored with acrylic paint or wood glaze. Then it is applied to the stones of transparent acrylic paint, while the stones also brush in the gaps.
Tip: If you already know before gluing how your mosaics want to make yourself and how many stones you need in what color, you can paint the stones before sticking.
Step 4

Once the paint has dried, the mosaic is poured in with cast resin. Stir the casting resin according to the package instructions, pour it evenly over the mosaic and distribute it (here you can also use a spatula). The wooden surface should now be completely covered with resin. If, despite the sealing of the wood, the clear lacquer should escape air bubbles, you can walk over the surface with a hair dryer or hot air dryer to let the bubbles climb.

Make video for the project yourself mosaic
You can also watch the complete instructions as a video on YouTube:

By loading the video you accept the data protection declaration from YouTube.
Learn more
Load video
If you are looking for further ideas for Ikea Hacks, have a look HERE.
And if you don’t want to miss any new projects from me in the future, then follow me Instagram!

Similar posts
Source: www.schereleimpapier.de