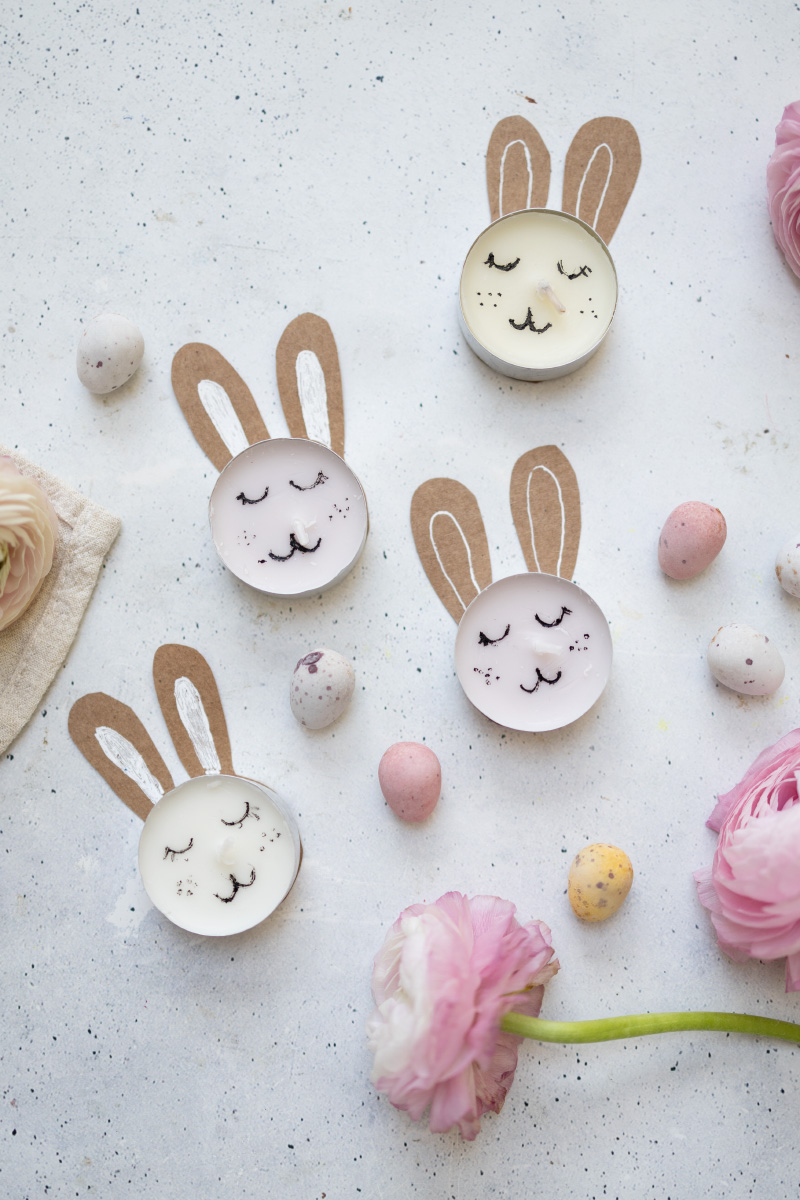
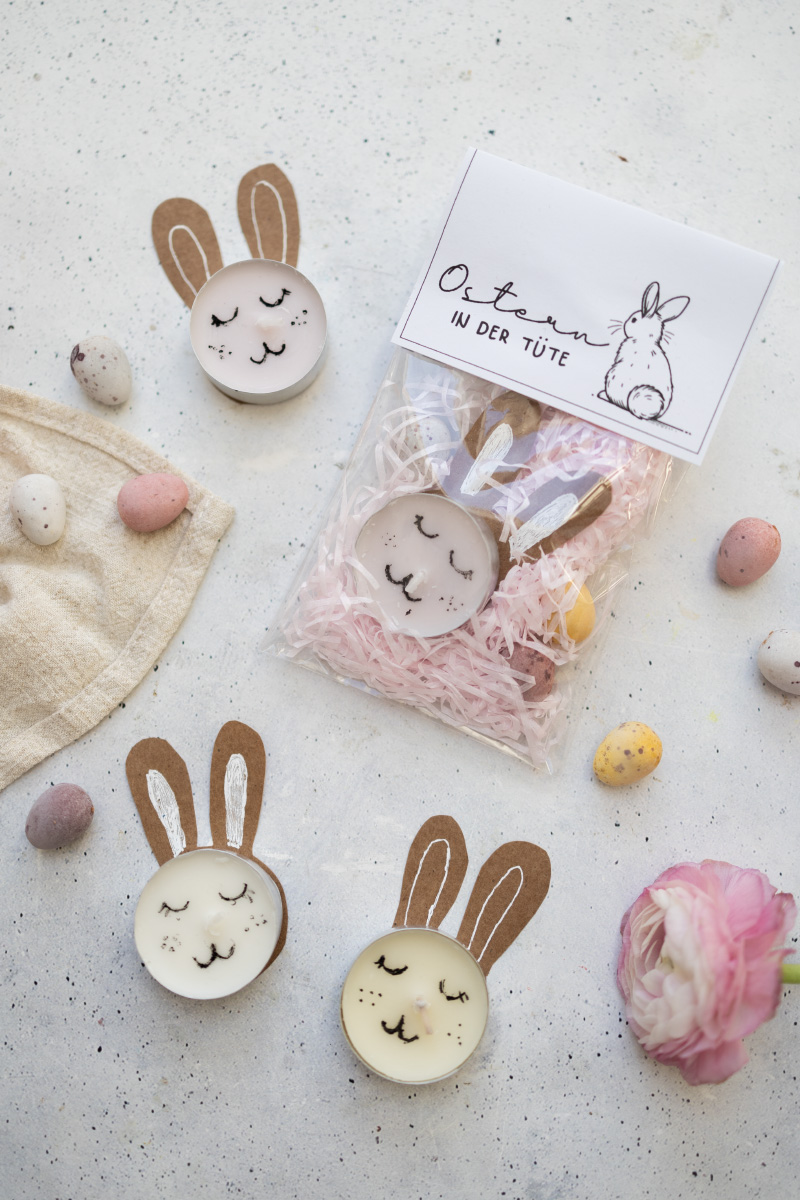
Are you looking for a simple craft idea for Easter? These DIY Easter Bunnic Tea lights are not only made quickly, but also a wonderful decoration for the Easter table. Thanks to power paper ears and sweet, hand-painted faces, they are guaranteed to become an eye-catcher.
Why this DIY idea fits perfectly with Easter
Homemade decorations bring a personal touch to your home and make Easter even more special. These tea lights in rabbit design are not only sweet to look at, but also a great way to experience crafting fun with children or friends. You can also use them wonderfully as small guest gifts or table decoration.
Instructions
Paint little eyes, a nose and dot on the tealight with the marker little eyes, a nose and dot. Let the color dry briefly.
Draw the tealight on the power paper and add two elongated rabbits with pencil. Cut out the form.
Paint small accents in the ears with a white pen or acrylic paint.
Glue the rabbits with glue or double -sided adhesive tape to the back of the tealight.
Arrange the finished tea lights on the Easter table, a tray or as a small souvenir for friends and family.
Or give away as a gift in the bag. To do this, carefully place the Easter bunny lights in the middle.
Add small Easter eggs, chocolate or other little things.
Close the bag by tackling it.
Print the “Easter in the bag” labels or design it itself.
Attach the label to the bag and stick it with craft glue.
Your Easter bags are ready!
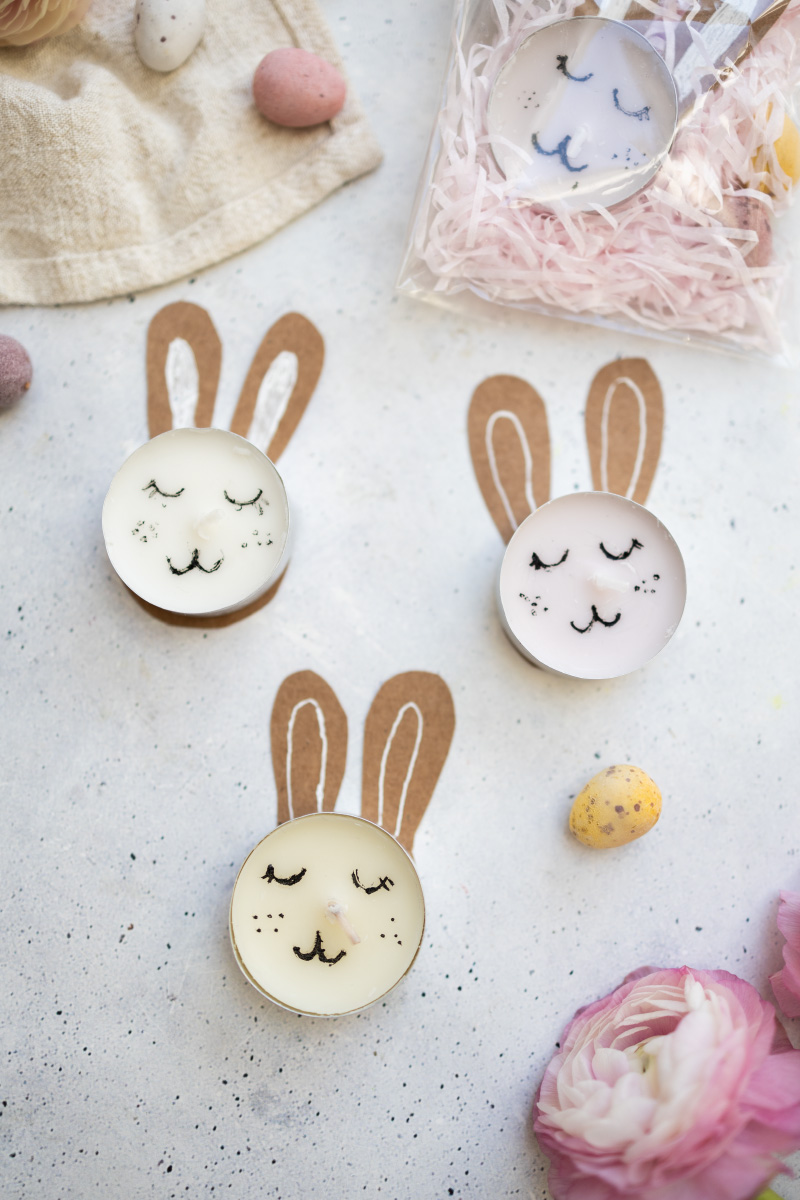
Tips & variations for the Easter Bunny Tea lights
Use colorful tea lights for a colorful look. Instead of force paper, you can also use felt or sound cardboard and with pink or white markers you can add even more details.
These Easter bunny lights are a perfect DIY idea for Easter: quick, super cute and ideal for a cozy Easter mood!
More simple ideas for Easter gifts
Do you want more ideas for gifts at Easter? Then click here: Origami Easter basket: handicrafts for Easter, egg carton gift packaging for Easter or origami Easter: Haskörbchen.
See you then. Your Laura
Source: trytrytry.de

