Easter is just around the corner-and I think small, sweet decorative ideas and souvenirs are always a great thing for Easter.
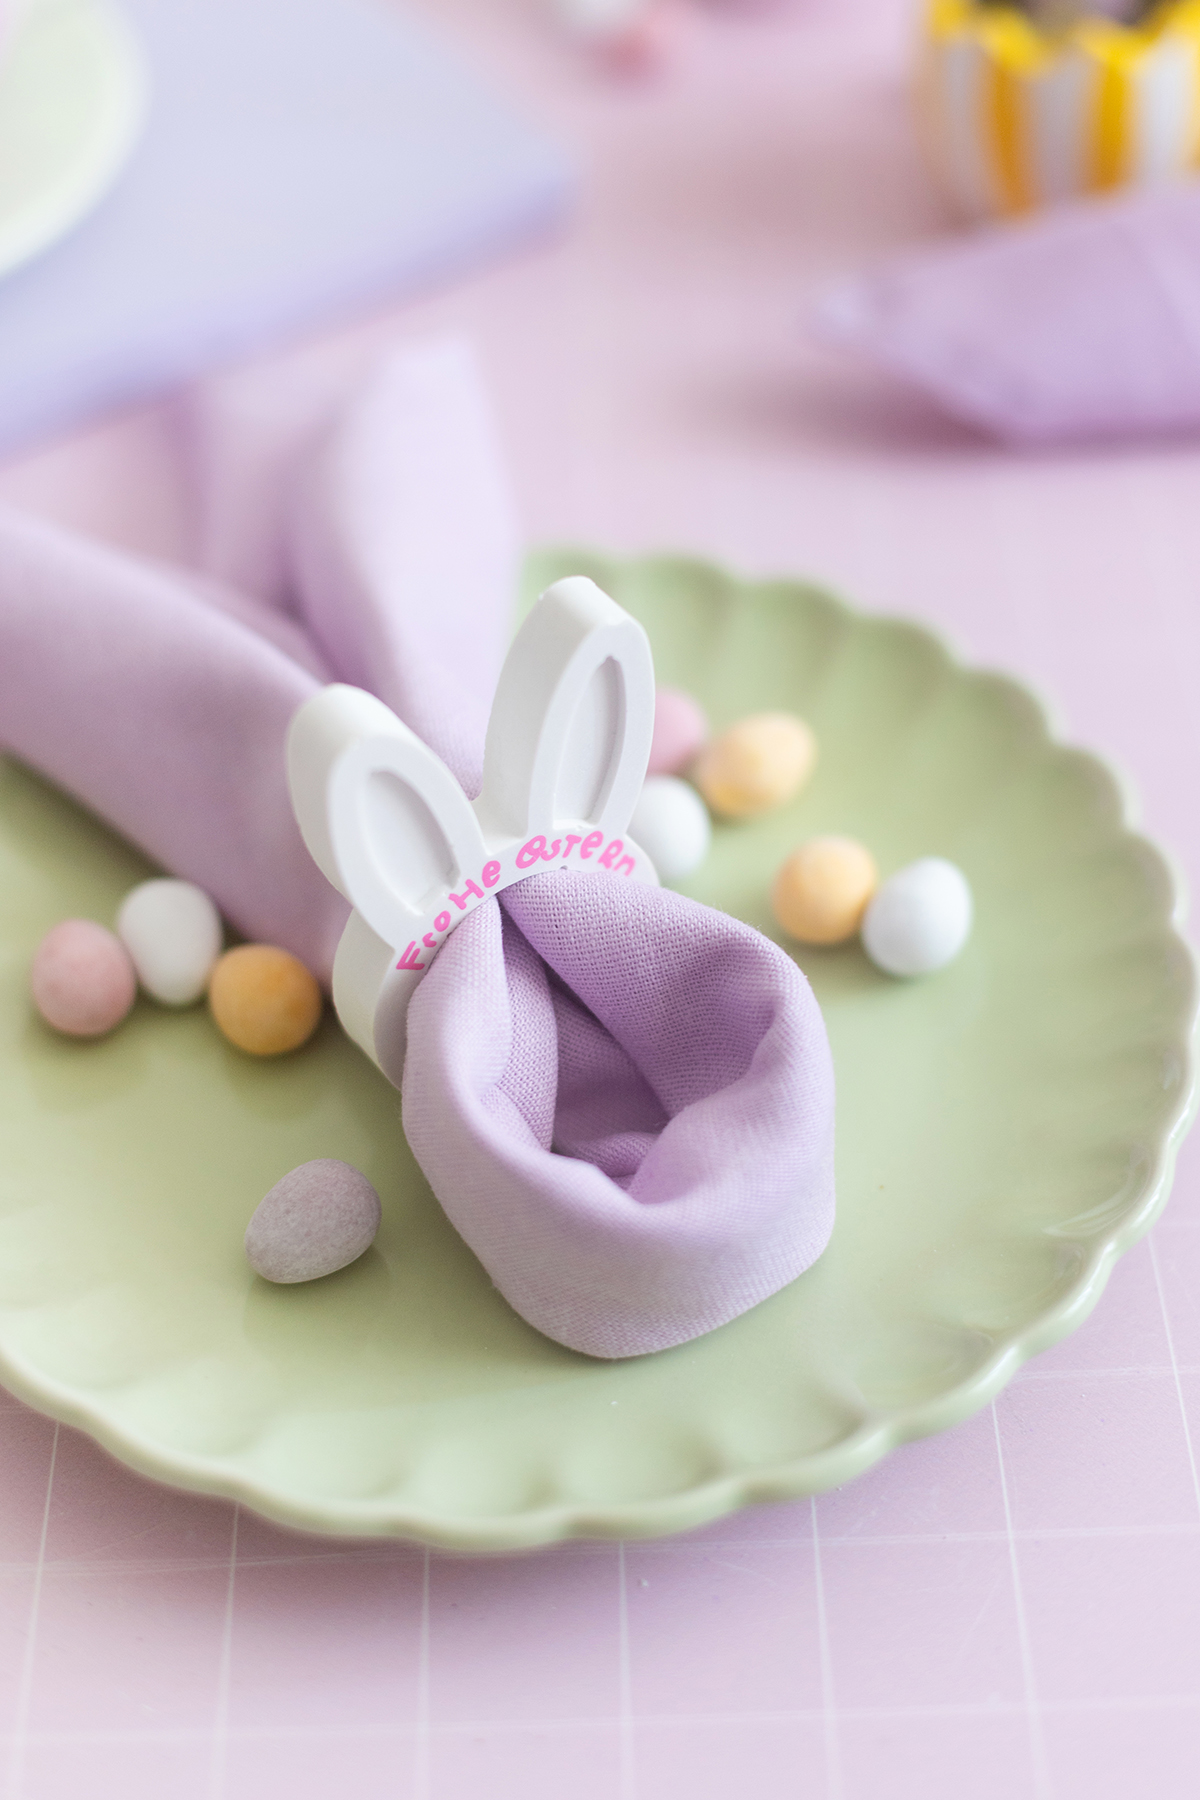
Today I have an idea for you that not only looks super cute, but also fulfills two functions: DIY rabbits made of water powderwhich either work as a napkin ring for the Easter board or as a small Easter nest with chocolate egg.
And the best? I was allowed to do the DIY idea too Show yesterday in the SWR show “Coffee or Tea”! So if you want to see how I pour and decorate the small bunnies step by step, then I absolutely bounce into the media library. Because I also show them Variant with a chocolate ballthat you don’t see here in the instructions:
👉 Here is the broadcast on April 11, 2025
(I am on it from minute 33!)
By the way, that felt particularly nice for me: because maybe you know that I For ten years as a creative expert in the ARD buffet Diys were allowed to show regularly – until the format was unfortunately set.
I was all the more happy about “Coffee or tea”To be a guest. The studio is even directly opposite the ARD buffet studio.
The instructions, including material links to tinker, of course also adhered you to you again as a blog post:

Two ideas – a rabbit 🐰
These sweet casting powder rabbits are not only made fixed, but also really versatile:
✨ Servantening: Simply pull a fabric or paper napkin through the hole- zack, your DIY highlight for the Easter table is ready. It becomes particularly fitting when you roll up the napkin and make a loop so that it looks like rabbits!
✨ Mini-Eastern nest: Set a chocolate egg or a chocolate in the middle – perfect as a small souvenir for the Easter brunch or to give away.
DIY Easter bunnies made of cast powder – this is how it works:

You need:
*The links are partner links. That means I get a tiny commission when buying, for you nothing changes at the price.


Step 1: Mix the casting compound
Mix your cast powder with water according to instructions – ideally measured with the scale so that the consistency fits. The mass should be yoghurt -like and no longer contain lumps.
Optionally, you can now stir in color pigments. I like to use this pink pigment.
Step 2: pour
Now is pouring! Carefully fill the mass into the shape of the rabbit. Get time so that no air bubbles arise – a bit against the shape helps so that the air bubbles climb up and escape from the water.


Step 3: let dry
Let it dry for about 20–30 minutes depending on the casting material until the rabbit is completely firm. (Raysin is usually fixed, with concrete it takes longer.)
Step 4: Demormal & rework
Carefully remove the rabbit from the mold – and if necessary, smooth edges with fine sandpaper.
Step 5: painting & sealing (optional)
If you want, you can still paint the rabbits. B. with acrylic markers or colors.
You can also label the napkin rings with names and use them as place cards for the Easter board – and everyone can take their bunnies home.
For longer durability (e.g. as a napkin ring) I recommend a layer of clear lacquer.

More Easter inspiration?
If you can’t get enough of DIY east Idea, take a look at my other instructions-here you will find all instructions around Easter decorations and Easter gifts at a glance.


Do you like the DIY idea? Then like to take them on Pinterest and notice them there on one of your pin boards:


I’m Lisa – and I can never sit still. I’ve been blogging about my passions since 2013: these are great DIY ideas, chic design and very special illustrations. The main thing is homemade! More about me.
Source: meinfeenstaub.com