Would you like to build a table out of scaffolding planks and save a lot of money? Then follow these instructions and you’ll be able to do it easily!
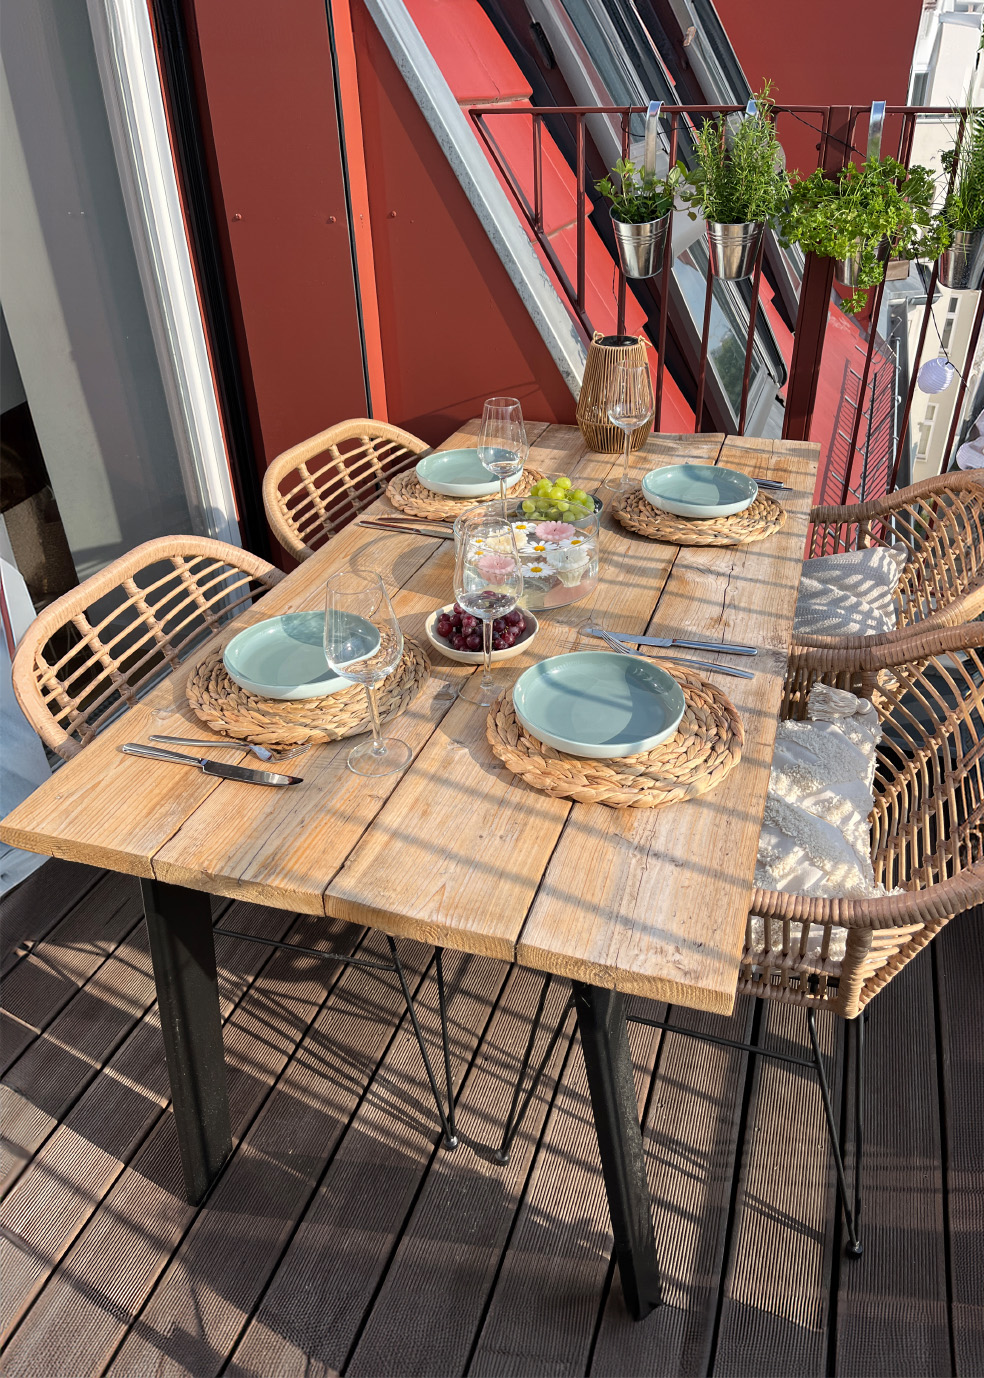
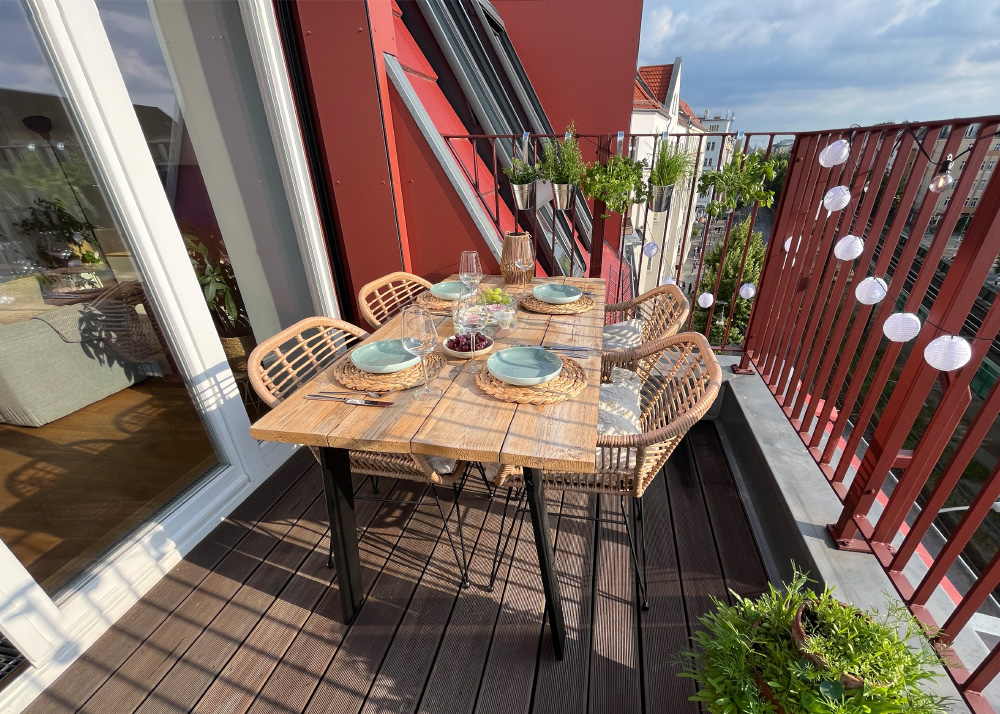
Summer is here and with it my need to get my balcony back in shape! This year I finally wanted to build a seating area on our balcony, as it is very large and it would be a good idea to sit outside. But as I couldn’t find a table that I liked and was also inexpensive due to the increased prices, I thought I would just build it myself. The project cost me around €150 from old scaffolding planks, which I think is really good compared to the tables I bought, which only look half as nice!
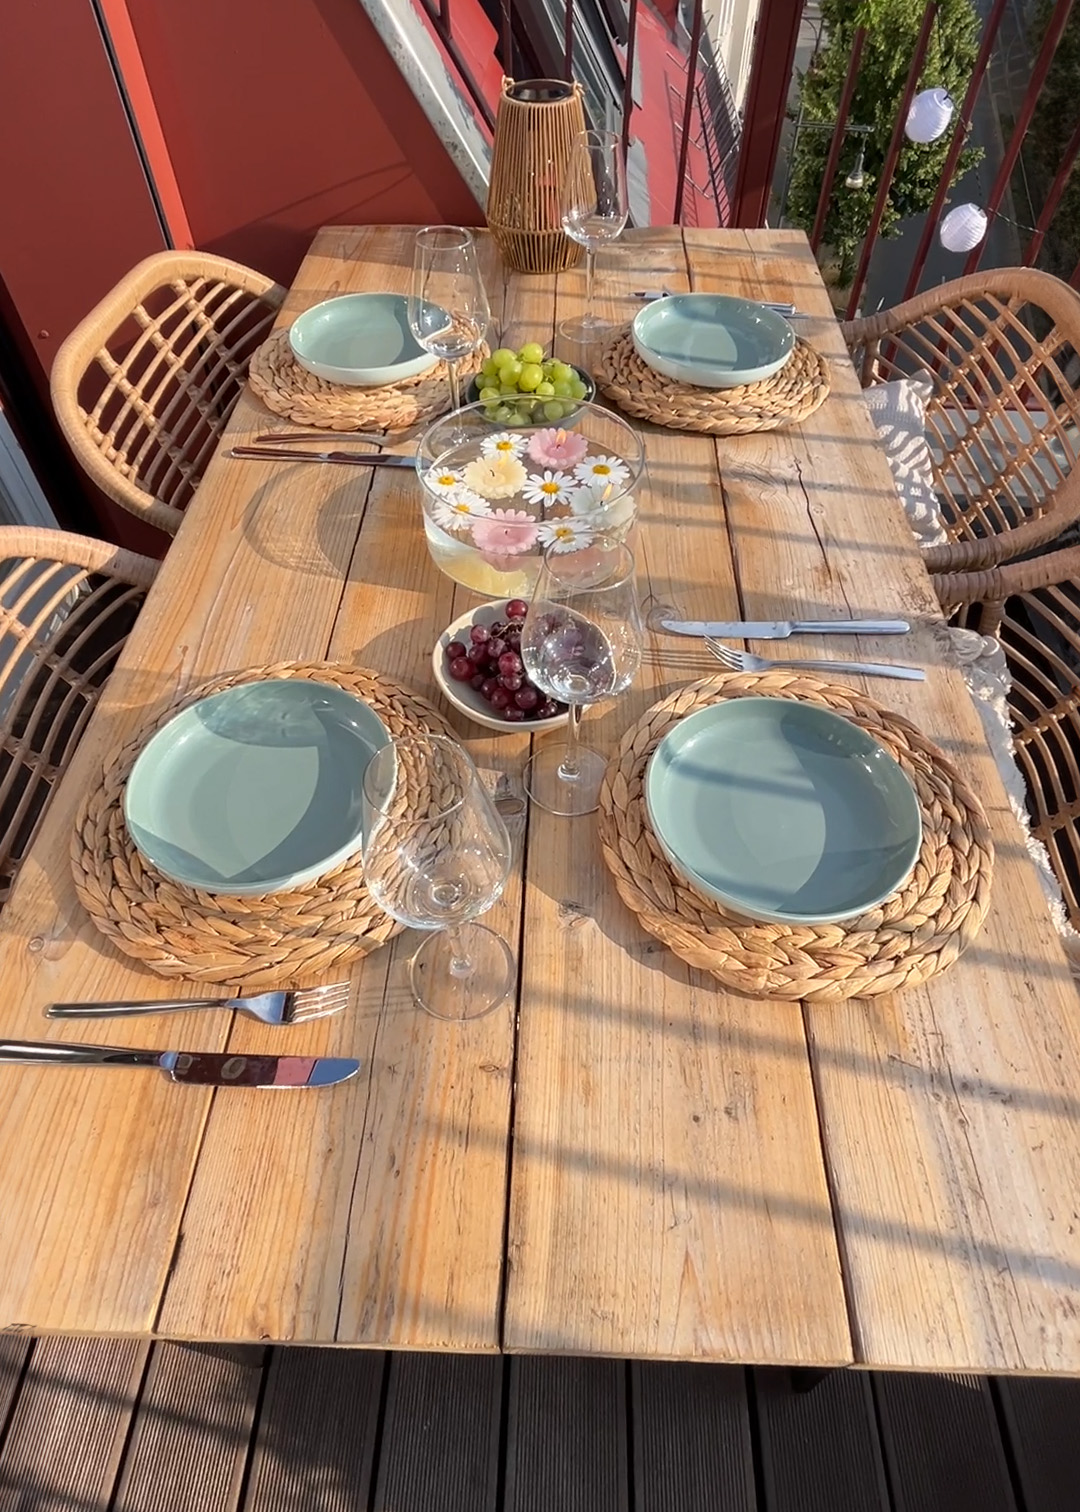
Beautifully rustic with scaffolding planks
It’s even cheaper if you happen to be able to take a few scaffolding boards with you from a construction site. Often new homeowners don’t know what to do with them anyway and give them to you as a gift. Or you can look in the classifieds to see if you can find a bargain. Otherwise, you can of course just buy them online from a wholesaler or from a hardware store (although they’re still unused). In any case, it creates a really nice beer garden atmosphere and I already love spending my summer evenings there.
Here are the instructions:
Ingredients
- Ingredients for the dough:
- Scaffolding planks
- Table legs*
- Leinöl*
- Grinding machine*
- 3 wooden strips
- Screws
- drilling machine
- Garden chairs*
- * Advertising // Amazon Affiliate Link: If you buy something through these links, I get a small commission. The product does NOT cost you any more!
Instructions
Regardless of whether you are using used scaffolding boards from the construction site or unused ones from the hardware store: the wood is still very rough and there is a risk of splinters. That is why the boards must first be sanded down well. It is best to use a sander, as it would take a very long time to do it by hand.
The table then needs to be protected from the weather. I chose colorless linseed oil because it provides good protection but retains the natural look of the wood. Warning: Even though it is colorless, it has slightly discolored my table. So make sure not to apply the oil too thickly (hard wax oil also works).
Once the oil has completely dried, the scaffolding planks can be screwed together with wooden strips. I used three to make the table really stable.
In addition, the table legs must be screwed onto the sides.
Then the table is ready and just needs to be turned over and set!
That’s it for my idea for the scaffolding plank table. Haven’t you had enough of balcony ideas yet? Then try out my other ideas. Do you already know my articles about plant shelves – space-saving balcony DIY, flower pot tower as a small and space-saving balcony idea or DIY herb tower.
See you then. Your Laura
Source: trytrytry.de