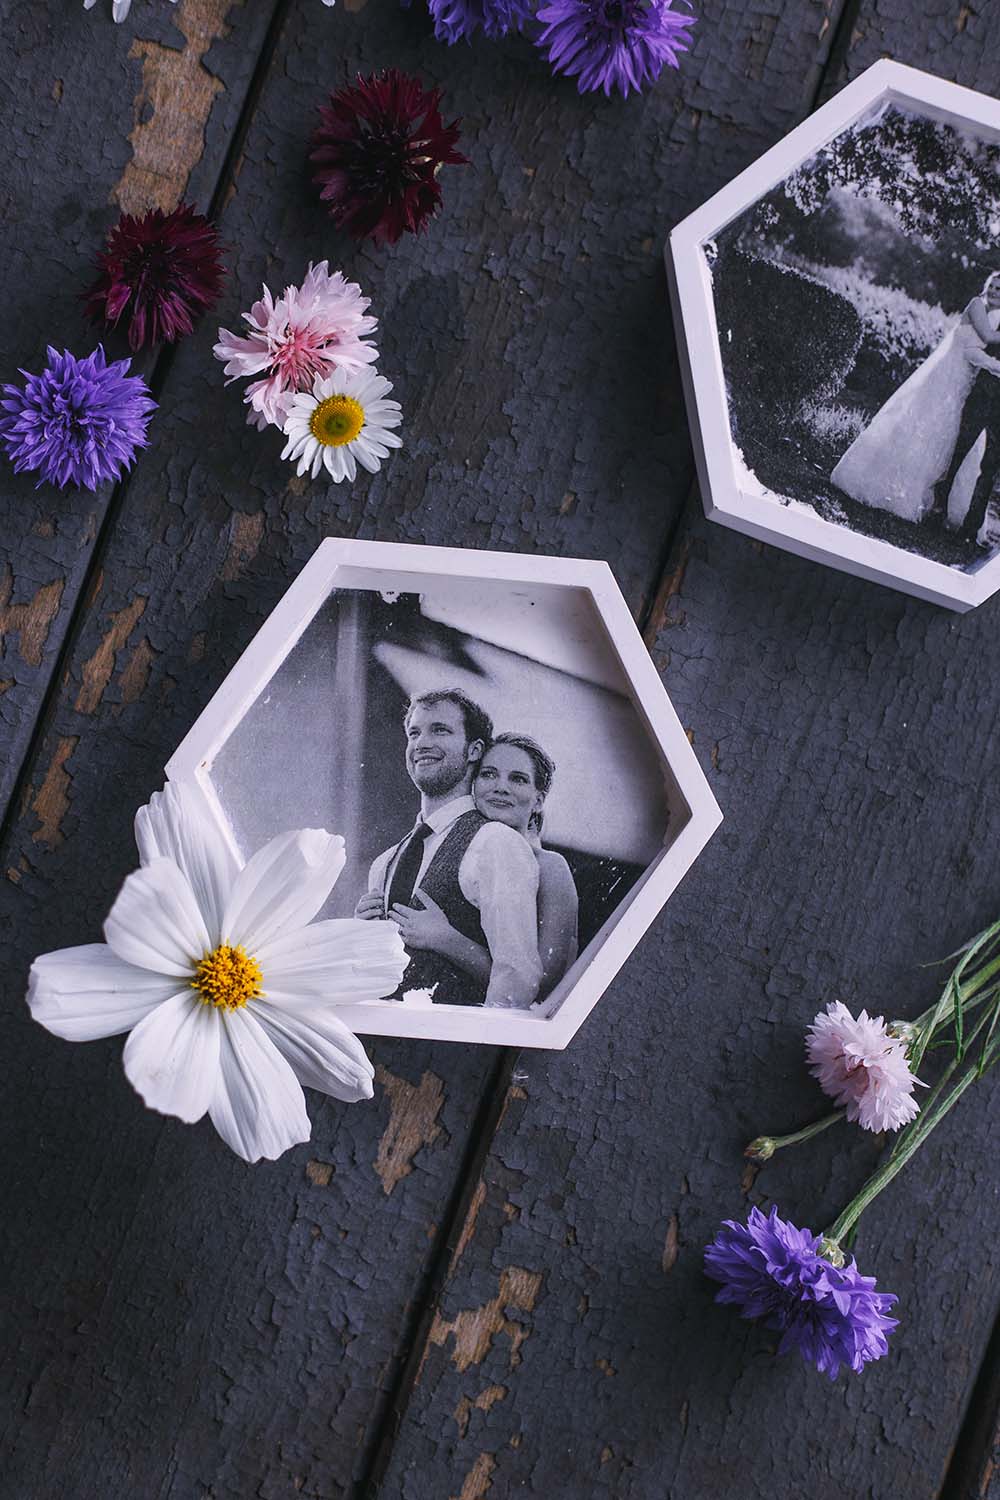
Today I will show you how you can Simple gift for the anniversary yourself can – with photos together! I have that for that Photo Transfer Technology used and photos transferred to watering ceramics.
Photo transfer to ceramic – make DIY gift for the anniversary itself
The photo transfer on concrete is one of the most popular DIY tutorials here on creative fever. No wonder, because the results are really super cool! It’s a great method to get out of simple photos a real decoration object close. Working with concrete naturally needs a little patience and from time to time I get the feedback from you that you do not dare to make a really smooth concrete slab. With the material from the instructions, this works really well (dare!), But I still have an alternative for you today! Photo transfer to water ceramics! The ceramic parts can be solved from the mold after 40 minutes and then have a super smooth surface. Before processing, you should still let them dry for 24 hours.
The photos I used for this project are my own wedding photos (from Vladi Photography). If you click through the wedding category, you can also find all DIY wedding projects here on the blog. They are among the first DIYs on creative fever!
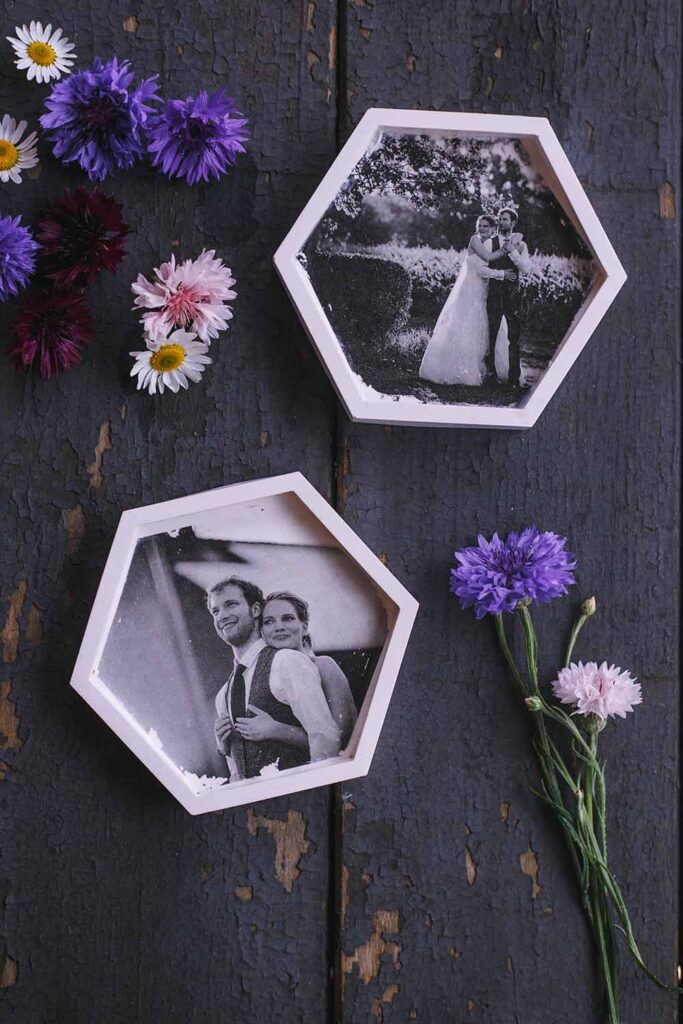
With beautiful couple pictures So simply becomes a nice gift from this DIY for the anniversary. The shapes that I have used can be used in a variety of ways, e.g. flat as a coast, or as a decoration object. Thanks to the edge, the photos remain upright and you can put them on a shelf, for example. With small adhesive patches you can just hang them on the wall.
Print PIN this idea
Split
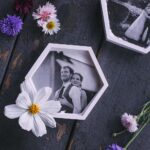
Give yourself a gift for the anniversary – photo transfer
Photo transfer to decoration objects made of watering ceramics – a simple DIY gift for the anniversary yourself make photos of joint photos. Also nice as a gift for the wedding or for the wedding day!
Crowd: 1 Bild
Material
- 1 Silicone shape Affiliatelink
- 150 g Watering ceramic mass Affiliatelink
- 50 g Distilled water
- 1 Silicone becher or old yoghurt cups etc. to mix
- 1 Photo prints on thin copy paper mirrored, with the laser printer
- 1 Potch transfer photo Affiliatelink
- 1 Paint brush
- 1 Coat Affiliatelink
- 1 Shell with water
- 1 Fund
Instructions
-
First, the desired shape made of watering ceramic. I needed about 150 grams of ceramic powder for my shape. You mix this with distilled water in a ratio of 3: 1 (powder to water), i.e. with 50 grams distilled water. In the case of several forms, you calculate the mass in a ratio. Stir the water and then pour it directly into the mold. Knock on the edge so that everything is distributed well. After 40 minutes you can solve the mass from the mold (it shouldn’t be warm anymore!)
-
Put the shape on a kitchen grille and have it excavated for at least 24 hours. You can smooth hard edges on the back with sandpaper.
-
Prints the desired images in a suitable size on thin printer paper in the copy shop with a laser printer (!). Most printers for home use are ink steel printers, so it doesn’t work. Attention: You have to reflect the pictures horizontally beforehand. This is particularly true when writing can be seen in the pictures.
-
Cut the images to the right size. Then spread both the ceramic base and the image (on the printed side) thinly with photo transfer potch. Distribution well and remove superfluous pot from the brush. The layer should be very thin and even.
-
Then put the picture down to the ceramic base with the printed side and stroke it well. If Potch is pressed out on the edges, it is tightened with a handkerchief. The paper should be pressed completely smoothly. Then let the transfer spot dry completely. You can blow everything out to speed up the process, but not too hot and not too long.
-
Put some water in a bowl. Immerse yourself a finger and then carefully rub off the top layer of paper from your picture with a wet finger. Works very carefully and with feeling. If you work too firmly, remove the pressure.
-
If the picture is completely visible, you should dry it again with the hair dryer. White remains of paper will probably be visible again. Then carefully rub it away again until the image remains visible when blow -drying.
-
Finally, paint the picture with a coat of arms and let it dry – the gift for the anniversary is ready!
Notes
The time is plus drying times.
More gift ideas for your own anniversary
If this idea was not the right gift for you for you, just take a look around the gifts category. There you will also find a holiday memory in the glass, many beautiful packaging ideas for vouchers and more. You can of course also give away all ideas from the article DIY Valentine’s Day gifts for the friend for the anniversary!
Have fun doing it yourself,
Jutta
Source: kreativfieber.de