I’ve been wanting to do this project for years and finally got it done! Can you imagine the feeling of success?
DIY garbage can conversion under 100 euros
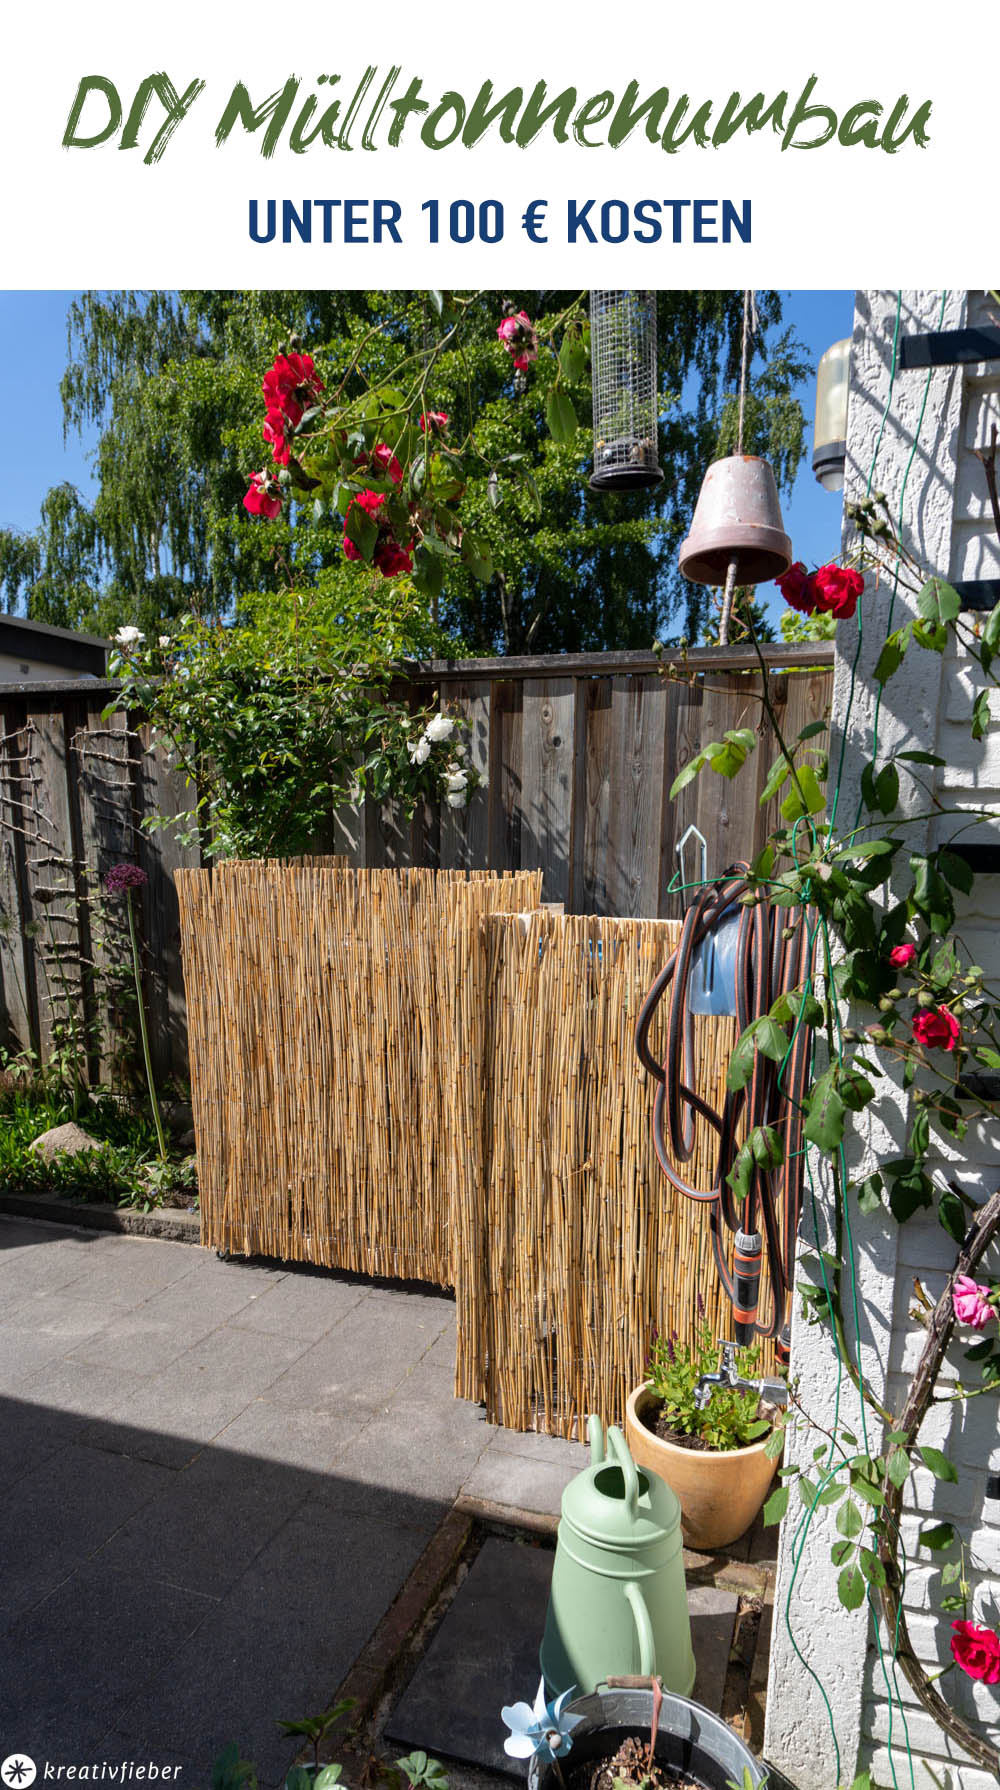
In my small garden I not only have to accommodate beds, a lounge corner, a sandpit and a walkway to the shed, but also 4 garbage cans and combine them with each other. Not an easy task. In any case, the garbage cans are not a pretty sight and unfortunately we don’t have any hiding places or space in the shed. That’s why I’ve hidden them in their corner as efficiently as possible. Behind a partly fixed and partly rolling fairing of wood and reeds. This way you can get to the lids of the garbage cans without any problems and you can easily roll out each one. The reed mats now give the garden real holiday vibes and also go well with my bamboo lounge sofa opposite.

How much does a DIY garbage can conversion cost?
The whole thing cost me less than 100€! If you look for solutions online, you will quickly find yourself several 100 euros lighter. In addition, with my 4 tons and the corner, I naturally needed a tailor-made solution. So here is my guide. You can of course change dimensions and Co. as required.
Material for the garbage can conversion
middle part
- 5 x wooden slats (approx. 110 cm x 44 mm thick)
- 2 wooden slats (about 50 cm long)
side panel A
- 2 x wooden slats (approx. 110 cm – minus a few centimeters, because these parts are on the edge of the bed in the example and not on the floor slab like the rest.)
- 2 x wooden slats (70 cm long)
side panel B
- 2 x wooden slats (110 cm)
- 2 x wooden slat (50 cm)
construction and rest
- Long and medium-length screws
- Dowels for anchoring in the wall
- Angle connector / construction angle
- 3 rolls
- Reed mats/willow mats/bamboo mats 120 cm x 400 cm
- Automatic stapler
- Wire pliers
This is how you build your own garbage can conversion

The pictures show you the structure best.
The two side elements, consisting of 4 wooden slats, are anchored to the garden fence and the ground or the edge of the bed with screws (and dowels).

The middle part is L-shaped and due to its 90° shape, it doesn’t fall over easily when it’s a bit windy and the part is close to the garbage cans so that the wind doesn’t get behind it. If there is a storm, you can also attach the L-part to the side parts with hooks. (Update: they survived the first storm without falling over)
The middle section stands on 3 castors and is therefore completely easy to roll on the way when you have to put the bins out. It is best to buy rubber rollers that rotate 360°. Then the L-fence can be maneuvered even more easily. Incidentally, they roll so easily that pushing them away is a lot of fun and it’s only a matter of time before they’re used for building booths and playing hide and seek.

With a maximum height of 1.20 m, the edges are chosen in such a way that you can no longer see the garbage cans, but you can easily access the lid without having to roll away the front part.
So it is best to adapt the dimensions yourself to your situation.
The construction can also be a little sloppy if you saw the slats in the hardware store. Then screw all the parts together and use lots of construction angles for better stability. The crossbeams can be placed either between the sidebeams or above and below.
When screwing together, you should pre-drill small holes in the wooden beams so that the wood does not tear.
When the construction is in place, you can still waterproof the wood and then attach the reed mats. However, you can also buy pre-impregnated wood in a hardware store, which saves you this step. I simply coated the wood with Whitewash exterior stain, which I still had in stock.
You can easily clip a long reed mat to the right width with a pair of pliers. Basically, you can easily saw the length to size if the mat is too high. I then stapled the mat to the wooden frame. If necessary, you can simply exchange them for new clothing after a few years. Incidentally, bamboo keeps its beauty the longest, but it is also the most expensive.

Your super chic new garbage can cover is ready for a small price.

I wish you success,
Maike
Maybe interesting too. . .:
Source: kreativfieber.de


