
If you want to encourage your baby’s development from an early age, a homemade wooden play arch with Montessori mobiles could be just the thing for you. This tutorial shows you step by step how to make such a play arch. This will allow your baby to play with their little hands and feet, providing hours of fun while stimulating the senses.
Montessori wooden play arch
The Montessori concept, developed by Maria Montessori, aims to promote your child’s autonomy and independence so that they can learn actively from an early age. Using Montessori toys, such as a play arch, will promote your baby’s motor skills and strengthen their self-confidence. Easy-to-use toys that offer small challenges are ideal, especially for babies between 0 and 4 months.
Such a play arch or play trapeze can be built from natural materials such as untreated wood and is individually customizable. It is not only easy to make, but also inexpensive. Montessori toys optimally support your baby’s development from birth.
In addition, the play arch offers colorful pendants, different shapes, sounds and textures that stimulate your baby’s senses and promote their development. This includes fine motor skills, spatial vision and eye-hand coordination. While your baby is busy, you gain valuable time for yourself to relax or do everyday tasks.
Overall, the play trapeze creates a stimulating environment in which your baby can learn through play, laying the foundation for his or her future development.
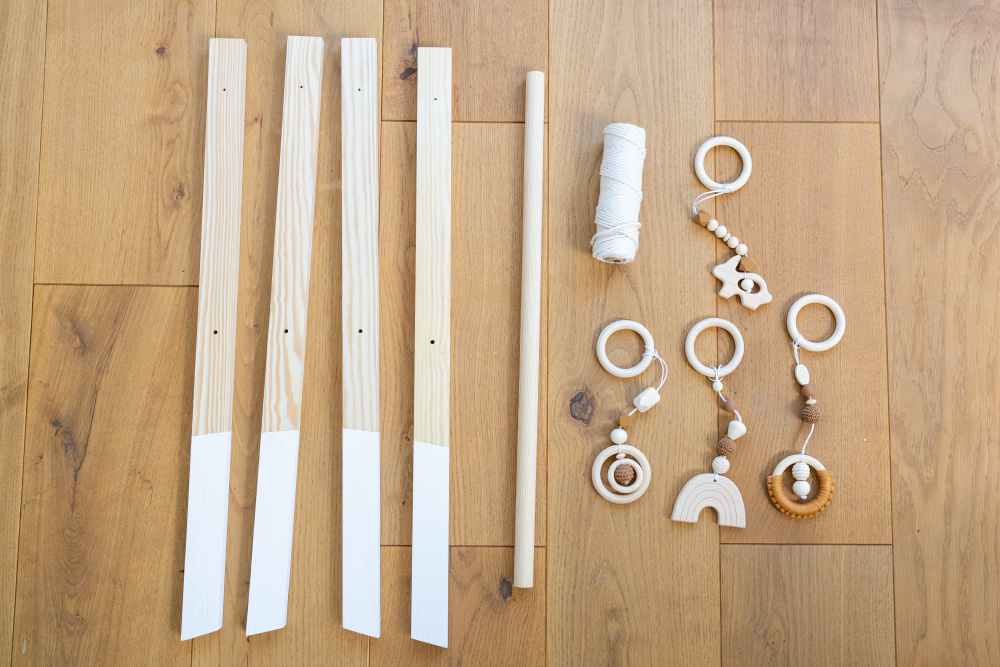
Instructions
To make the play arch more stable later, the slats on one side are first sawn at a slight angle so that they sit straight at the bottom when slanted. Since the play arch can later stand higher or lower thanks to the flexibility of the cords, the legs may not be 100% on the floor. But that doesn’t matter, since they can’t slip away on a (play) carpet. The best thing to do is to lay two slats crossed in front of you and see what angle you need. This also depends a little on how high you want to attach the bar later.
Cut all the strips diagonally at the bottom at the same angle and then sand the area.
Now tape off the top or bottom of the play arch with masking tape and paint it on all sides with chalk paint. Then remove the masking tape. Make sure that the paint is suitable for babies, as they might put the legs in their mouths when playing underneath.
Drill a hole in the top (1 mm drill) and in the middle (5 mm drill) of each of the strips. Also drill a hole in each end of the rod (1 mm drill).
Now place two of the strips on top of each other (make sure that the legs are positioned correctly) and carefully screw in the screw until the tip is slightly visible again on the other side.
Now take the rod and screw the two strips to the rod.
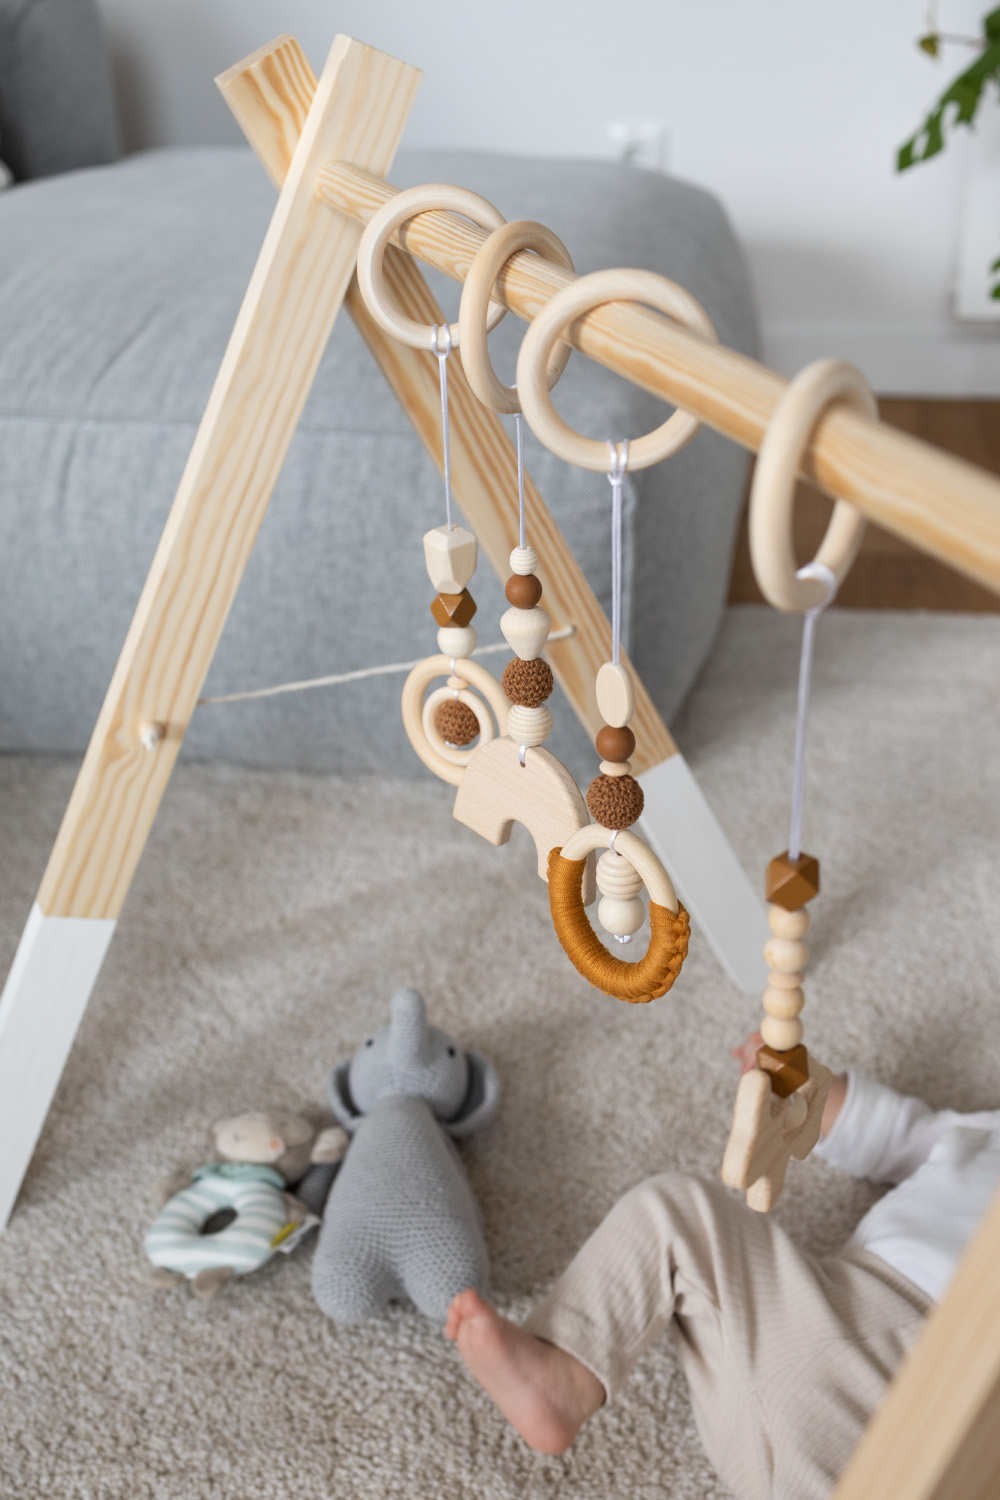
Screw the other two strips together as well. Thread the play arch pendants onto the rod and screw the strips onto the other side of the rod.
Tie one end of the macrame ribbon to one of the wooden beads. Now thread the ribbon through the two holes in the legs so that they are connected. Thread the second bead and tie it again. Cut off the rest of the ribbon.
Repeat on the other side. Make sure both are the same length. Test it first before cutting off too much tape.
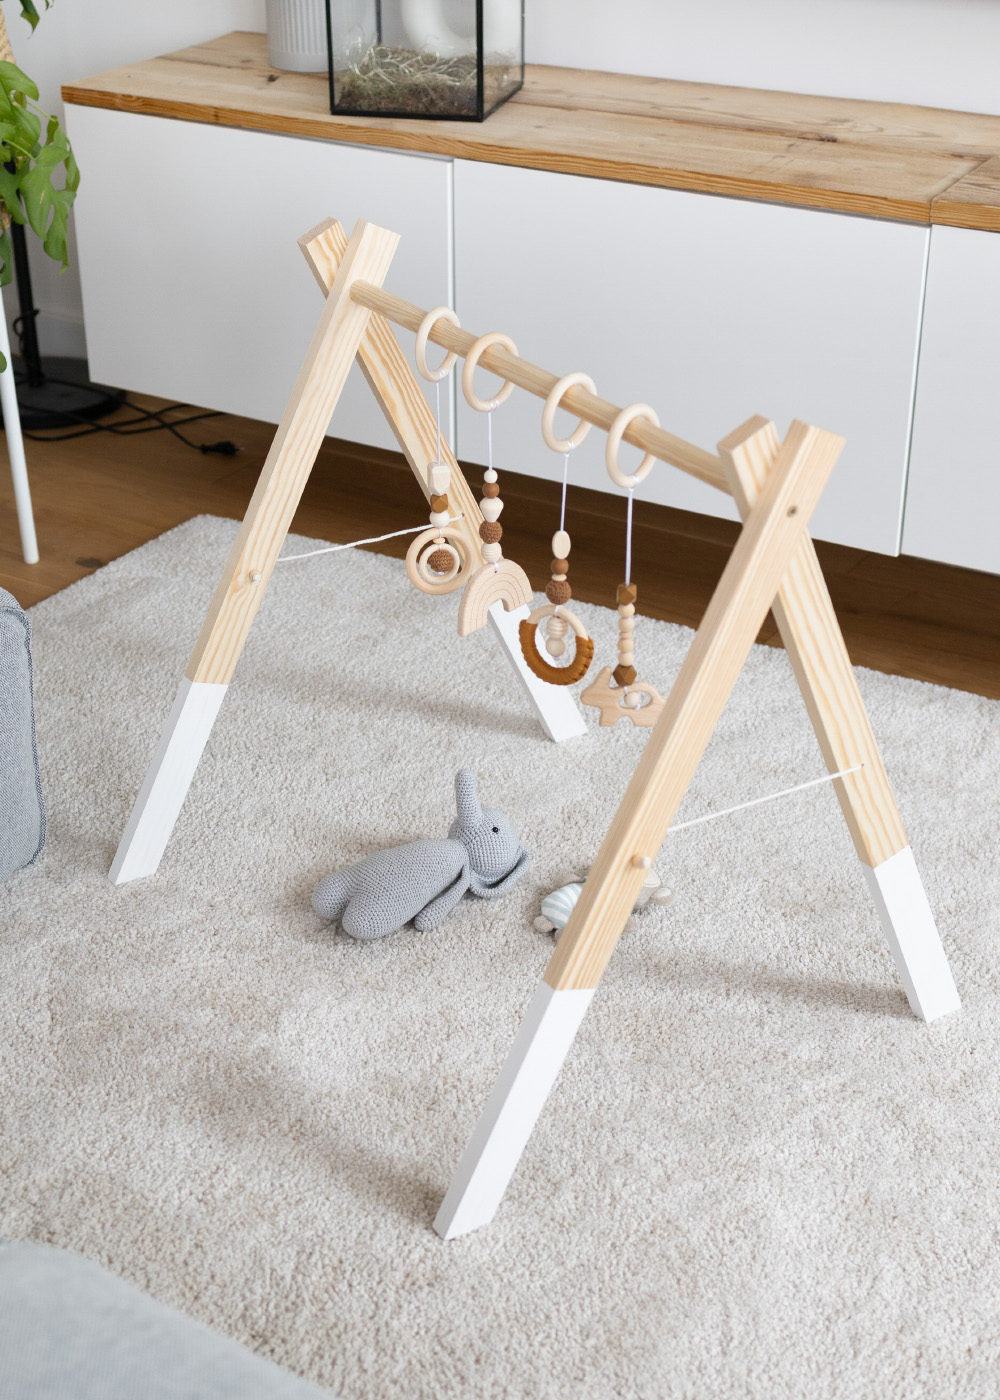
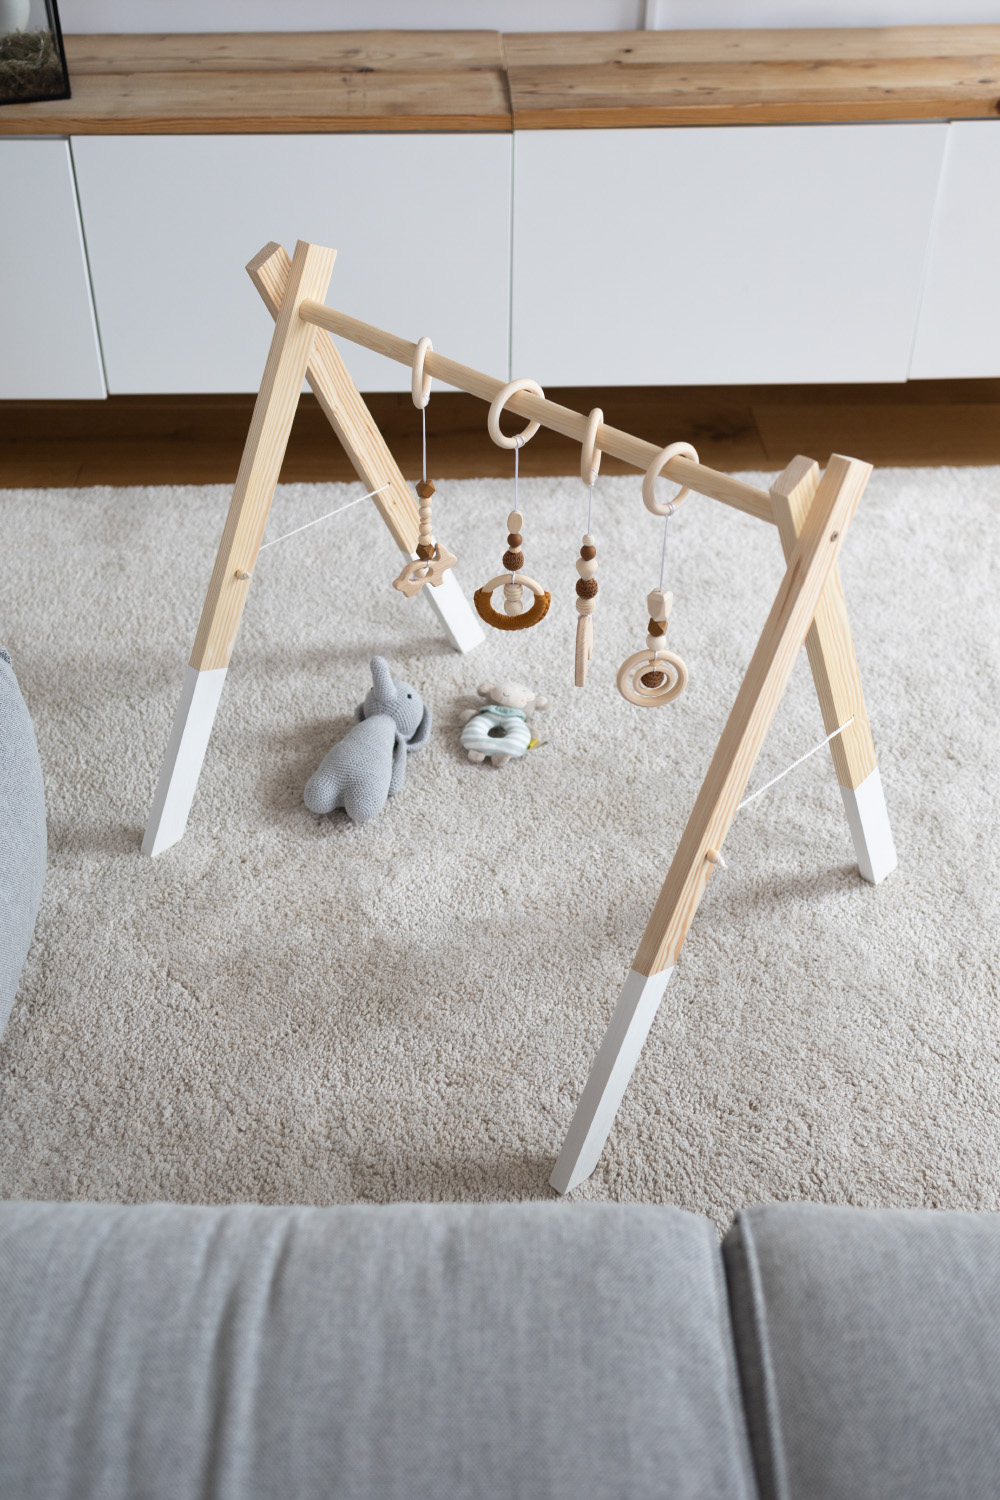
Your play arch is ready and waiting to be discovered by your baby!
As you can see, I built two versions. I like both of them very much and you can build the play arch exactly how you want it. I’m looking forward to her starting to discover her world under the arch and I hope your babies will do the same!

More ideas for children
Do you want more ideas for children? Then take a look here: Craft ideas for children in summer, Children’s food: Fun ideas for a Halloween plate or Simple children’s recipes that all children like to eat
See you then. Your Laura
Source: trytrytry.de

