
Today I was a guest again as a creative expert on the ARD buffet. For the show’s topic of “tin cans” I thought of a summery upcycling idea that you can easily make from empty cans:
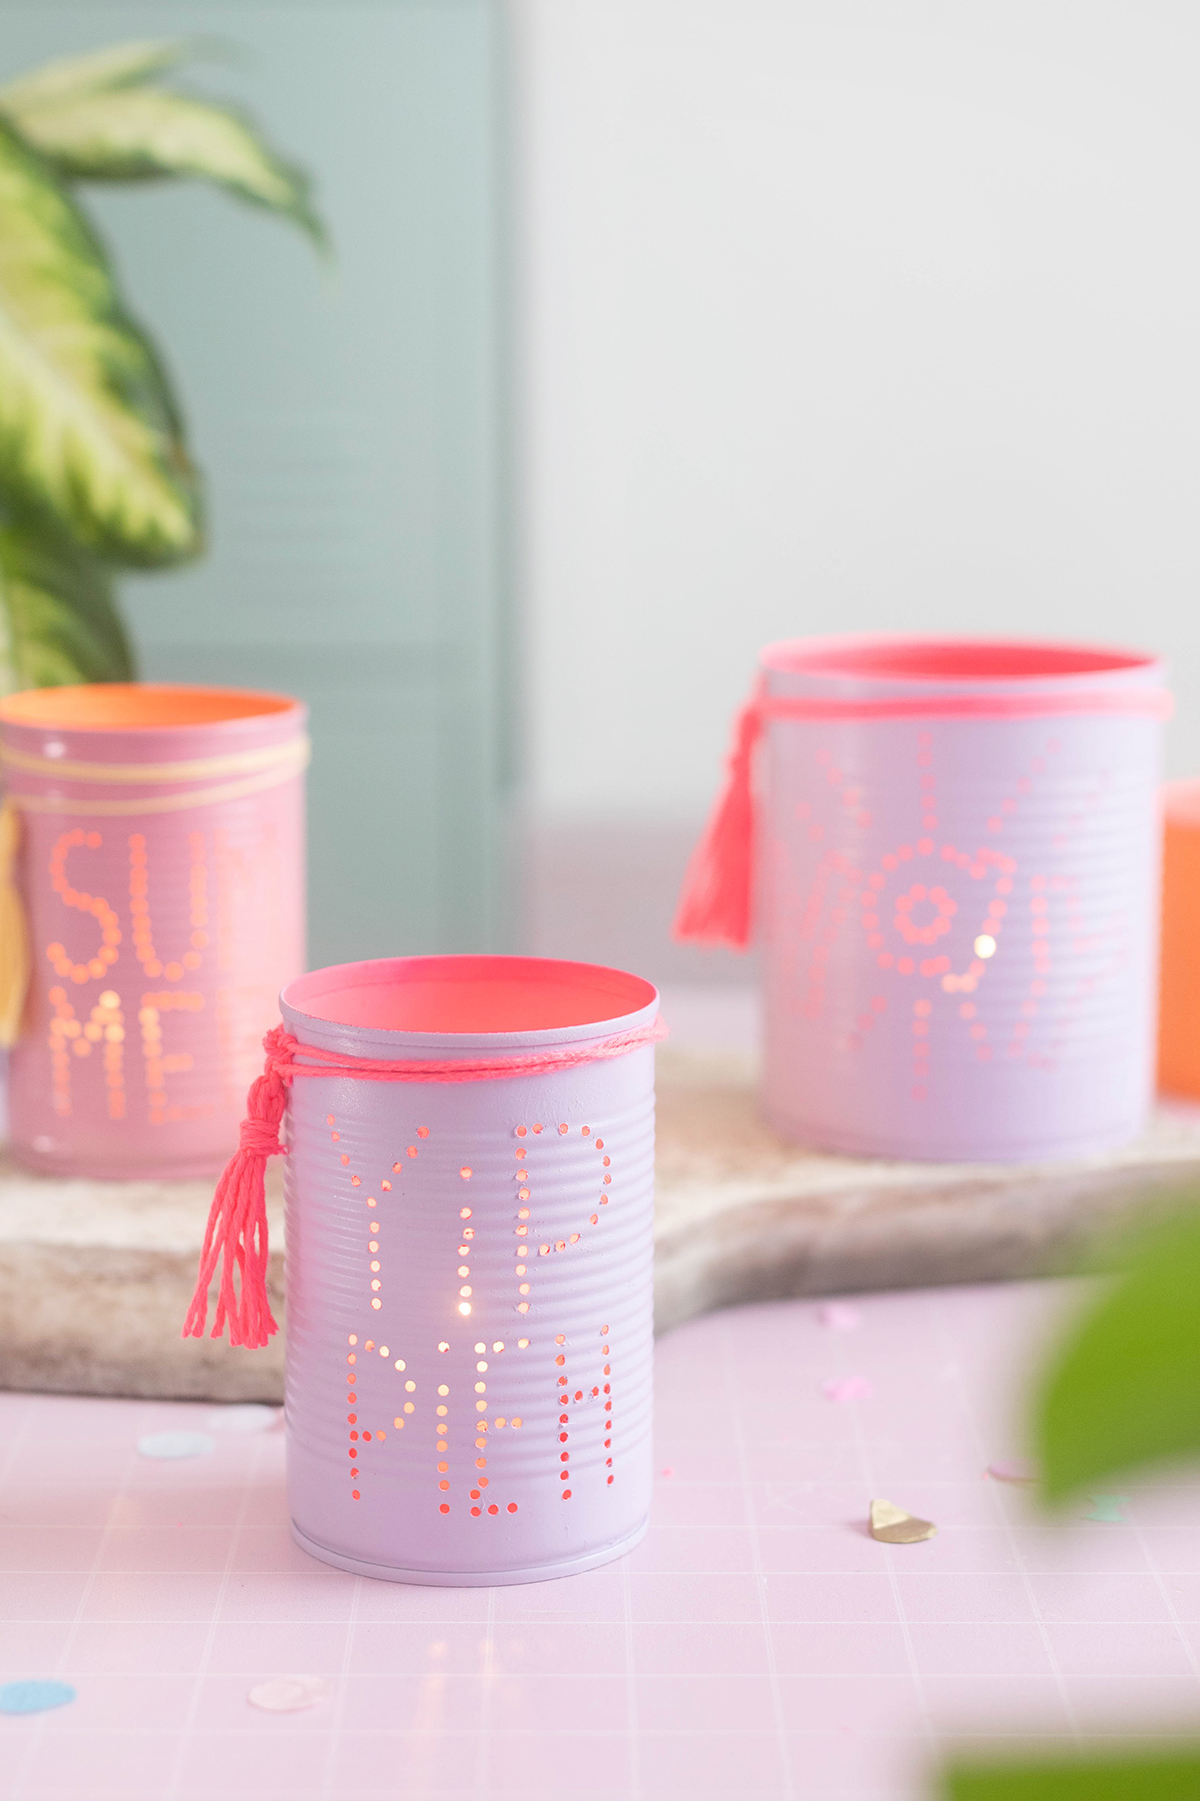
Summery lanterns with hole lettering – a pretty and sustainable DIY decoration. I can really imagine the lanterns as decoration on the summery decorated balcony or in the garden.
I have also created 4 templates for the lanterns, which you can download for free.
>>> Click here to watch the ARD-Buffet broadcast in the media library

Instructions: Make can lanterns from tin cans
Material:
- empty tin can
- Handbohrer, z.B. Dremel
- Masking tape
- Markers for marking the holes
- safety goggles
- Gloves
- Paint spray in 2 colors
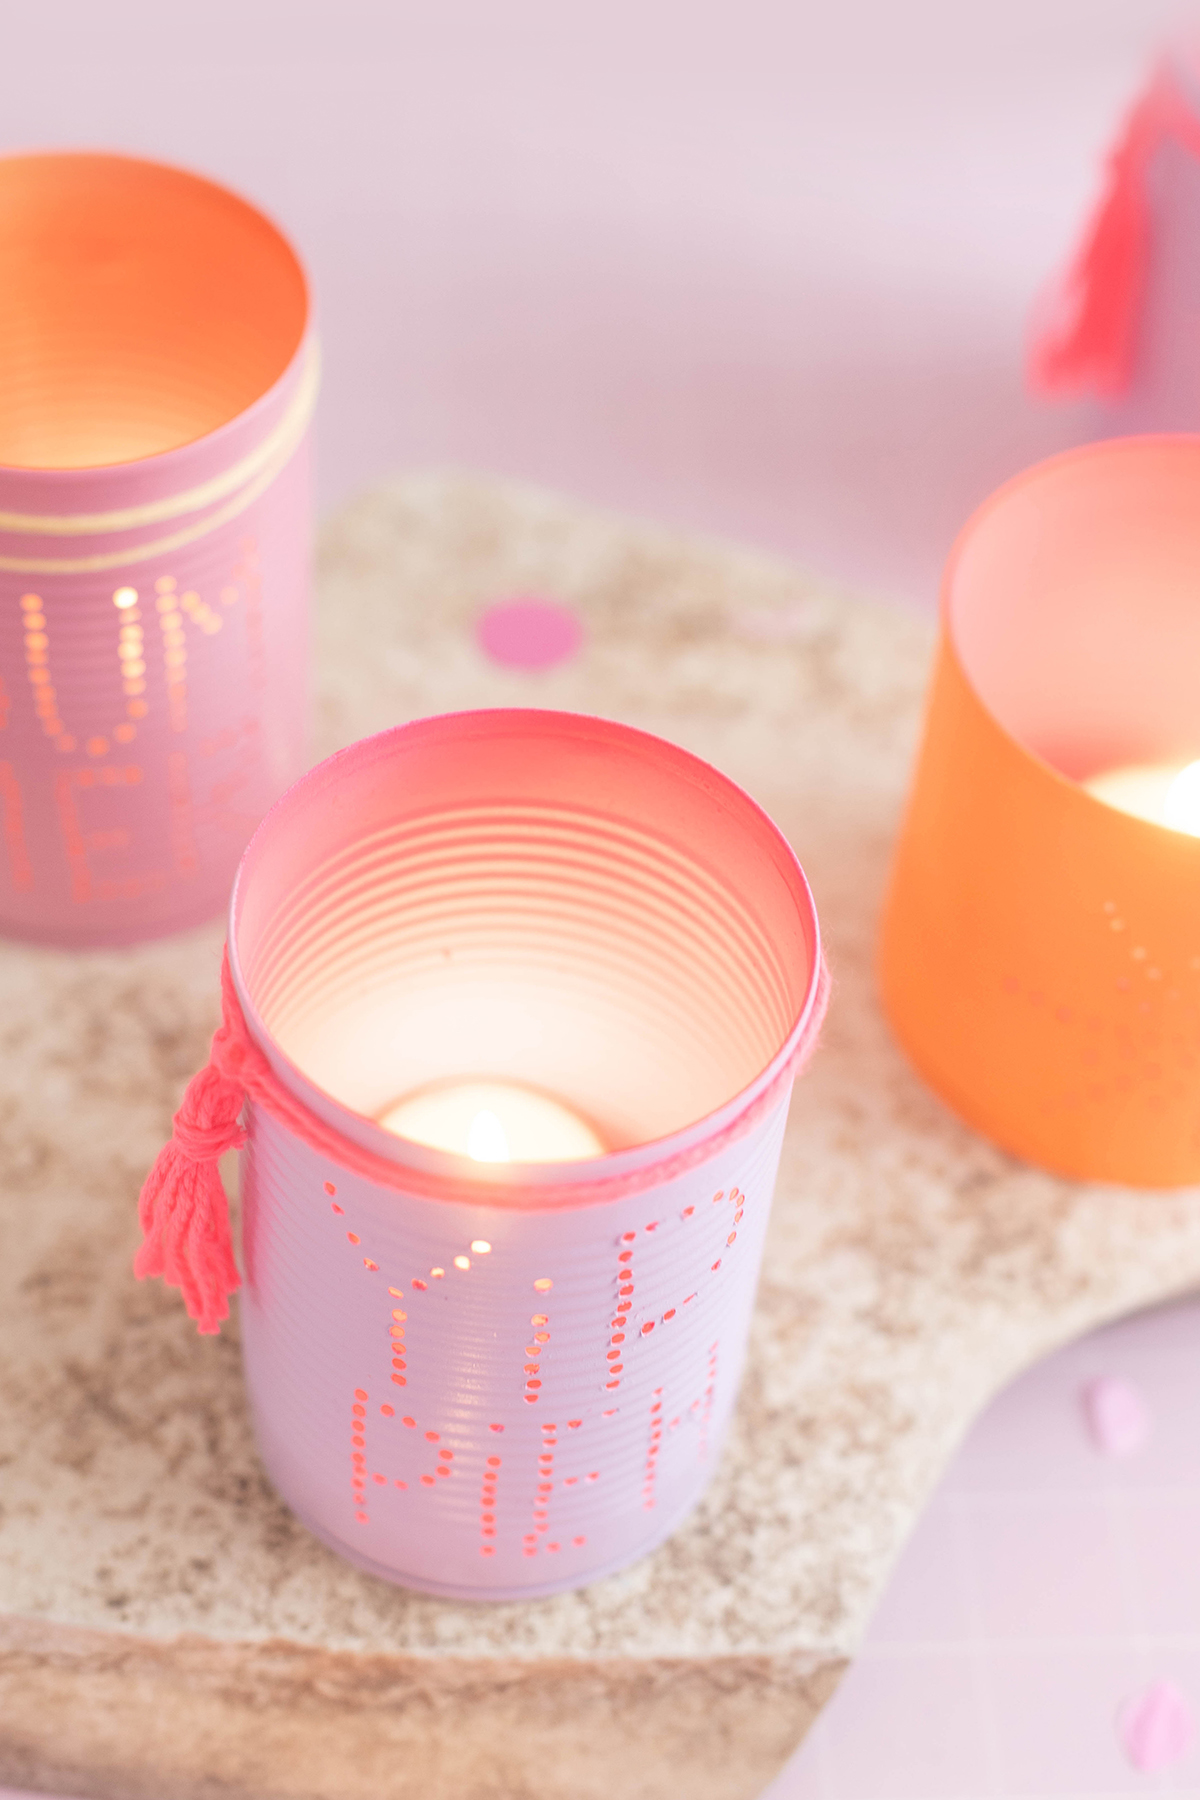
- Tealight

Download templates here:
Directions:
Step 1: Clean the can
Remove all labels and residue from the can. Wash it thoroughly with water and dish soap and let it dry completely.

Step 2: Apply adhesive tape + transfer motif
Put painter’s tape on the can where you want to drill. This will give the drill a better grip and prevent it from slipping as easily.
Then you can either paint the motif freehand onto the tape with a marker or attach the template to the can with tape.
Step 3: Drill holes
Now carefully use the hand drill to drill holes at equal distances along the drawn pattern.

Tipp: It is easier if you carefully pre-drill the holes at a low drilling speed and then drill at a faster speed.

Step 4: Spray the can inside and out
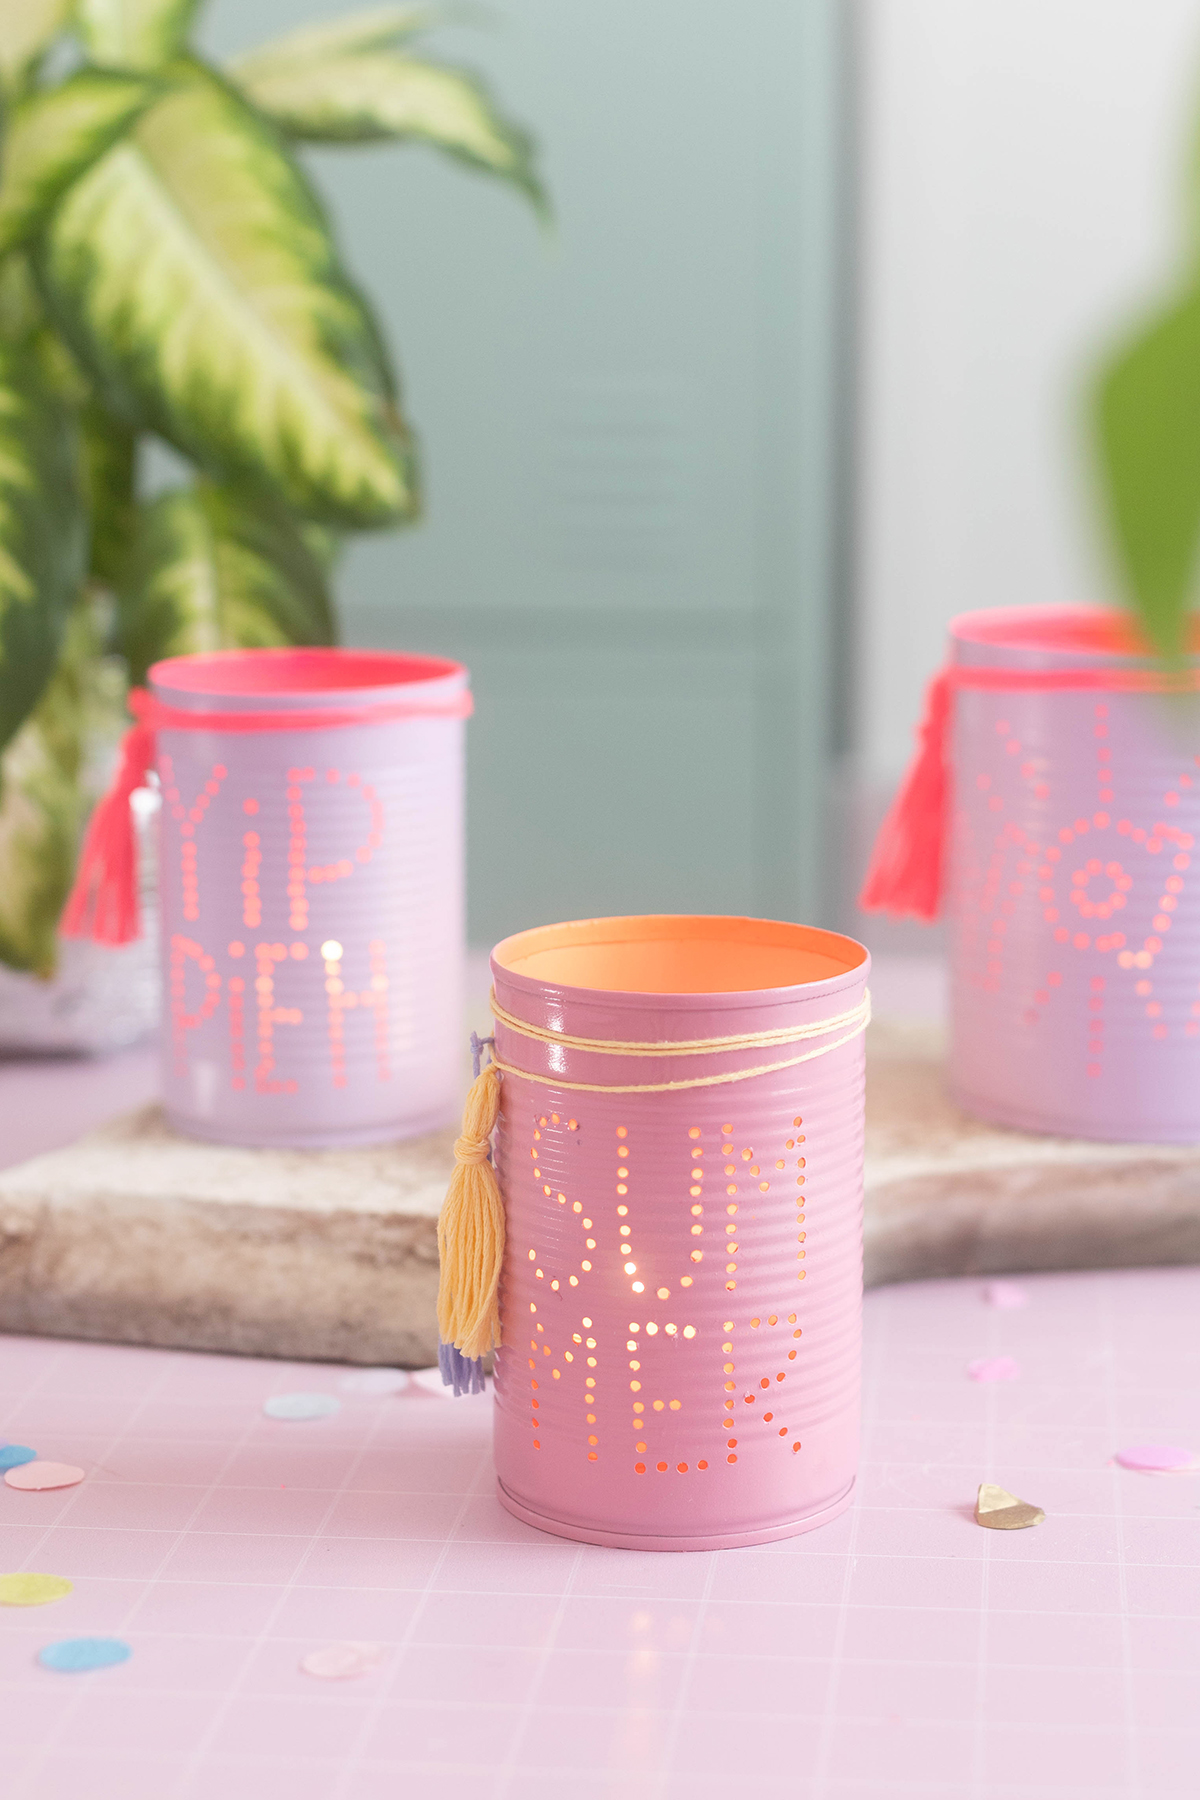
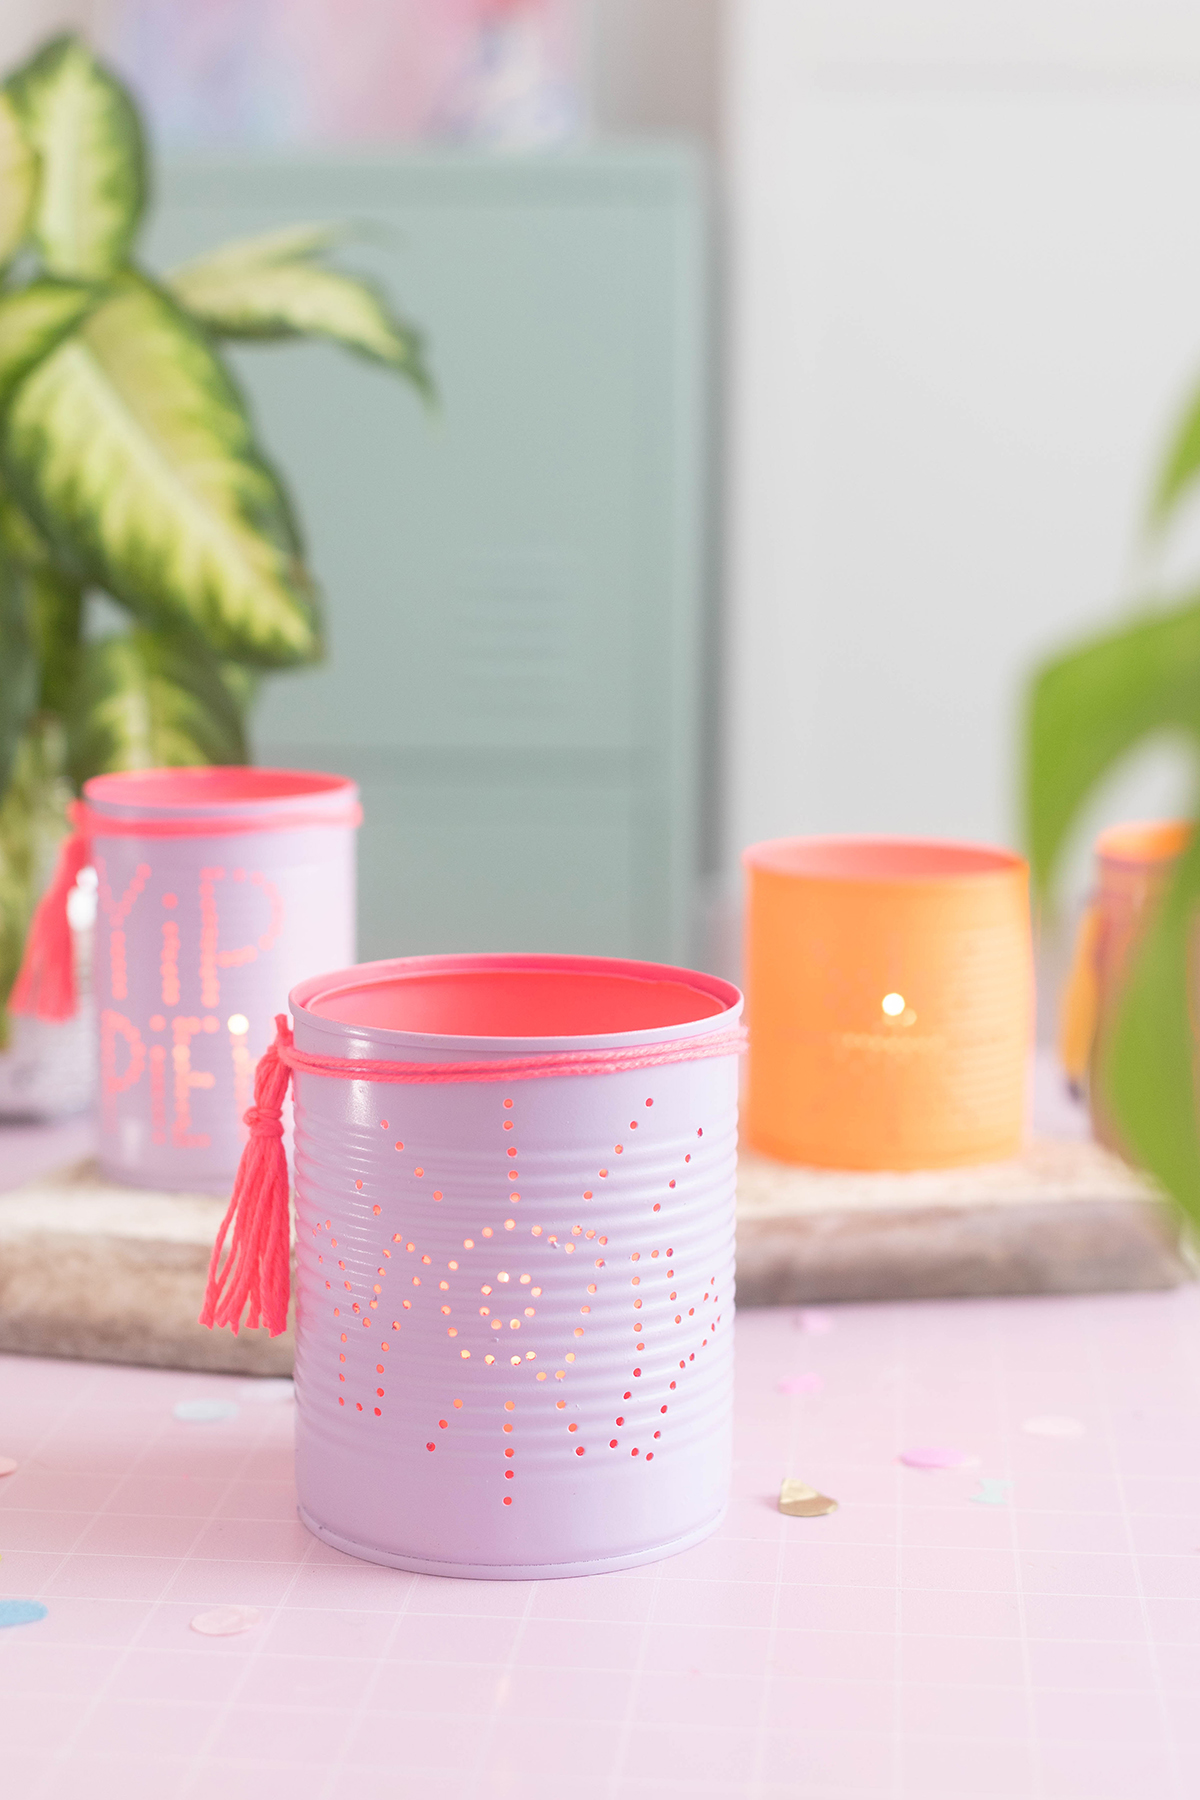
Now clean the can of any metal dust and dry it thoroughly. Now you can paint the can first from the inside and then from the outside. A combination of neon and pastel colors looks particularly summery.


Once the paint has dried, the lantern is ready for use.


You can then decorate the lantern as you wish – for example with colorful yarn or tassels.

Do you like the DIY idea? Then take it with you to Pinterest with this picture and save it to one of your pinboards:


I’m Lisa – and I can never sit still. I’ve been blogging about my passions on my feenstaub since 2013: great DIY ideas, chic design and very special illustrations. The main thing is that they’re homemade! More about me.
Source: meinfeenstaub.com

