Advertising/unsolicited
Today I was a guest at the ARD buffet again for a long time – in the studio! I haven’t been there for more than a year because I produced all the videos from home during that time. Now I was finally there again. And of course I had a DIY idea with me:
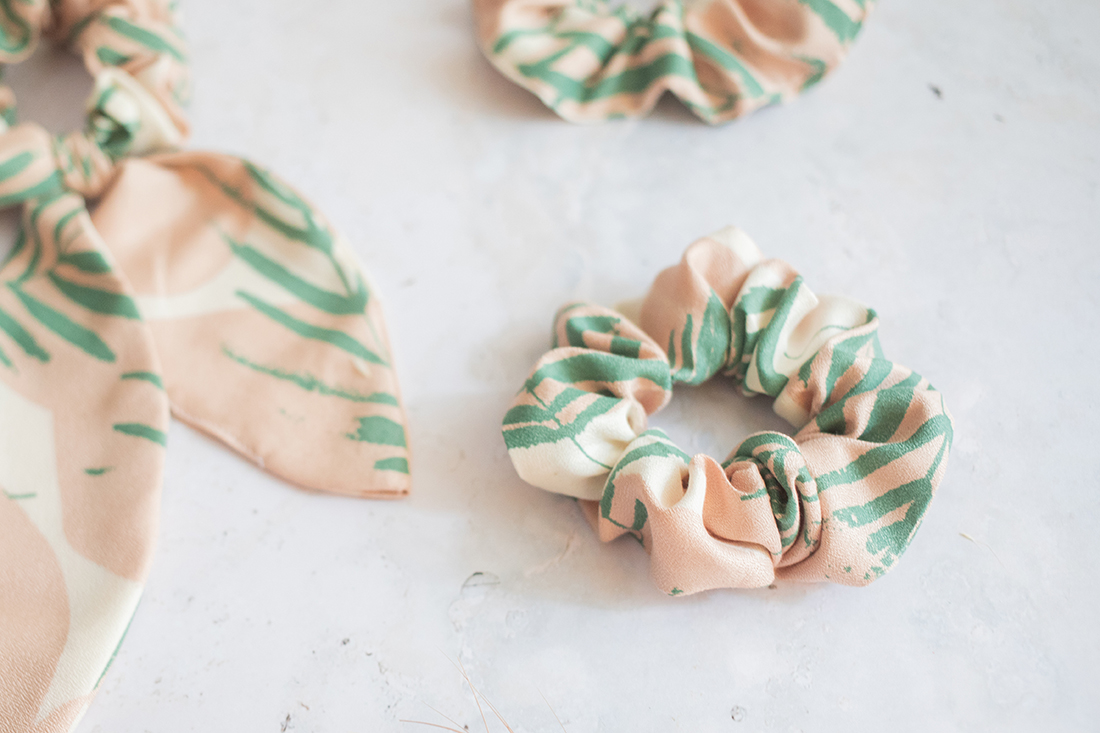
I showed in the studio how easy it is to sew DIY scrunchies (fabric hair ties) from leftover fabric. And the nice thing: This idea is also great for sewing beginners. And a great idea for a small DIY gift or souvenir.
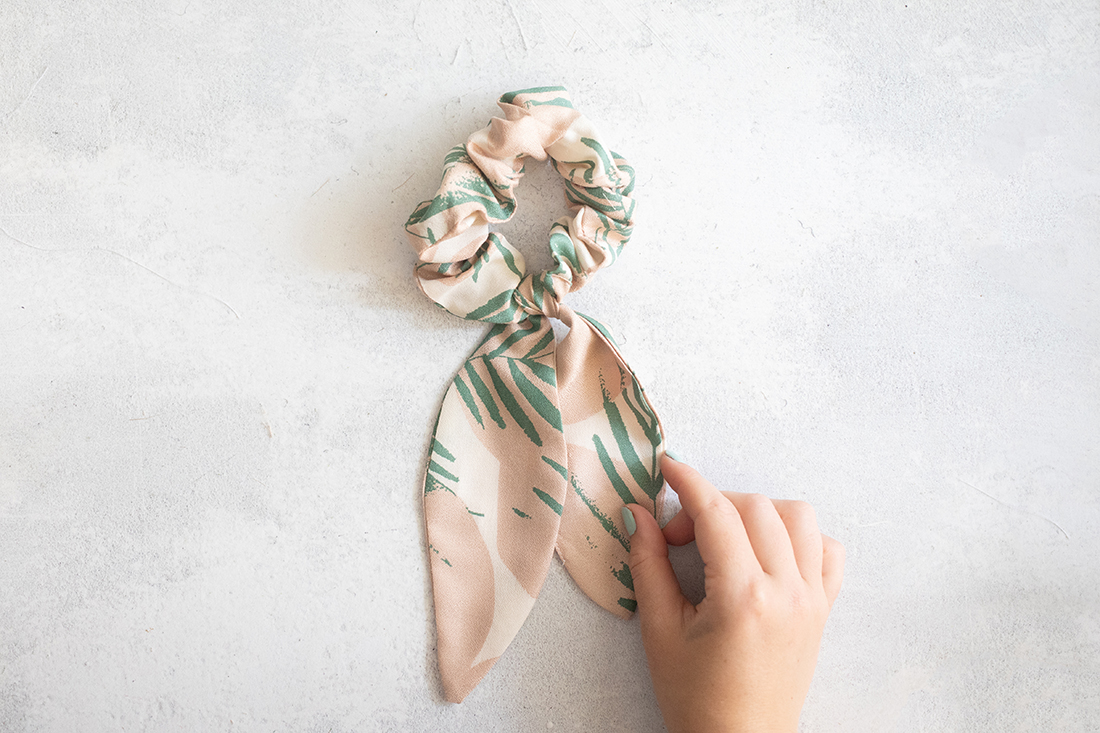
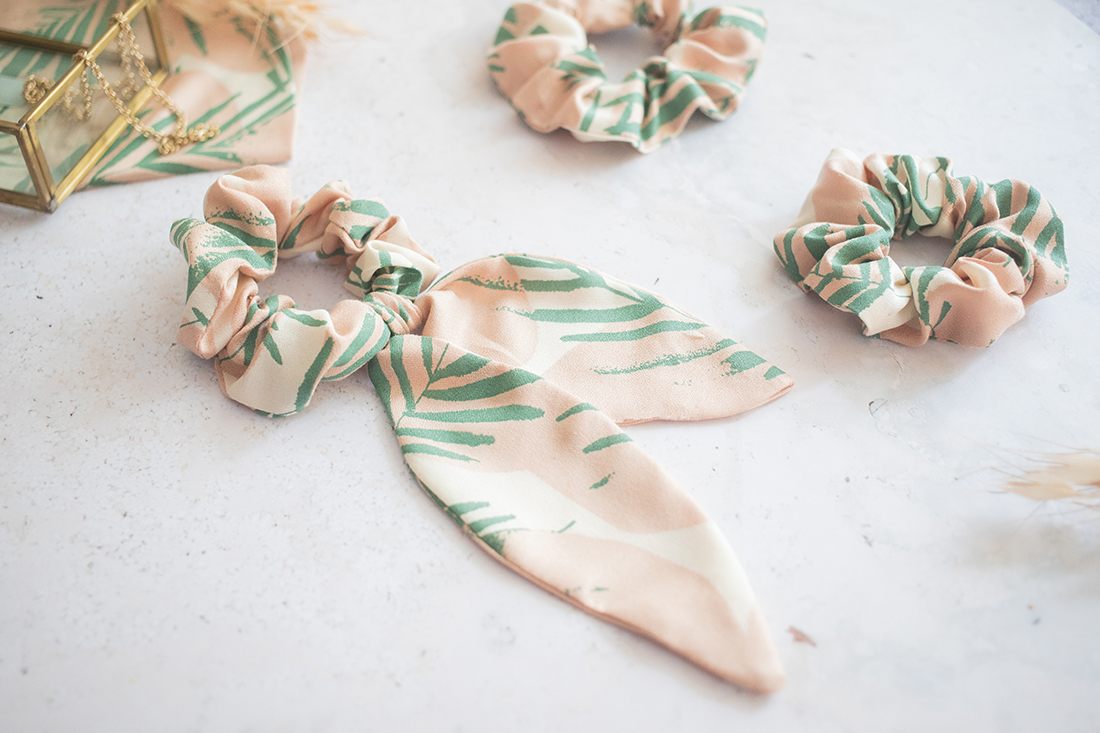
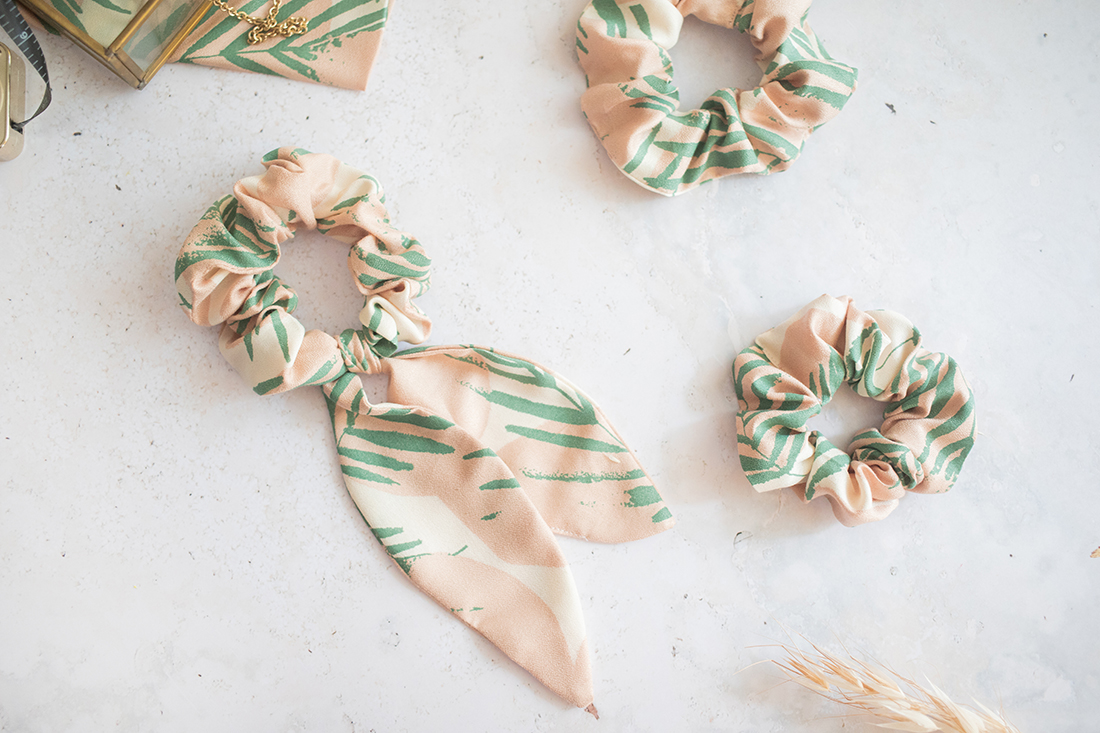
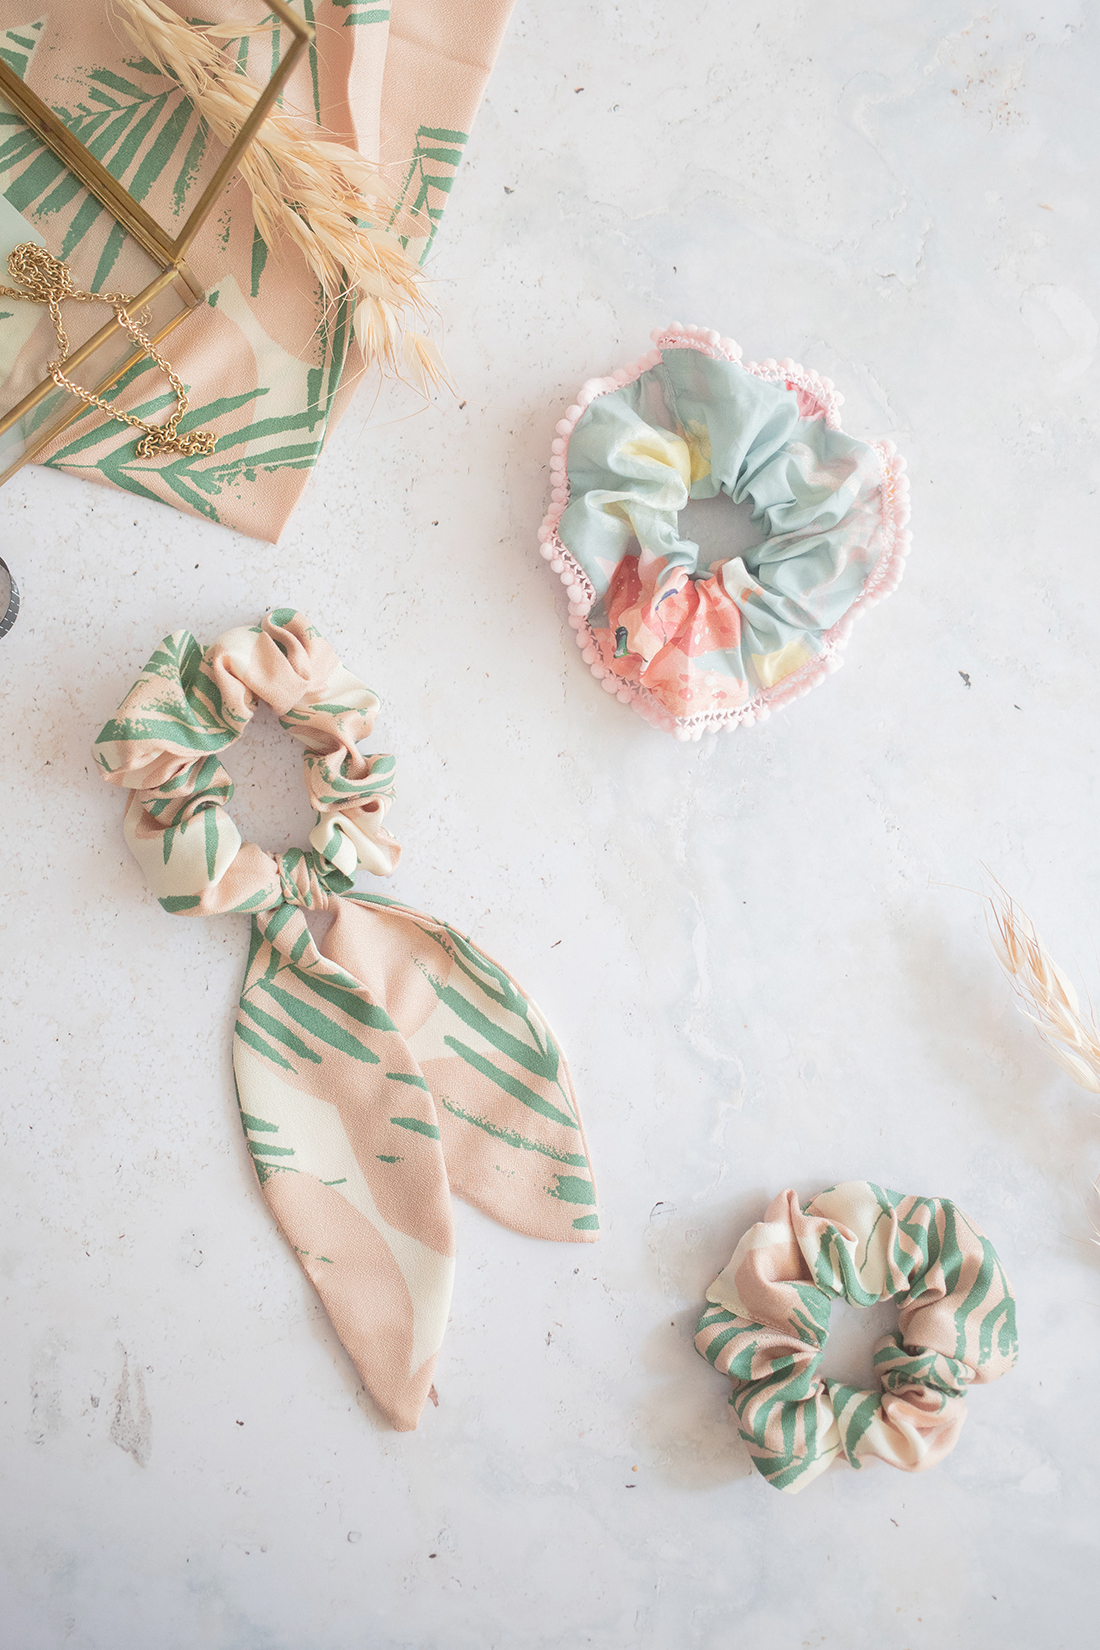
Scrunchies are great to wear in your hair – or simply as a cool accessory on your wrist. I really like the fabric hair ties. Either you sew a basic variant – or you spice it up, for example with a bow or a bobble border.
If you would like to see the DIY idea in moving images, have a look here in the ARD-Buffet Mediathek.
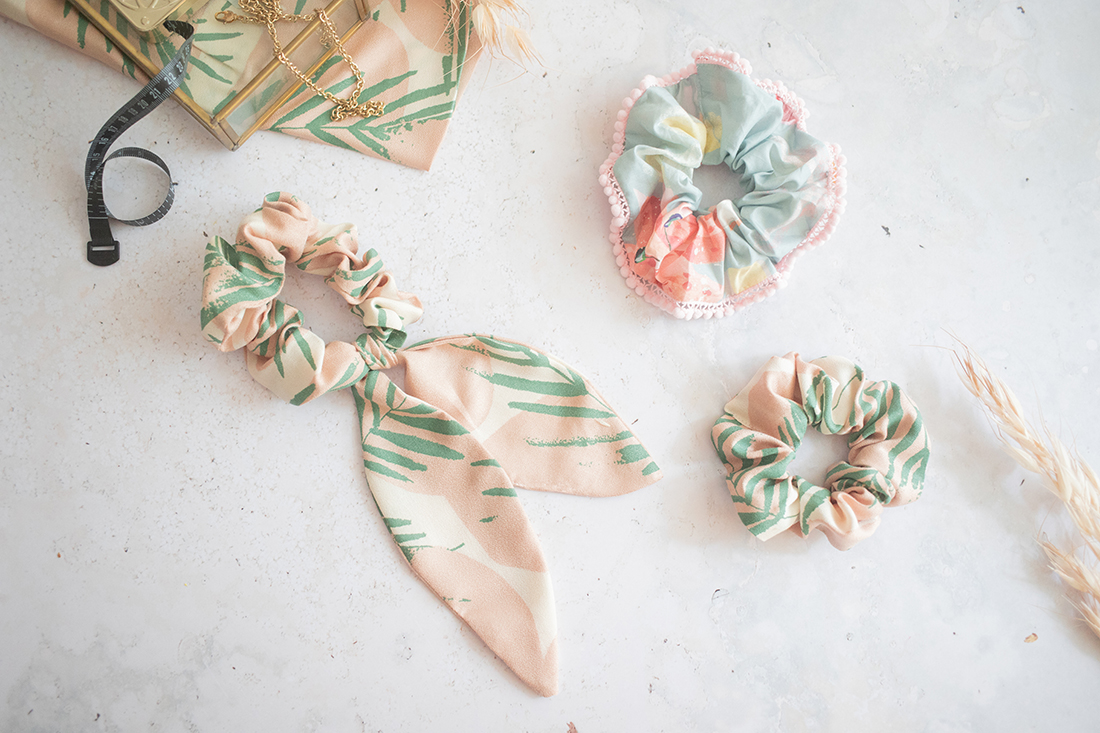
Of course, I also have DIY instructions for you – for all 3 scrunchie variants: the basic variant without frills, the variant with pompom border and the variant with a bow.
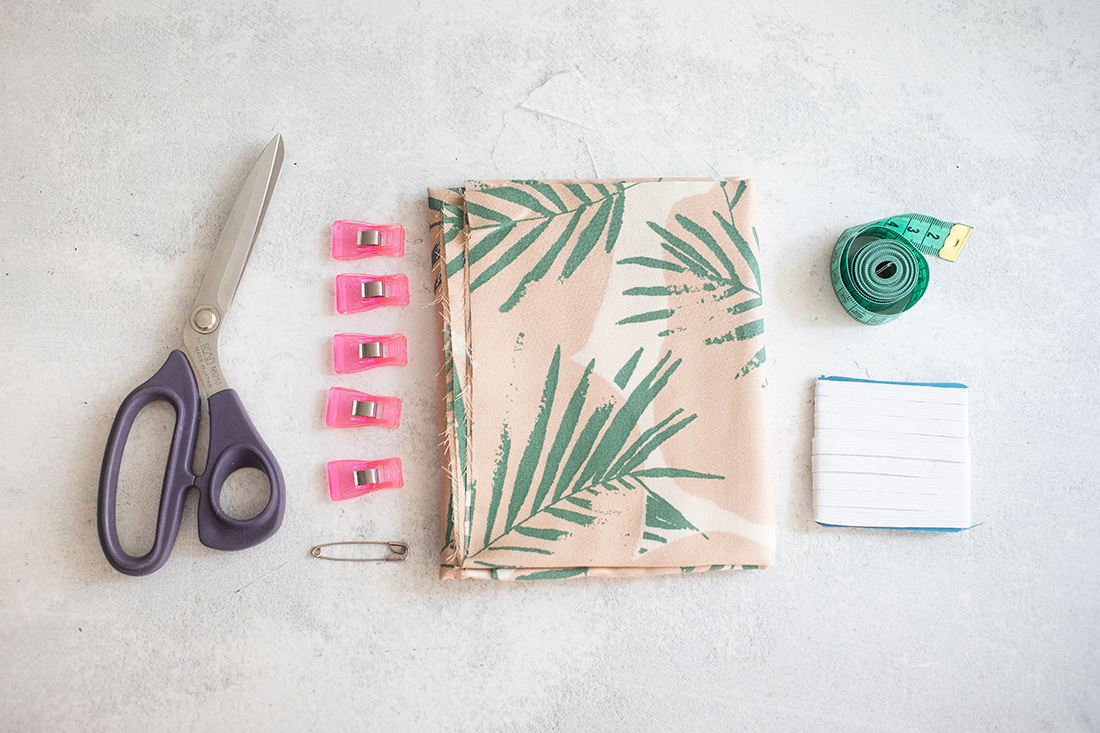
Materials used:
For the “basic” version:
– 55 x 15 cm fabric
– 10 cm Elastikband
– 1 safety pin
– Cloth clips or needles
– Scissors
– sewing machine
For the variant with border:
– Additional 55 cm border (bobble, lace, etc.)
For the loop variant:
– You need more fabric: 55 x 40 cm of fabric in total
Basic variant instructions:
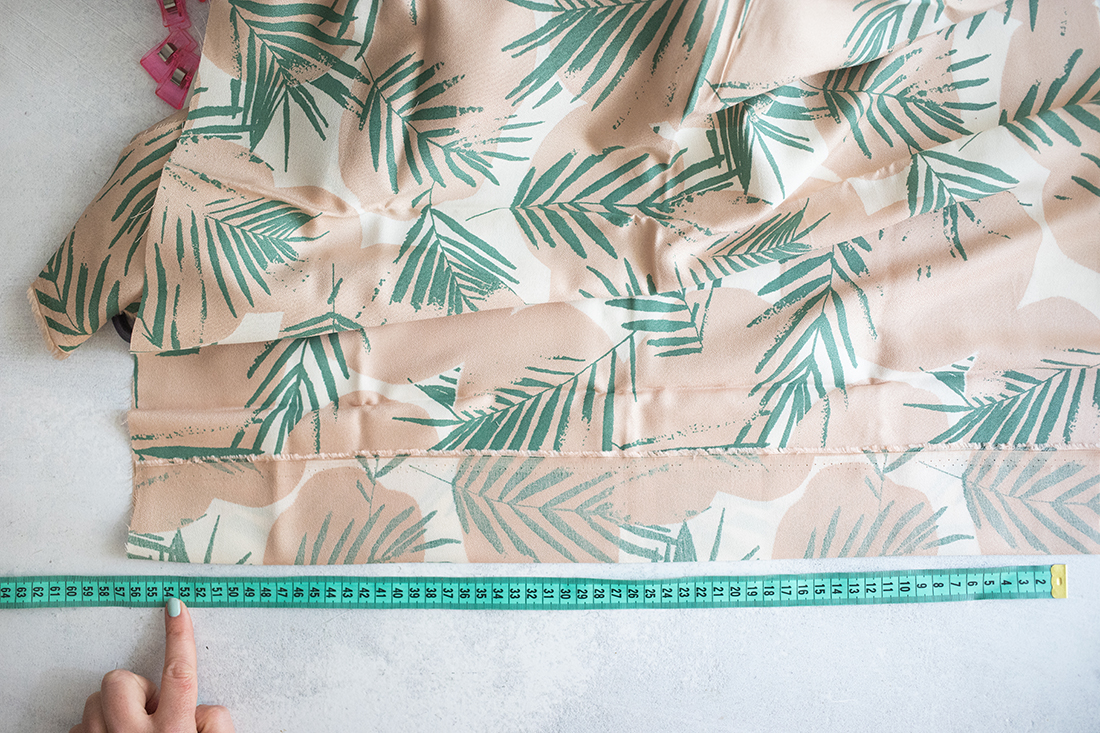
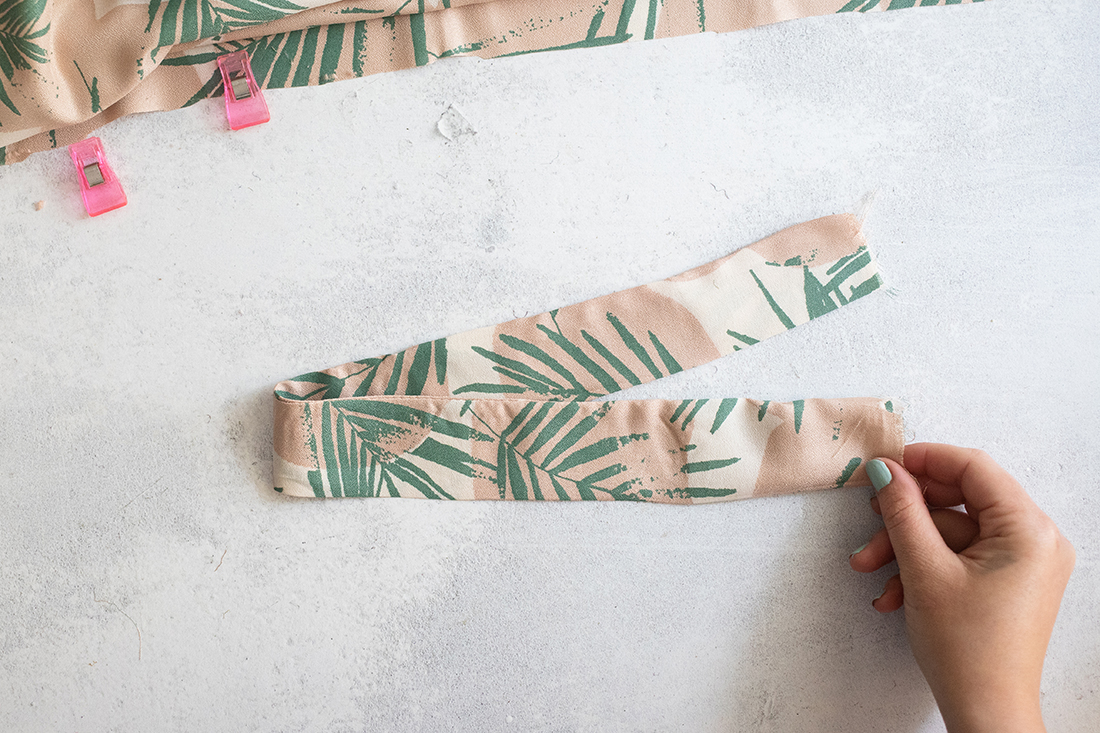
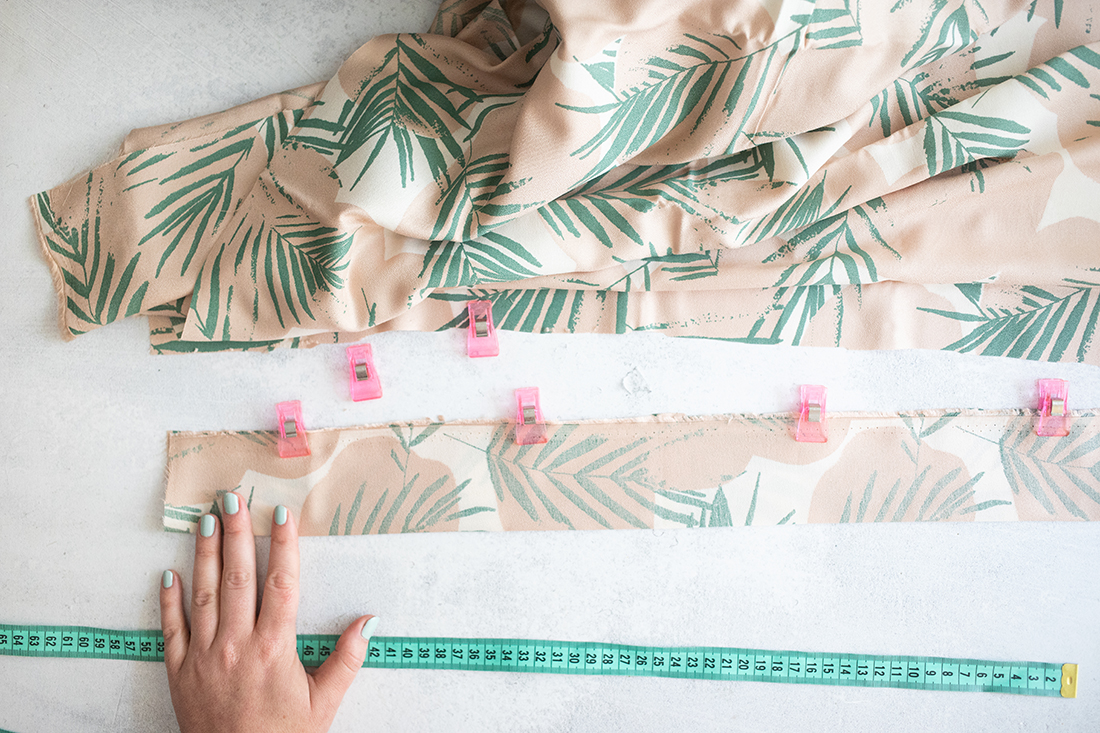
1. In the first step, cut out a rectangle of fabric measuring 52 x 10 cm. Fold the fabric, wrong sides together, lengthwise so that the corners meet. Pin the long side together with fabric clips. (Leave a 1/4 inch seam allowance.)
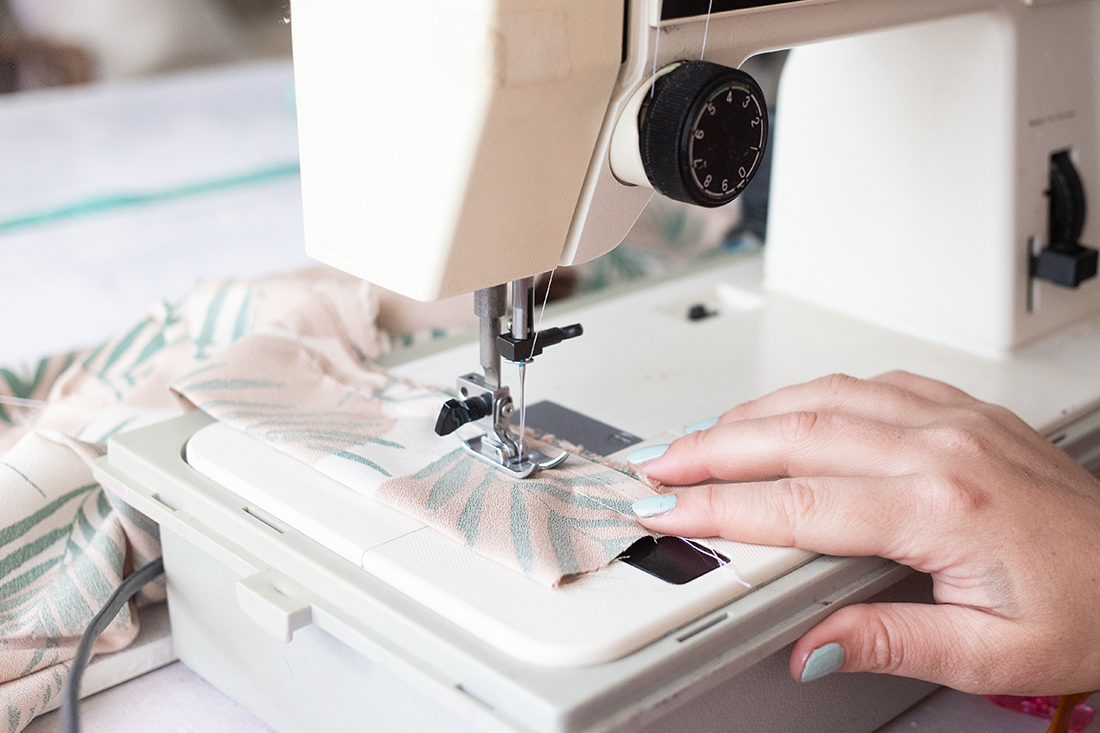
2. Set a straight stitch on the sewing machine and sew the tube lengthwise.
3. Now the hose is turned right side out (the nice side). You can use a pen or something similar to make turning easier.
4. Now the elastic band is cut to the appropriate length. The length of the elastic determines how tight the scrunchie will be later. I like to wrap the elastic around my wrist for this, which is a good length for a hair tie.

5. Attach a safety pin to the end of the elastic. Now pull the elastic band through the fabric tube until the end comes out on the other side.
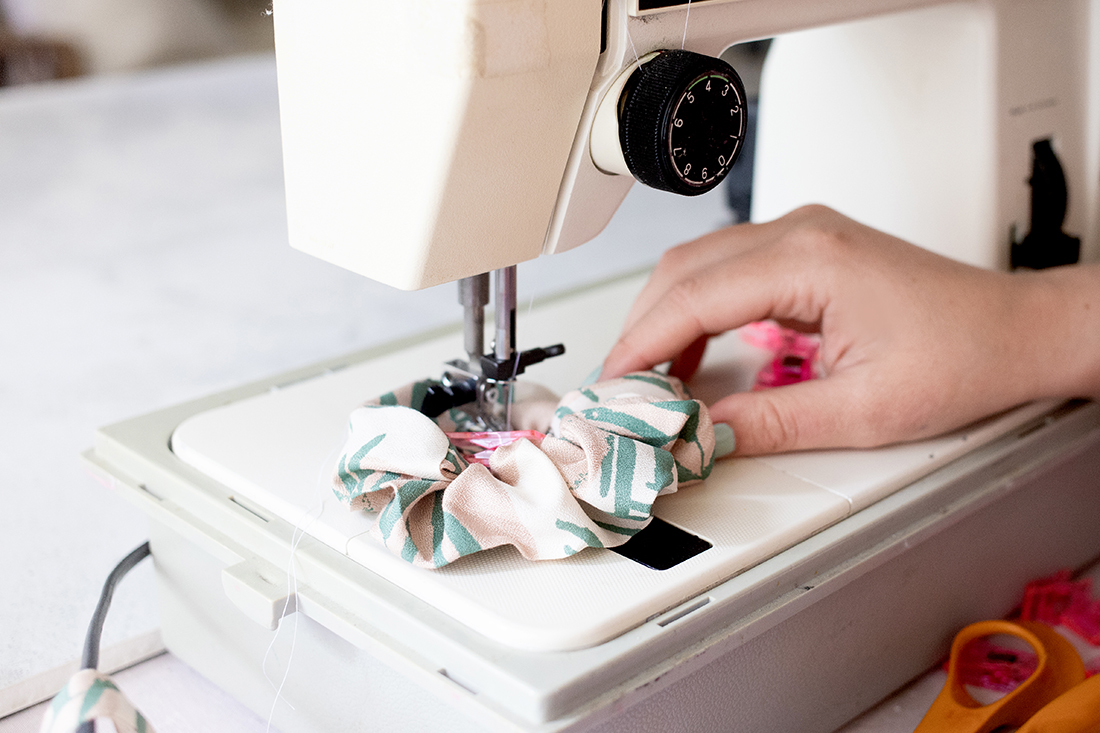
6. Knot the two ends together and check again to see if the scrunchie is too tight or too loose. Then pull the knot tight.7. Now the open edges of the fabric tube are closed: To do this, place the ends on top of each other and fold the edge inwards. Pin and sew over with a straight stitch.
Instructions variant with border:
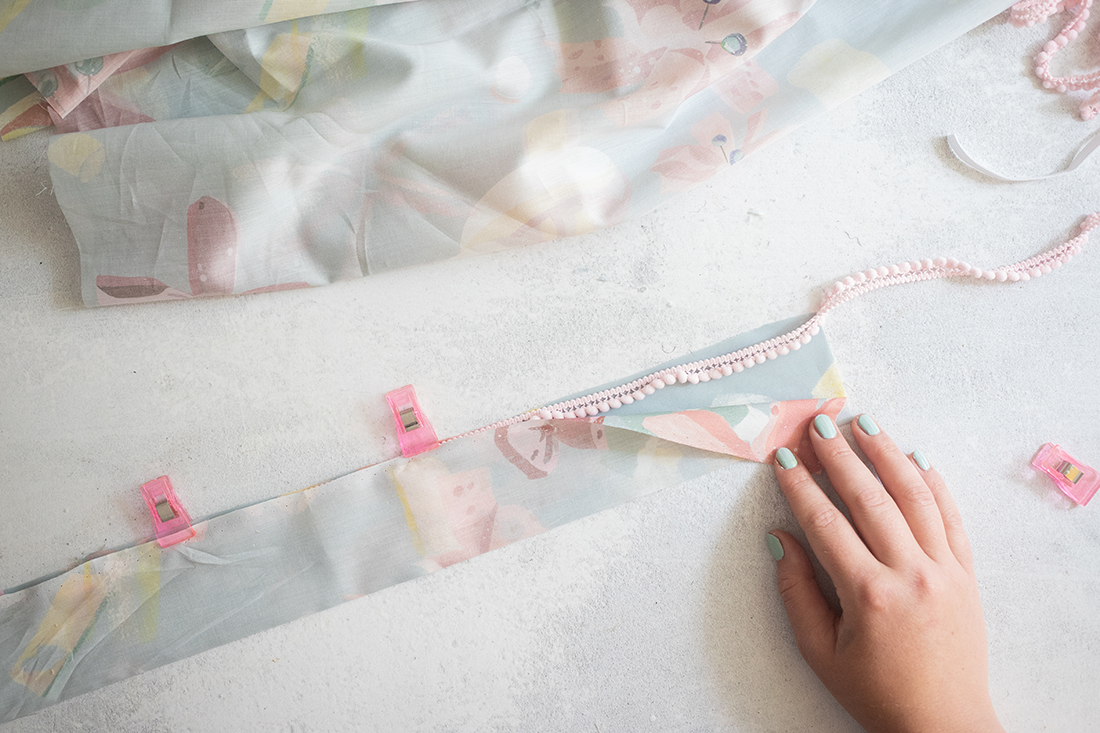
- Only the first step changes for the variant with a border: the fabric is cut to size as with the basic variant and folded lengthwise, left sides facing.
- The difference: When you put the folded fabric together, the border comes between the two sides of the fabric: Make sure that the nice side of the border (e.g. the bobble) is pointing DOWN. That’s what you see later.
- Now the border is simply pinned when the two sides are put together. Make sure that all 3 layers are pinned together well. Then sew over it with a straight stitch. The further steps are the same as for the basic version.
Instructions variant with loop:
– For the variant with a loop, implement all the steps as for the basic variant. The loop is additionally sewn and then simply knotted to the basic scrunchie.
– To do this, transfer the template twice onto fabric and cut out.
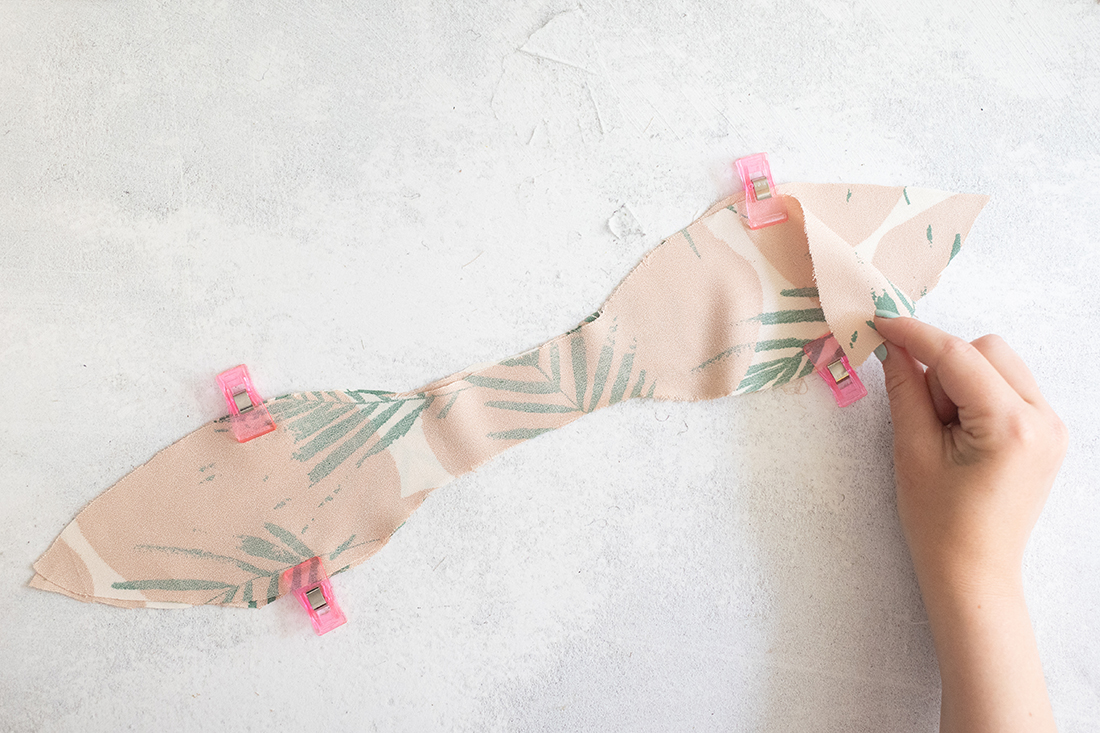
– Then place both parts on top of each other, right sides together, and pin in place. Leave a 0.5 cm seam allowance.

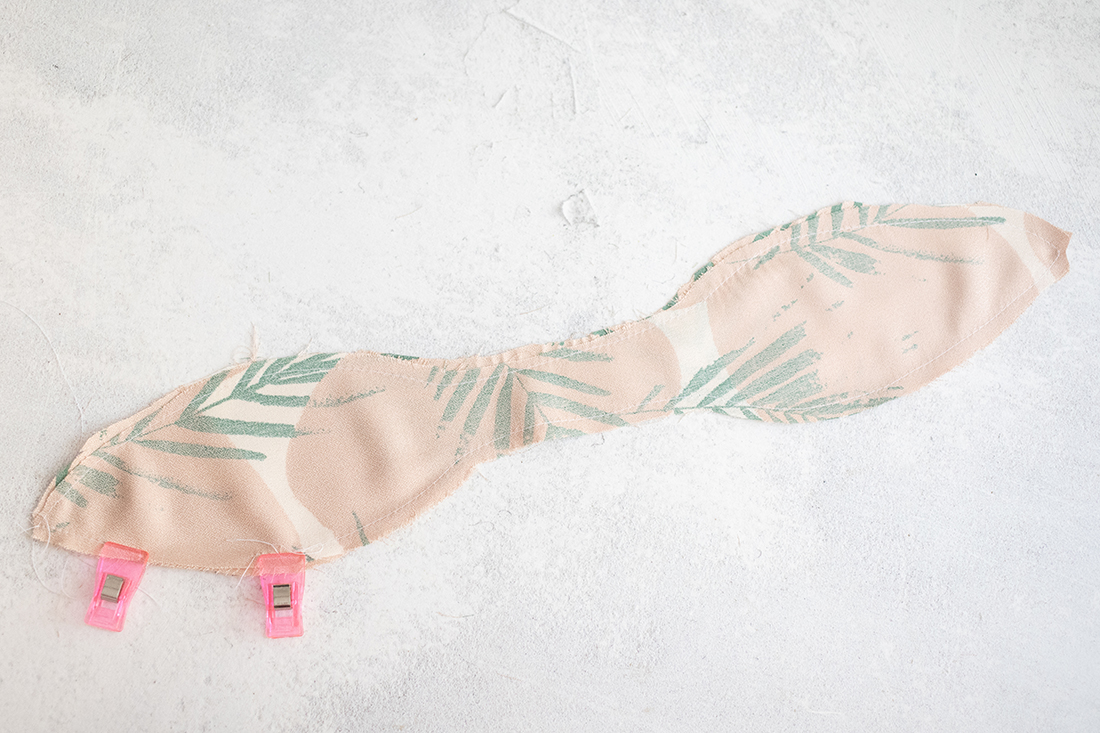
– Now sew all around with a straight stitch. Important: leave an opening of approx. 5 cm for turning.
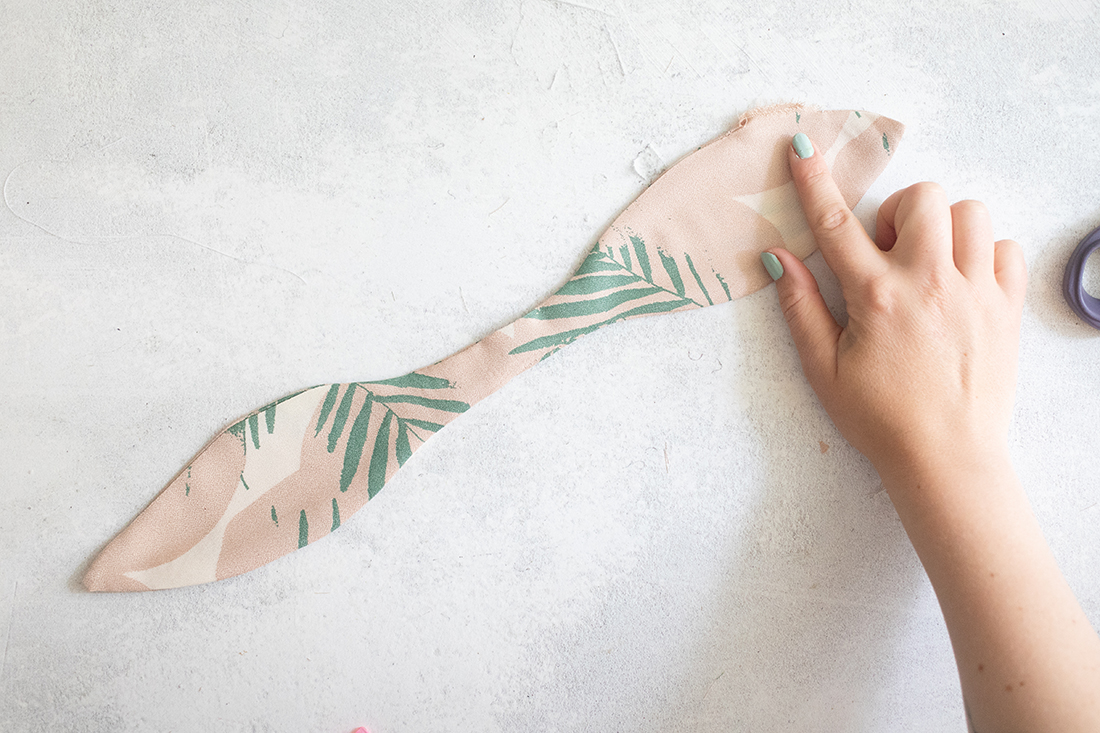
– Now turn the loop right side out. Then iron the seam allowance of the opening to the inside and close with a straight stitch. Alternatively, the turning opening can also be closed by hand with a blind stitch.
And you already have 3 great variants for pretty DIY scrunchies made from scraps of fabric: a basic variant, a variant with a border and one with a bow. Personally, I really like all of them – I especially like the version with a bow!
Do you like the DIY idea? Then make a note of it with this photo on one of your Pinterest boards:

I’m Lisa – and I can never sit still. I’ve been blogging about my passions on my fairy dust since 2013: These are great DIY ideas, chic designs and very special illustrations. The main thing is homemade! More about me.
Source: meinfeenstaub.com

