
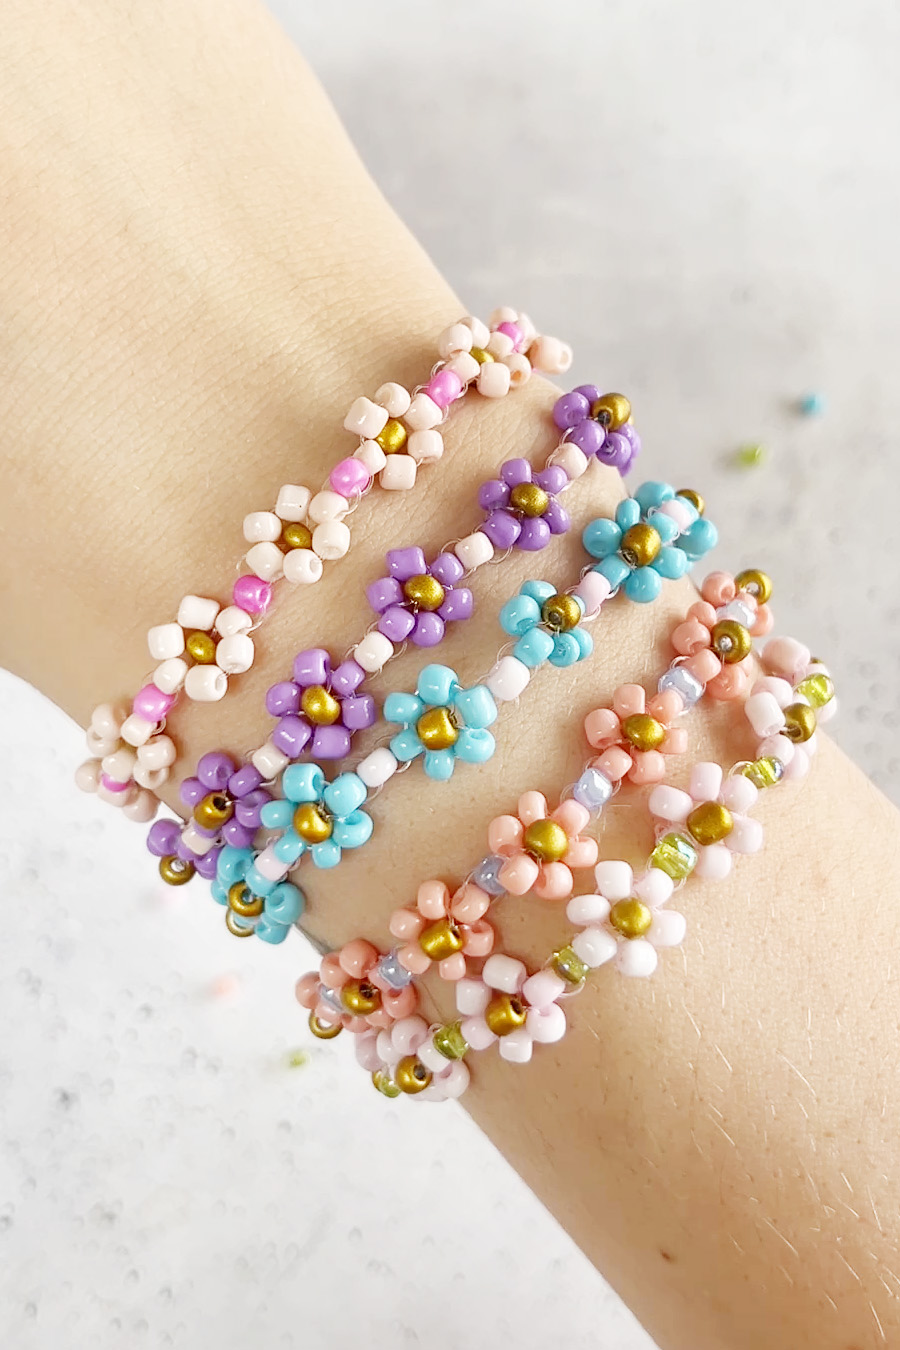
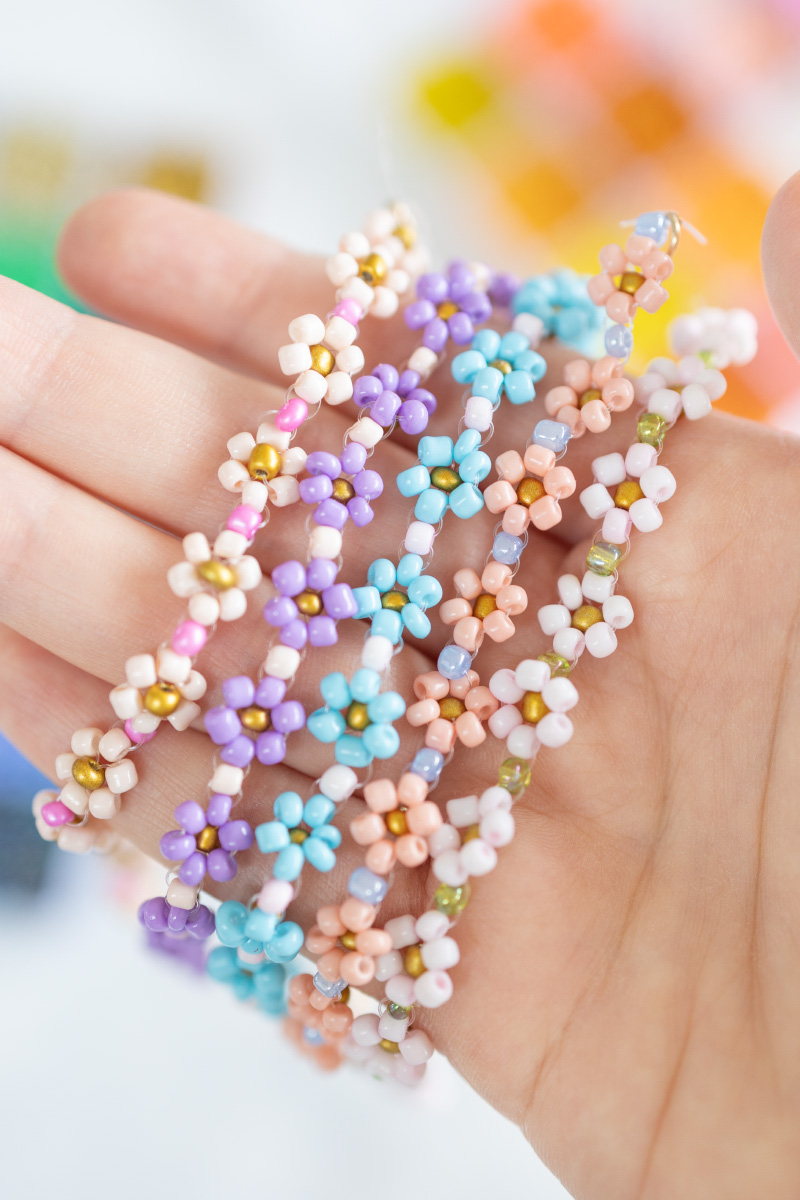
In this free guide I will show you in detail how you can make an enchanting pearl flower bracelet yourself step by step. With a little creativity and patience, a magical accessory can be created. In this post, learn how to make a cute daisy bracelet using glass beads and simple techniques.
Creative DIY to combat boredom
If you like handmade jewelry or are looking for a personalized gift for someone special, then this DIY project is for you. Homemade jewelry is not only an expression of your creativity, but also a way to show your individual style. This beaded flower bracelet is particularly suitable for summer craft activities, even with children.
Ingredients
- Glass beads*
- Elastic cord*
- Closures*
- Scissors
- * Advertising // Amazon Affiliate Link: If you buy something through these links, I receive a small commission. This means that the product does NOT cost you any more!
Instructions
Wrap the cord around your wrist three times to measure the length. It should probably be around 80-100 cm.
Cut another cord of the same length and knot them together at one end. Alternatively, you can attach a clasp to the end.
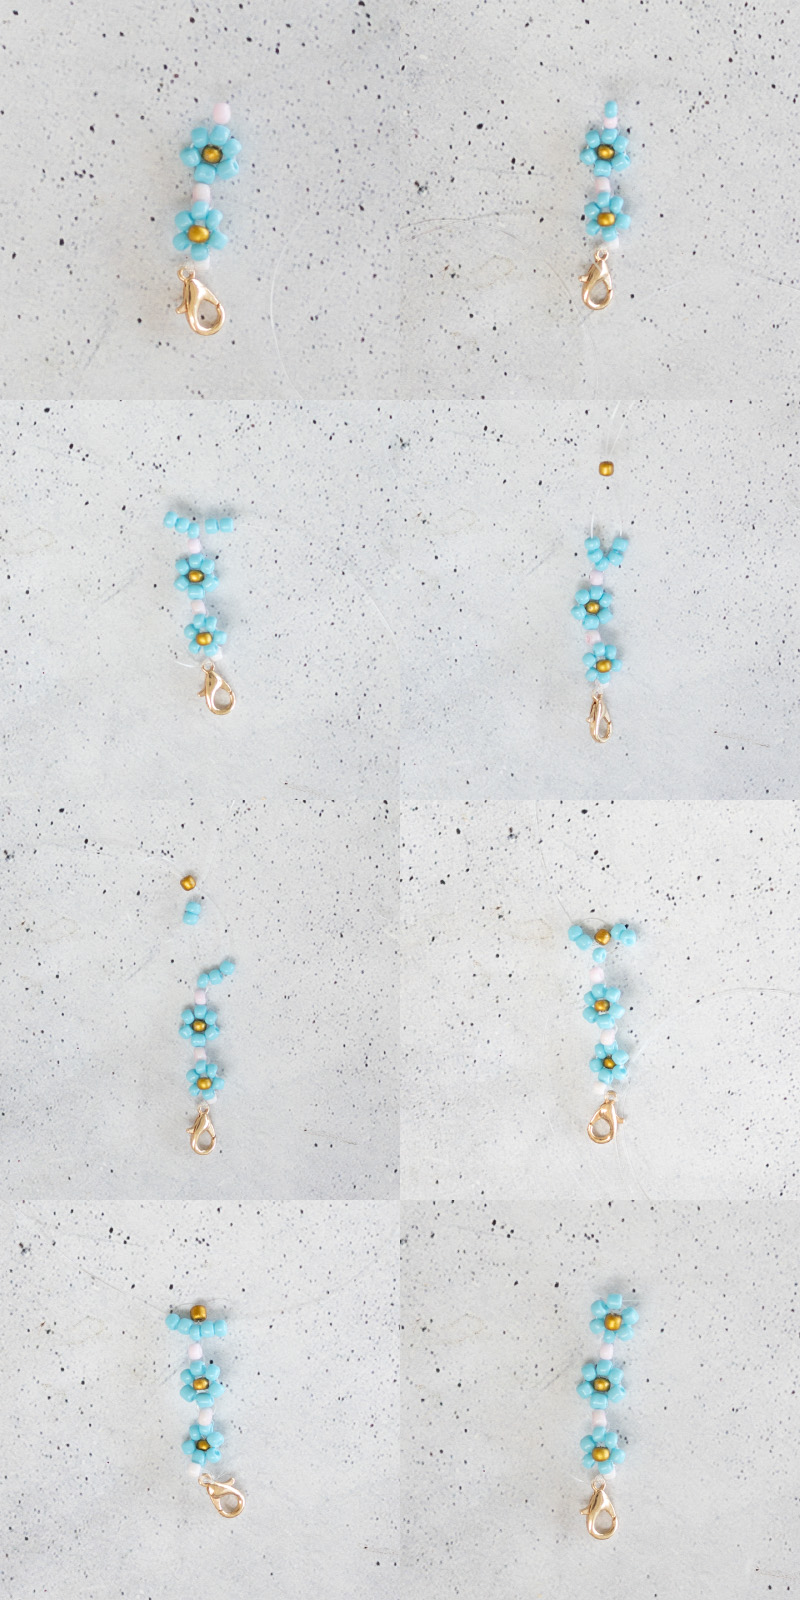
Now thread a bead onto one of the two threads. It will later be a “spacer bead” between the flowers.
Thread the other thread through the bead from the other side and pull both threads apart so that the bead slides to the end of the threads.
Now thread another bead in the color of your flowers onto one of the two threads. Thread the other thread through the bead again from the other side and pull tightly.
Two beads of the flower color are now threaded onto one thread and two more beads onto the other thread.
Now take a bead of a third color. This will later be the inside of the flower. Thread these onto both threads from the same side.
The left thread is now threaded from bottom to top through the last two flower beads on the left.
The right thread is threaded from bottom to top through the last two flower beads on the right.
Finally, a final bead for the flower is threaded through one of the two threads. Thread the second thread through the bead from the other side and pull tightly.
Your flower is ready. Now you start again with a spacer bead and then with the second flower.
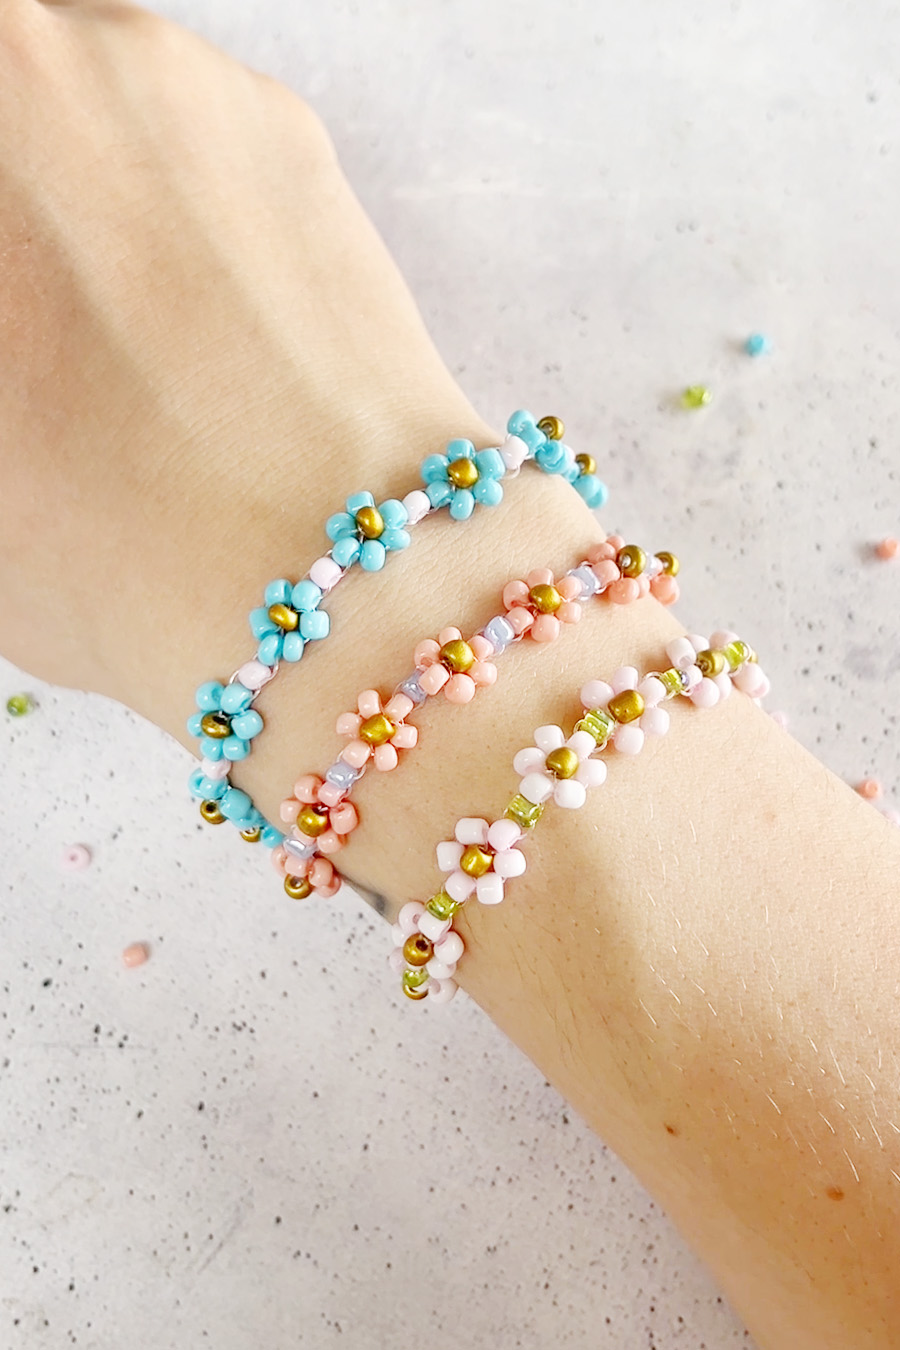
Repeat this until the bracelet is long enough for your wrist. For me, 12 flowers were enough.
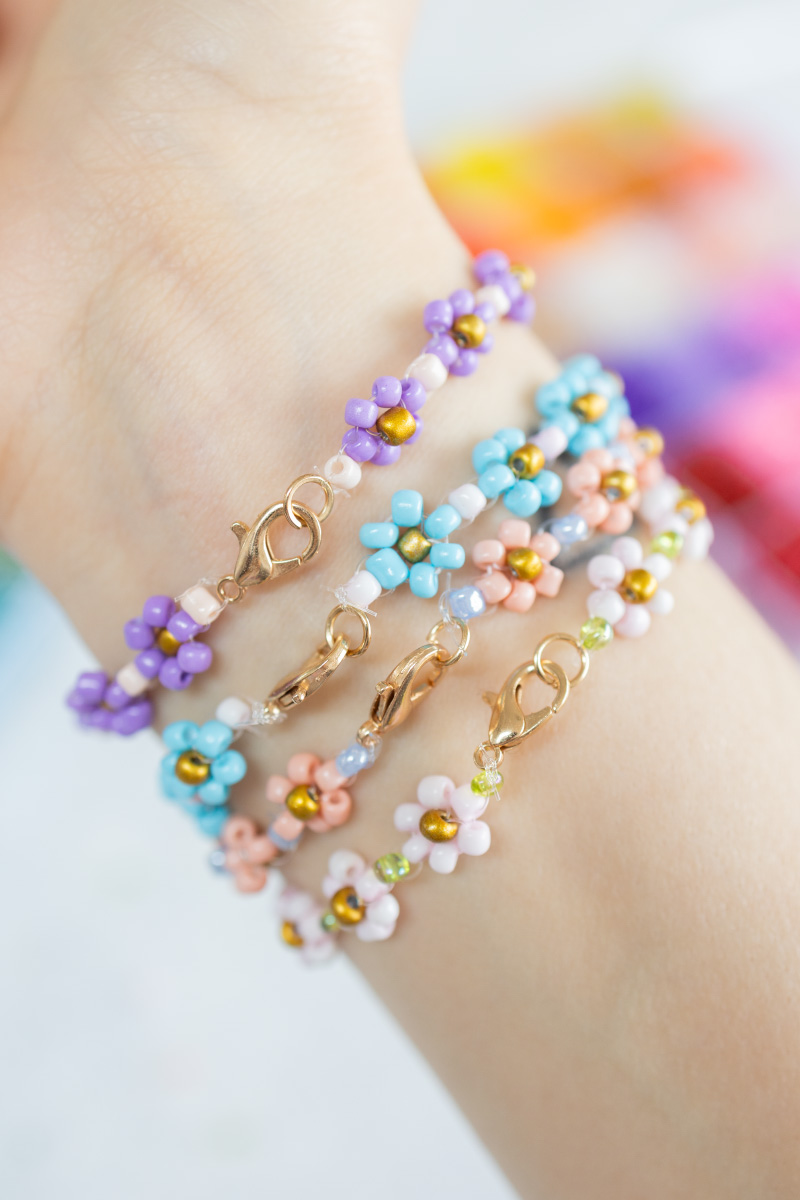
Now tie on the second part of the clasp and cut off the remaining threads.
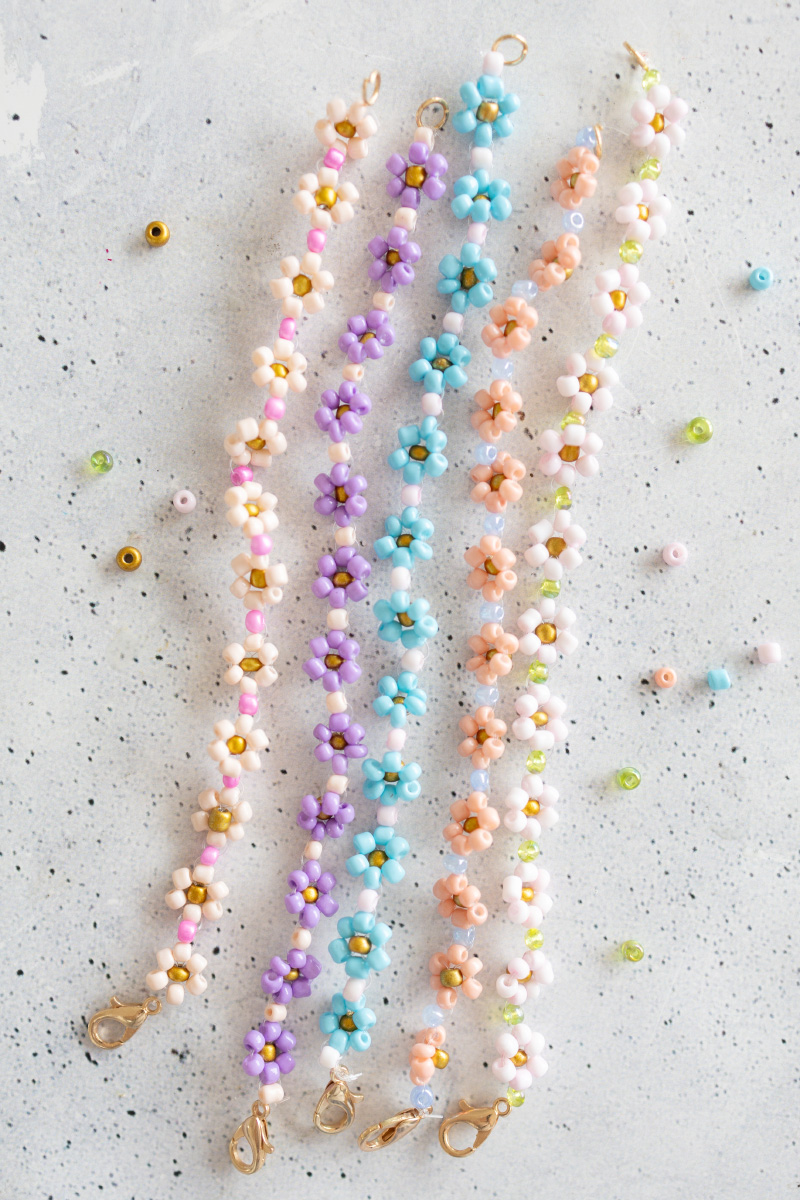
Bracelet with pearl flowers: The summer DIY!
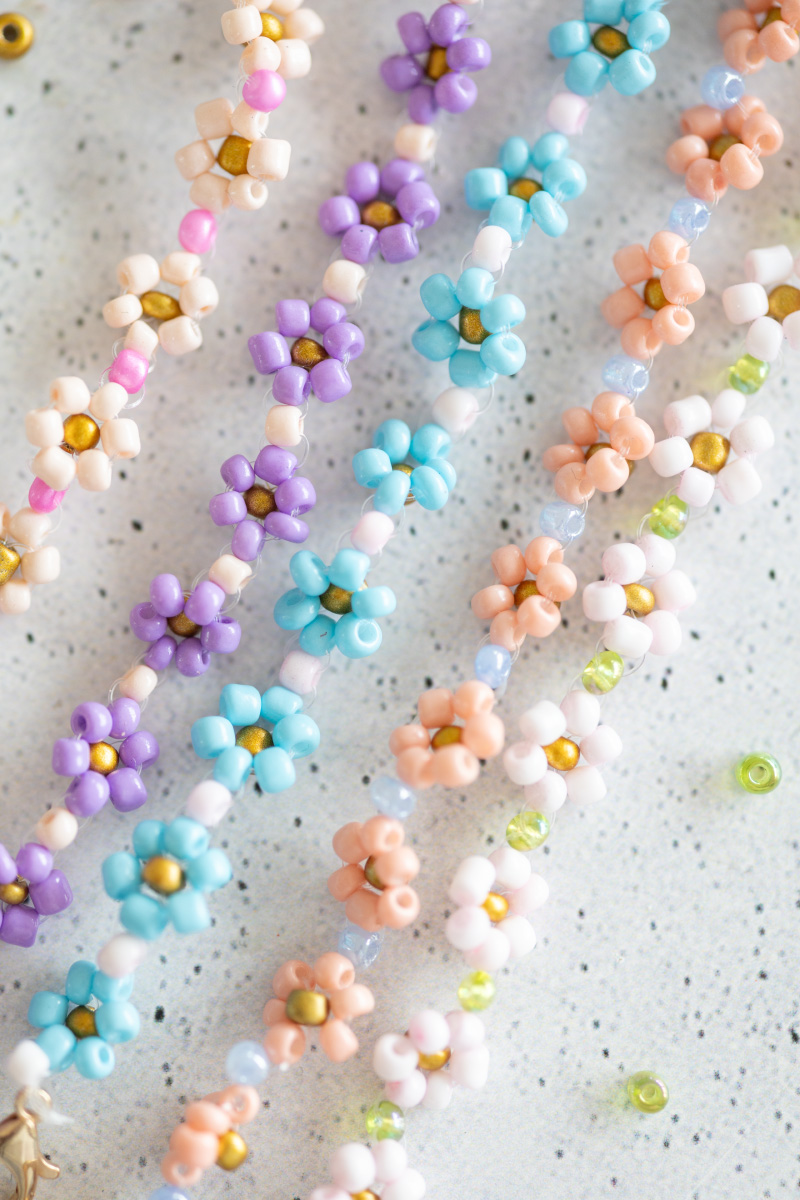
With these free instructions you will be able to make a flower bracelet out of beads. By using glass beads you can make cute daisies for your bracelet. Experiment with different bead colors and the number of spacer beads between flowers to personalize your bracelet even more. This DIY project is great for summer and is also a fun activity to do with kids.
That was it for my idea for a bracelet with glass beads. Don’t you have enough of summer ideas yet? Then try out my other ideas. Do you already know my articles about making a bracelet with letter beads, making a DIY heart friendship bracelet or making a friendship bracelet with a cardboard disc.
See you then. Your Laura
Source: trytrytry.de

