
As some of you know, I love giving DIY chocolate bars as gifts. A few years ago I tried this and noticed how easy it was to make your own chocolate. This gives you the opportunity to create a table that you 100 percent like because you put it together the way you like it.
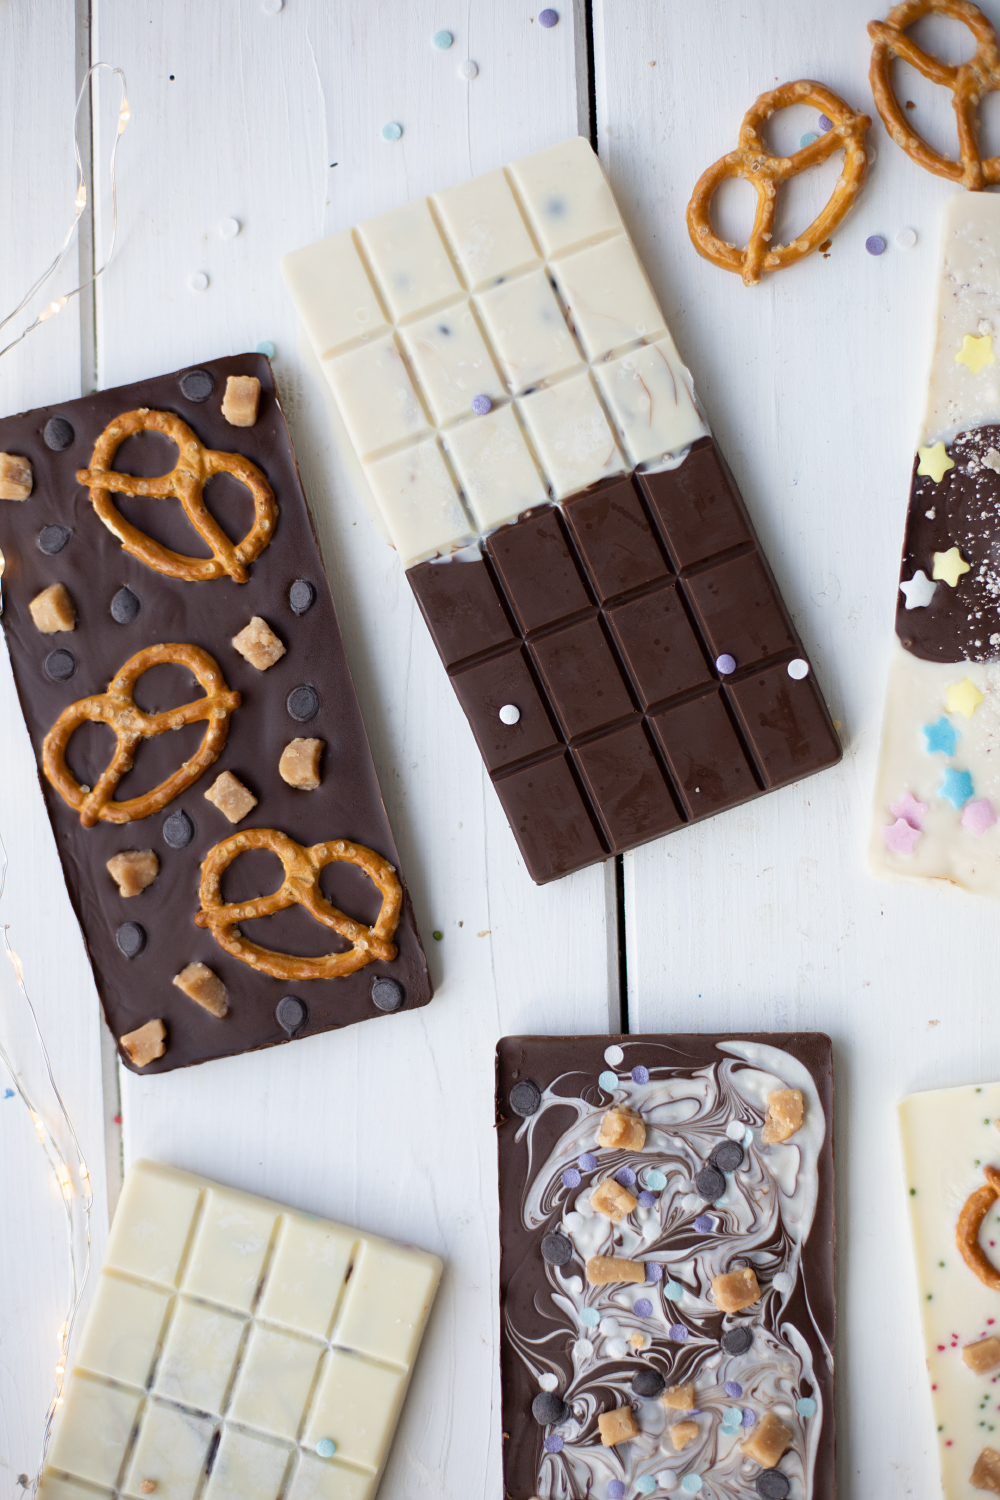
Today I have another variant for you that I prepared in a silicone mold, which gives it even more of the typical chocolate look that we otherwise only know from industrial chocolate.
This is how easy it is to copy it:
* Advertising // Amazon Affiliate Link: If you buy something through these links, I receive a small commission. This means that the product does NOT cost you any more!
Ingredients
- White chocolate
- Dark chocolate
- Coconut oil
- Mini pretzels
- Streusel
- Caramel cubes
- Desiccated coconut
- Crispy
- Chocolate drops
- Silicone mold for chocolate bars
Instructions
For the chocolate itself, we make it easy for ourselves and use ready-made chocolate that we just have to melt. I advise you not to use chocolate with filling. Whole milk, dark or white chocolate works best.
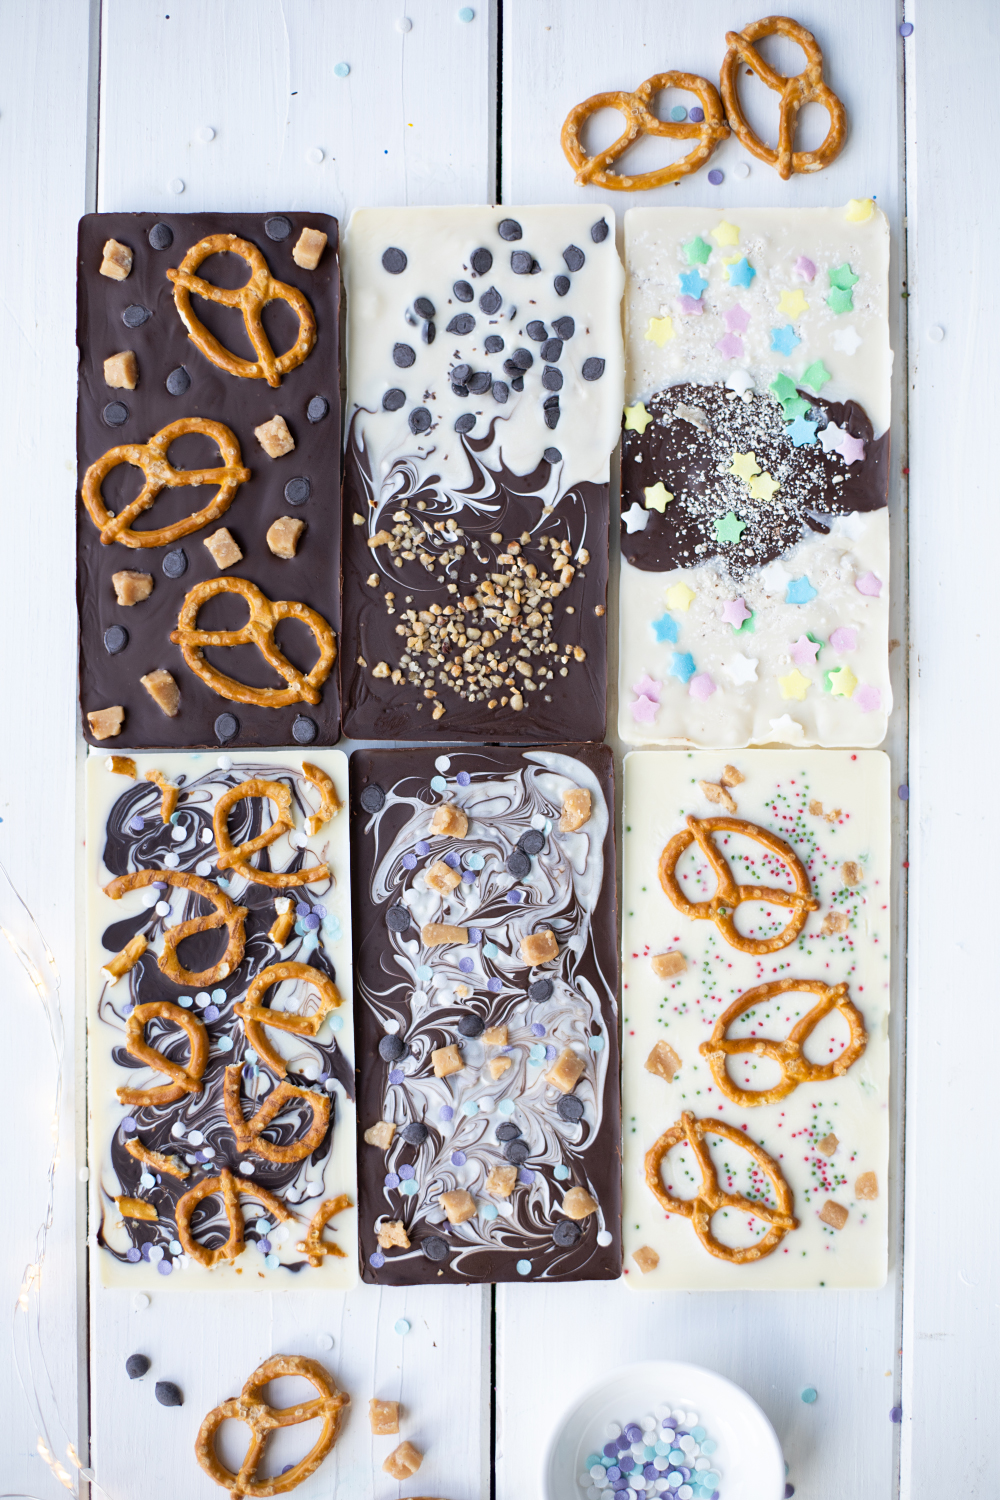
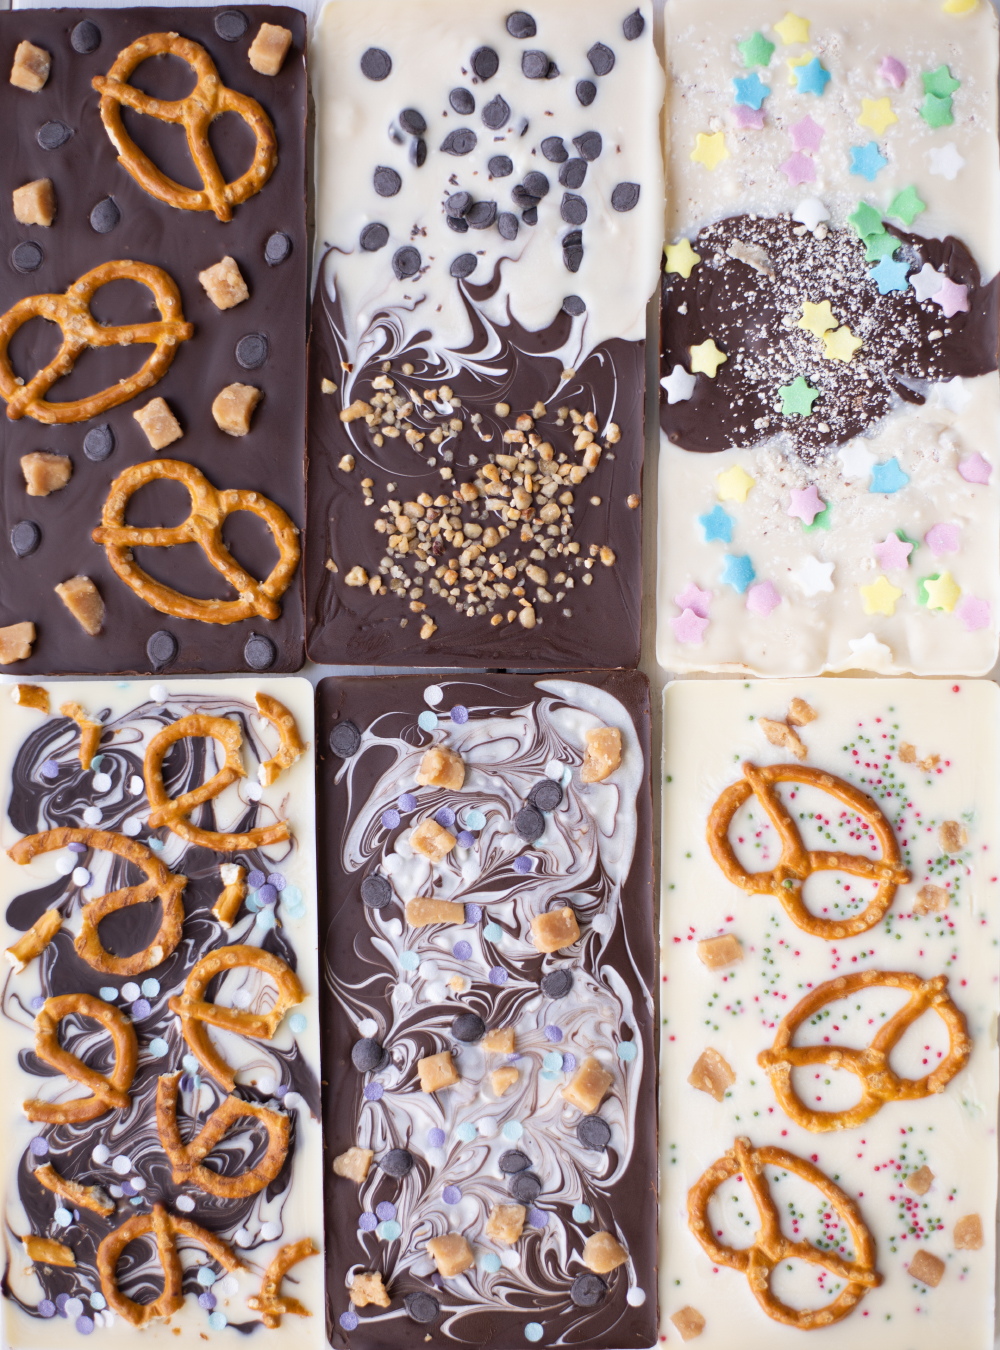
You also need things for the topping. I used various sprinkles, chocolate drops, coconut flakes, brittle, caramel cubes and mini pretzels. Of course, you can also use other things like dried fruit, nuts or other sweets. You just shouldn’t use anything that is perishable (e.g. fresh fruit) so that the chocolate doesn’t get moldy and lasts longer. Be sure to experiment a bit with the chocolate, because that’s the most fun!
Now melt the chocolate in a water bath. Get the silicone mold ready. For every 100g of melted chocolate, 1 teaspoon of coconut oil should be stirred in. This prevents the chocolate from tarnishing later and getting a gray haze. If you don’t have coconut oil, you can also melt the chocolate this way. The matte film on the chocolate may not look so nice, but it is safe to eat.
Fill the chocolate into the silicone mold with a spoon and distribute the toppings over the chocolate. It looks particularly nice if you have two colors and mix them together.
The chocolate is then placed in the refrigerator where it can harden completely.
It can now be put into transparent bags and tied with a bow. Your DIY chocolate bars are ready to give as gifts!
See you then. Your Laura
Source: trytrytry.de

