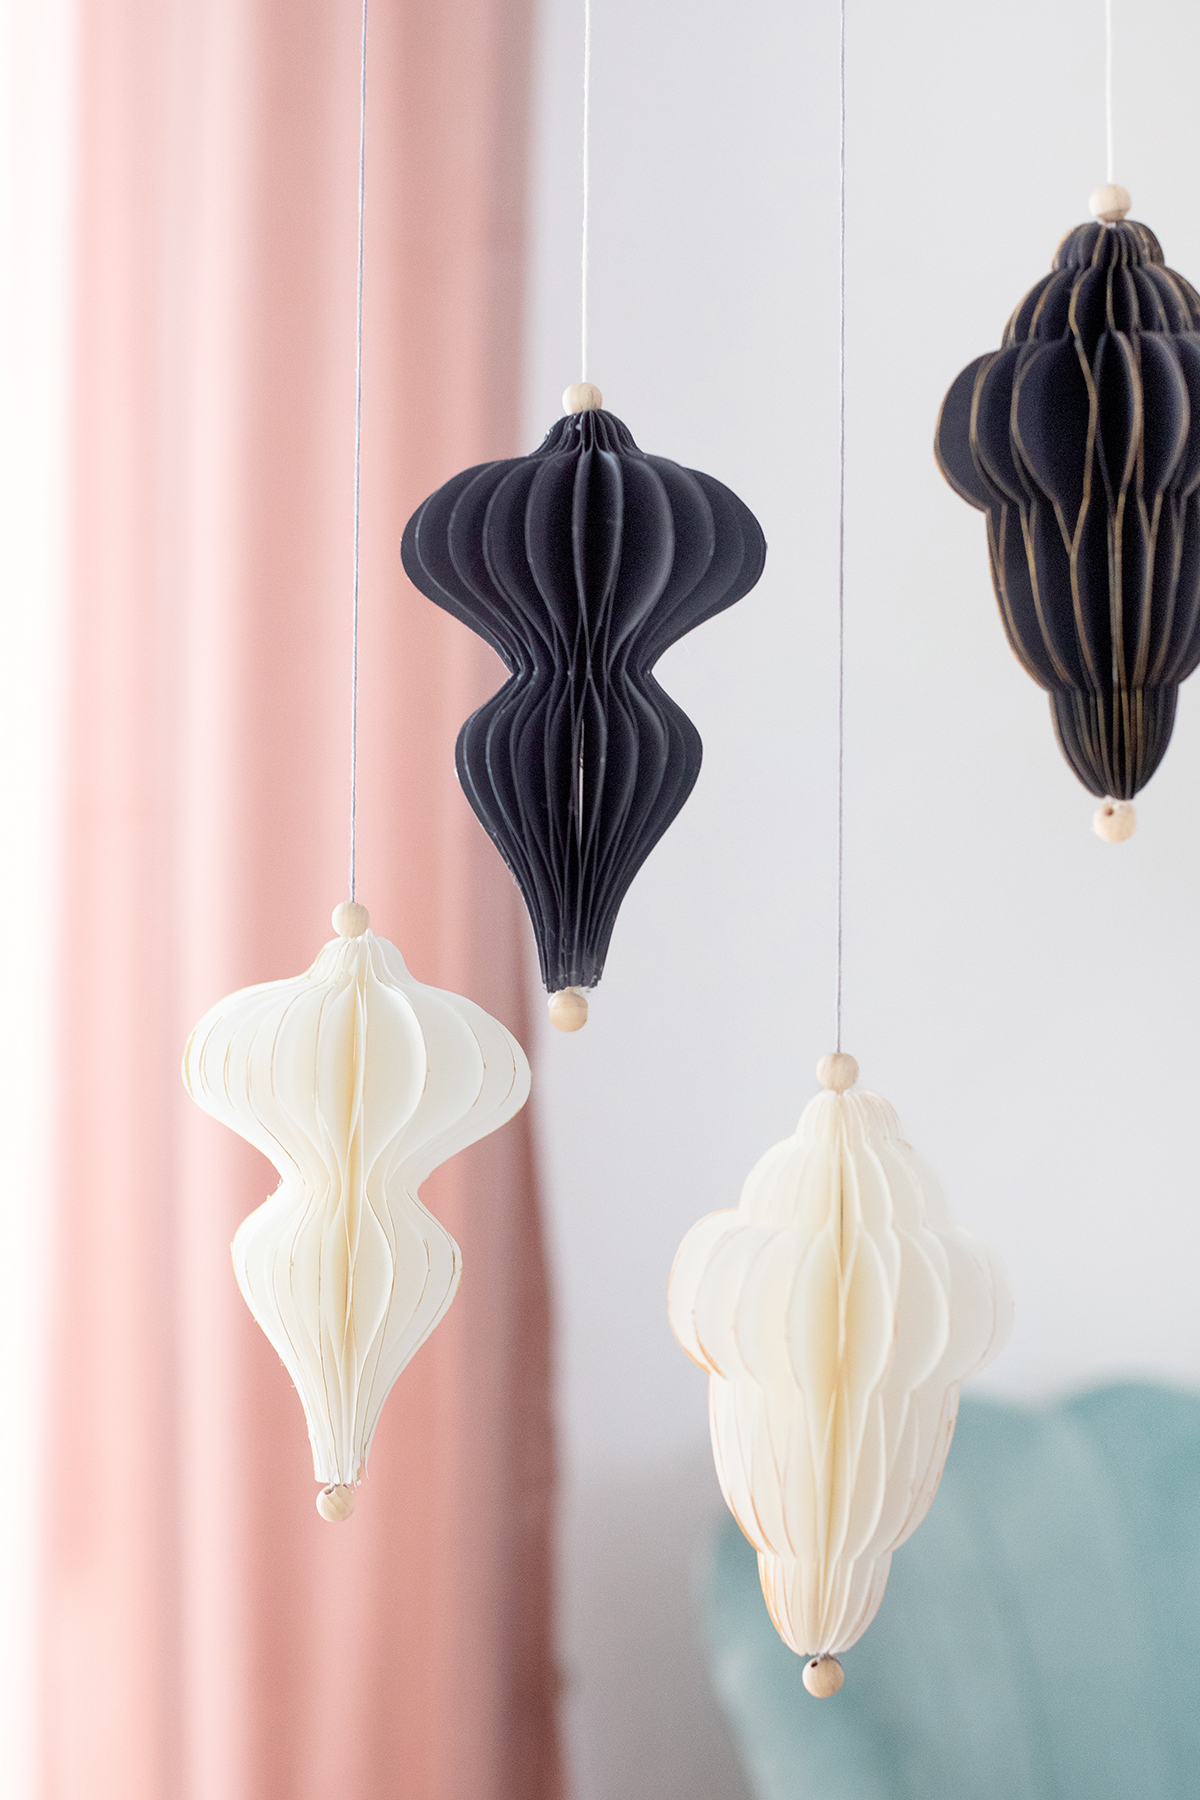
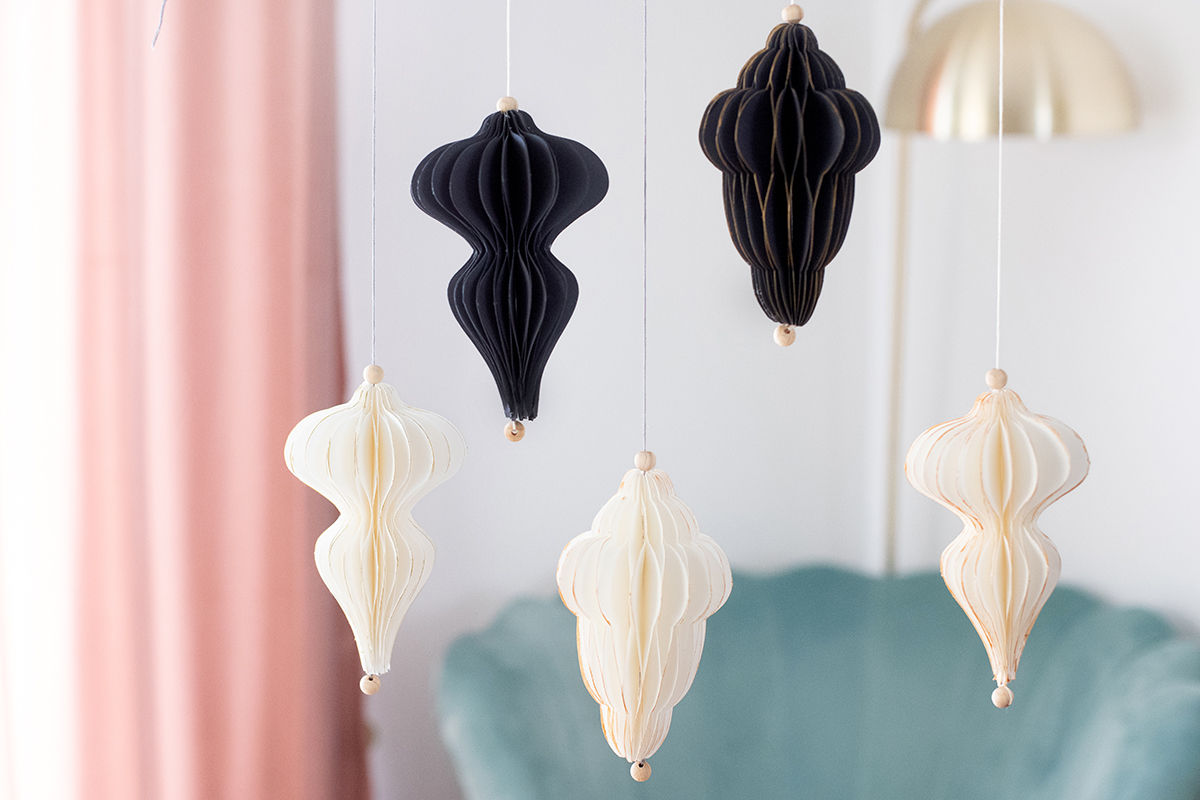
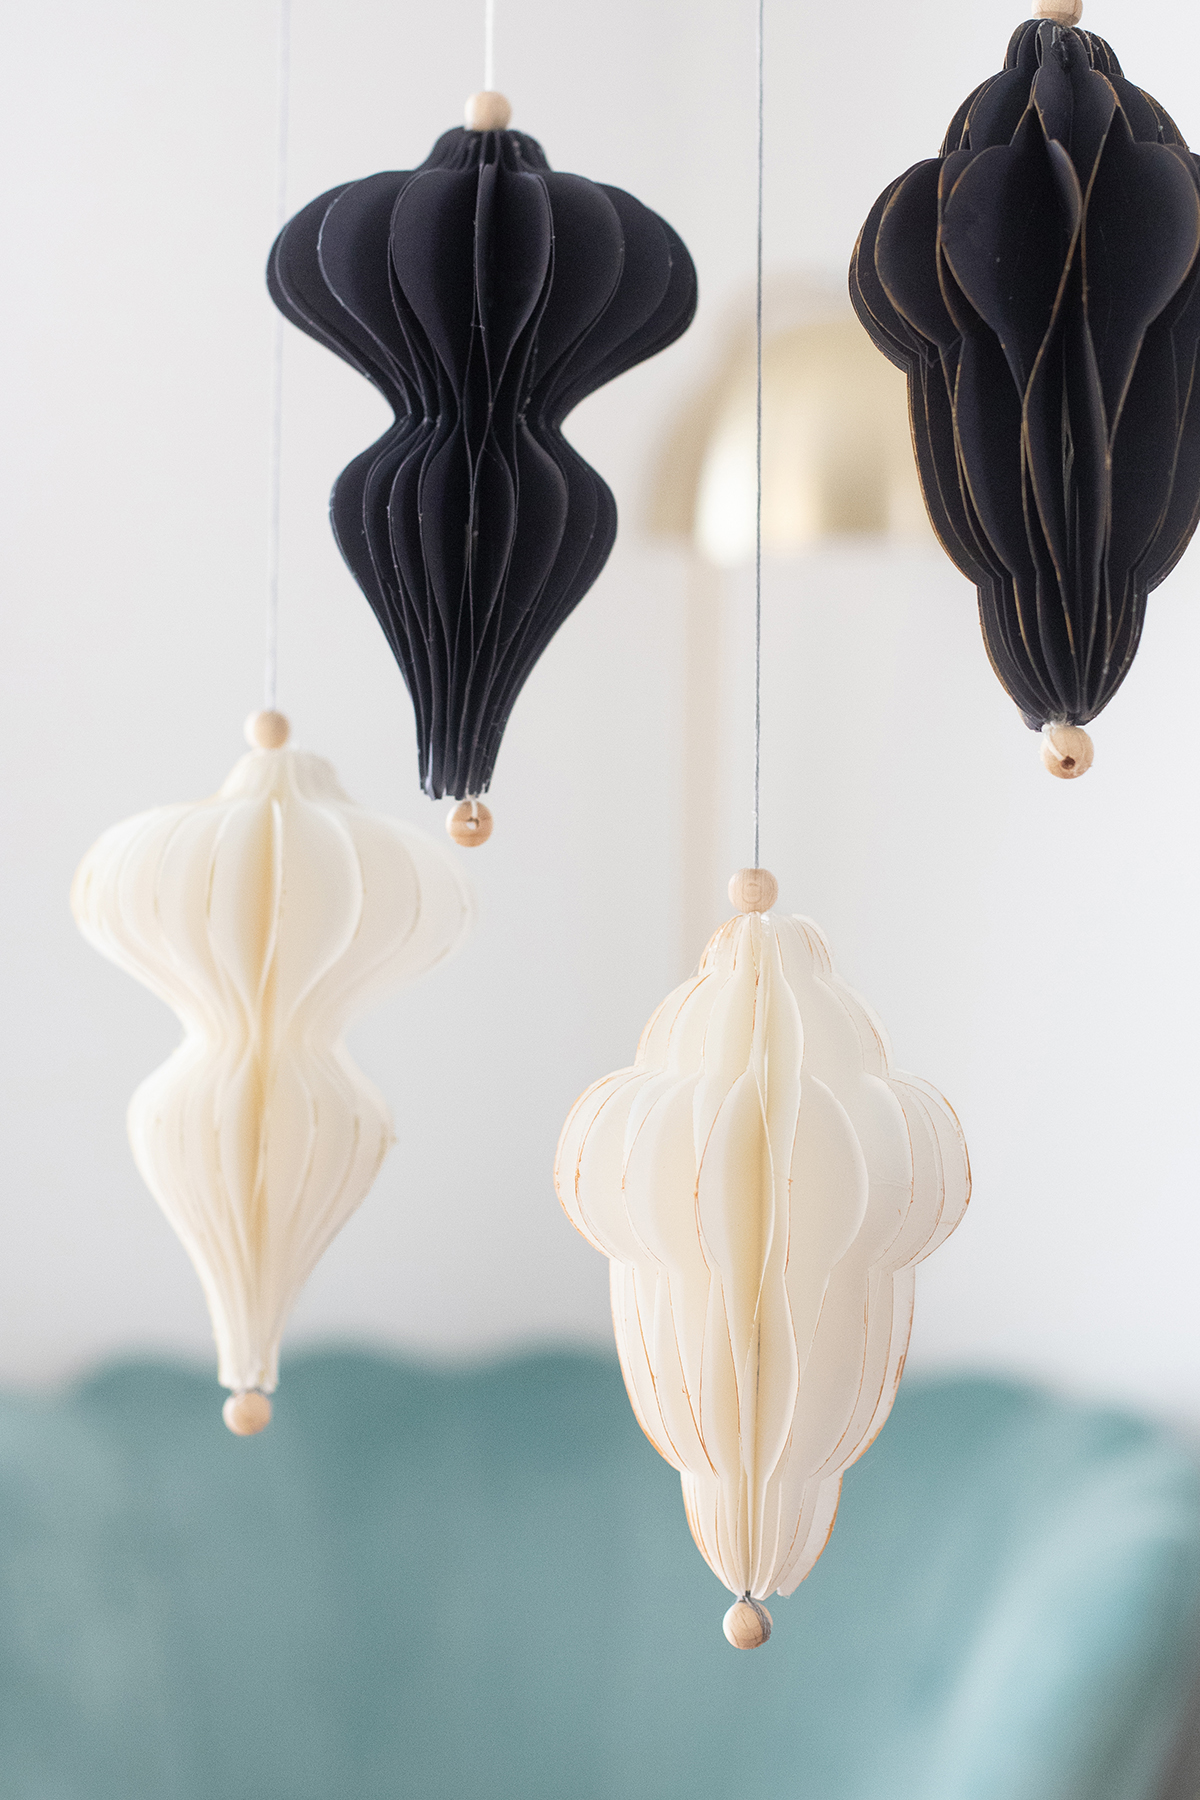
Today I was a live guest on the ARD buffet again. I brought with me an idea that is no longer autumnal, but not yet Christmassy, but rather has a wintery feel: elegant decorative ornaments made of paper with a honeycomb pattern.
The ornaments are easy to make – cutting them out is a bit of hard work (but theoretically you can also cut them out with a plotter!) – but the principle is really simple and the result is beautiful.
If you missed the show, you can watch it in the media library here.
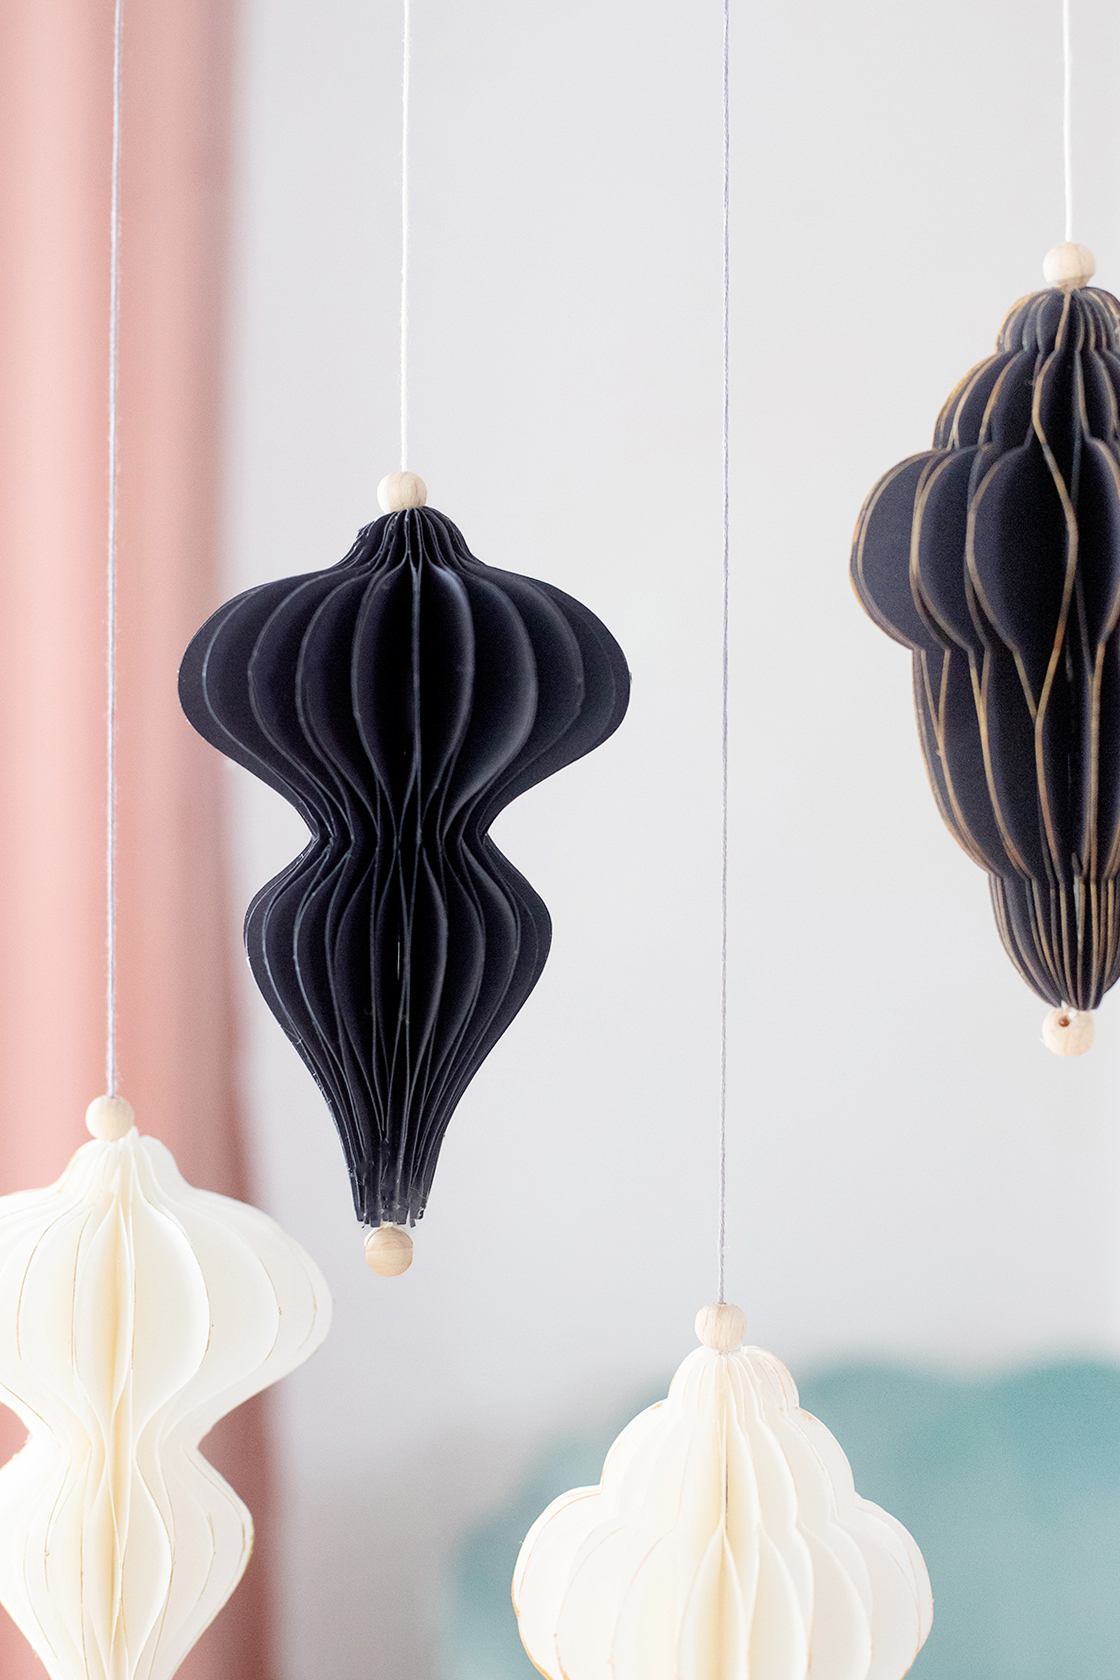
Important with this idea: Use thin paper. I tried it with cardboard first – it was a disaster. This means that the honeycombs do not unfold at all and creases appear everywhere. Therefore my tip: Be sure to use thin paper, then the DIY paper ornaments will be really beautiful and elegant.
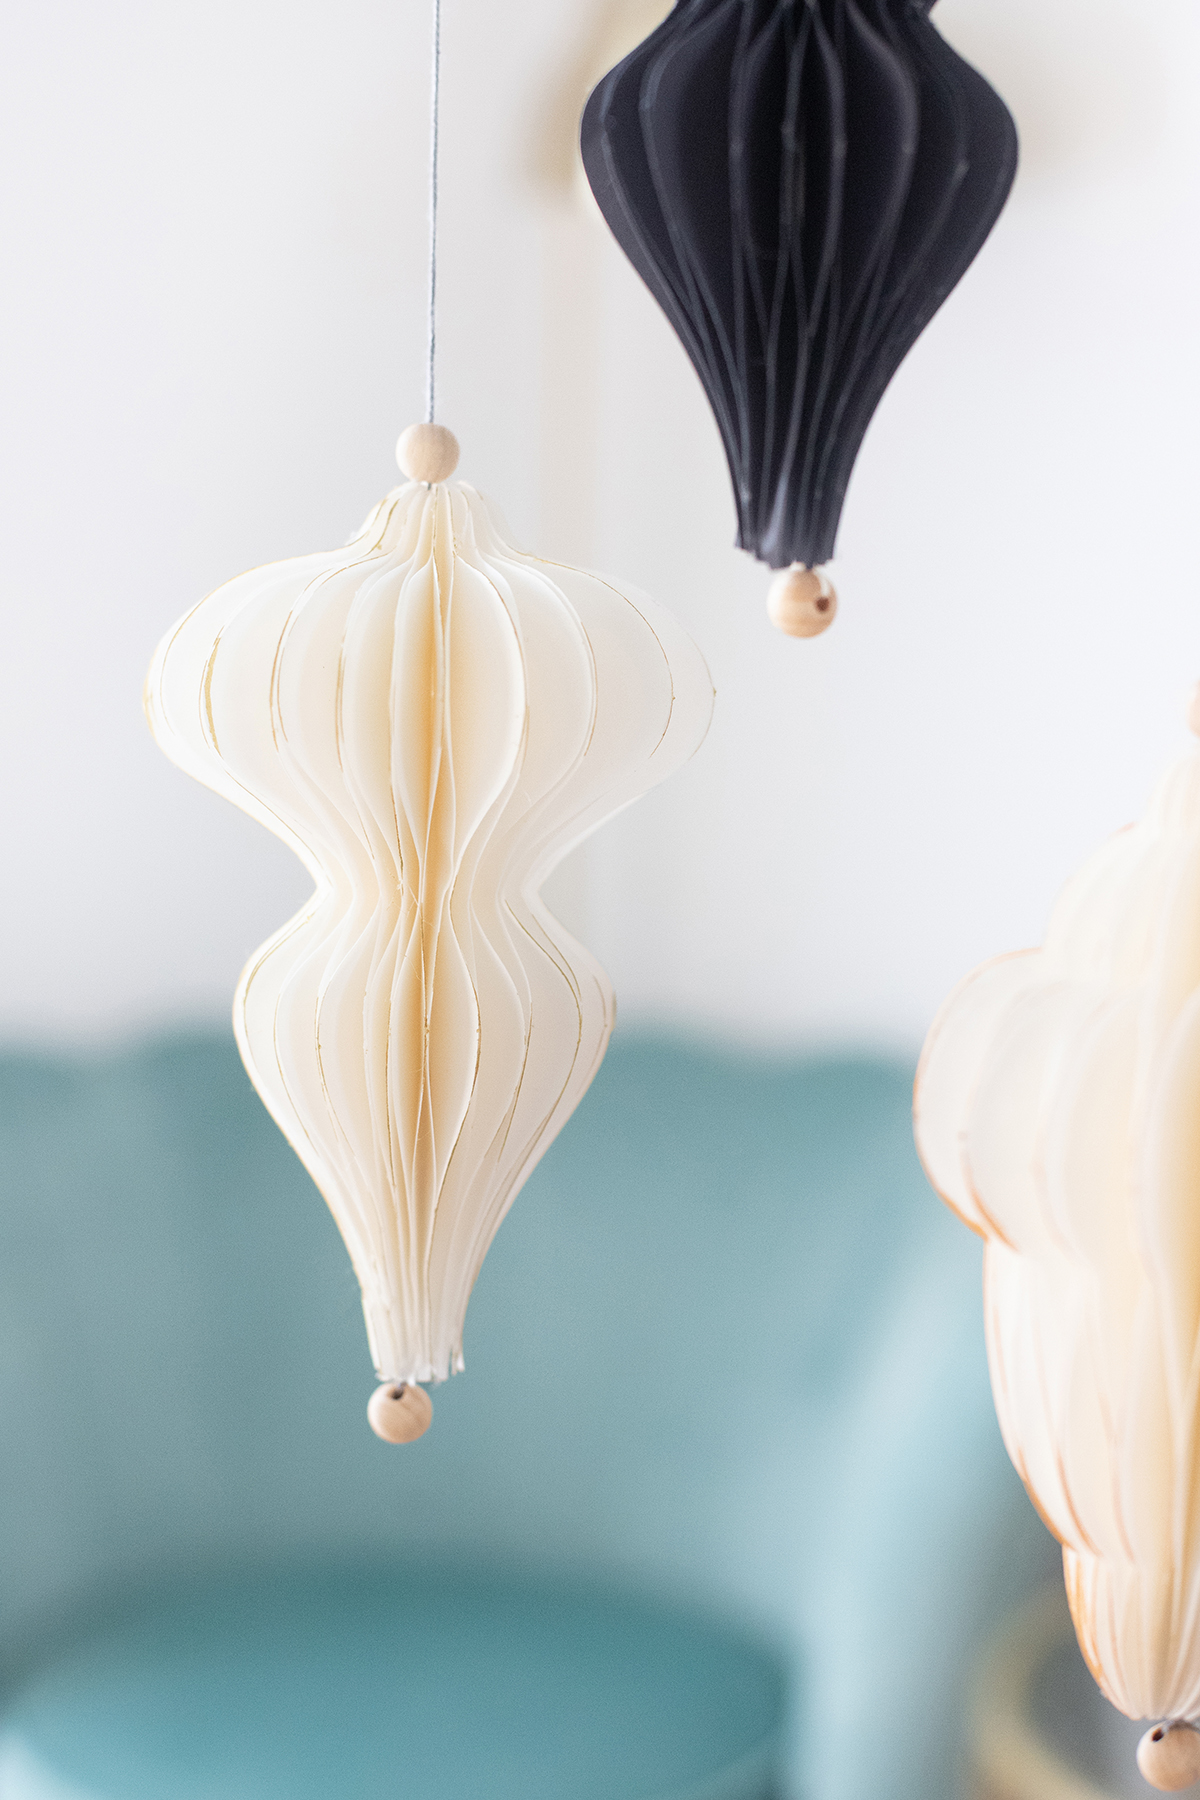
If you like, you can also paint the edge gold. That also looks super chic, I think.

Make DIY decorative ornaments out of paper with a honeycomb pattern – this is how it works:
Materialliste pro Ornament:
- 1 A1 sheet of thin paper (80 – 100g)
- Scissors
- Hot glue or craft glue
- 2 wooden beads
- Yarn
If the edge is to be painted:
- Optional: gold acrylic paint
- Optional: brush
- Optional: clothespins

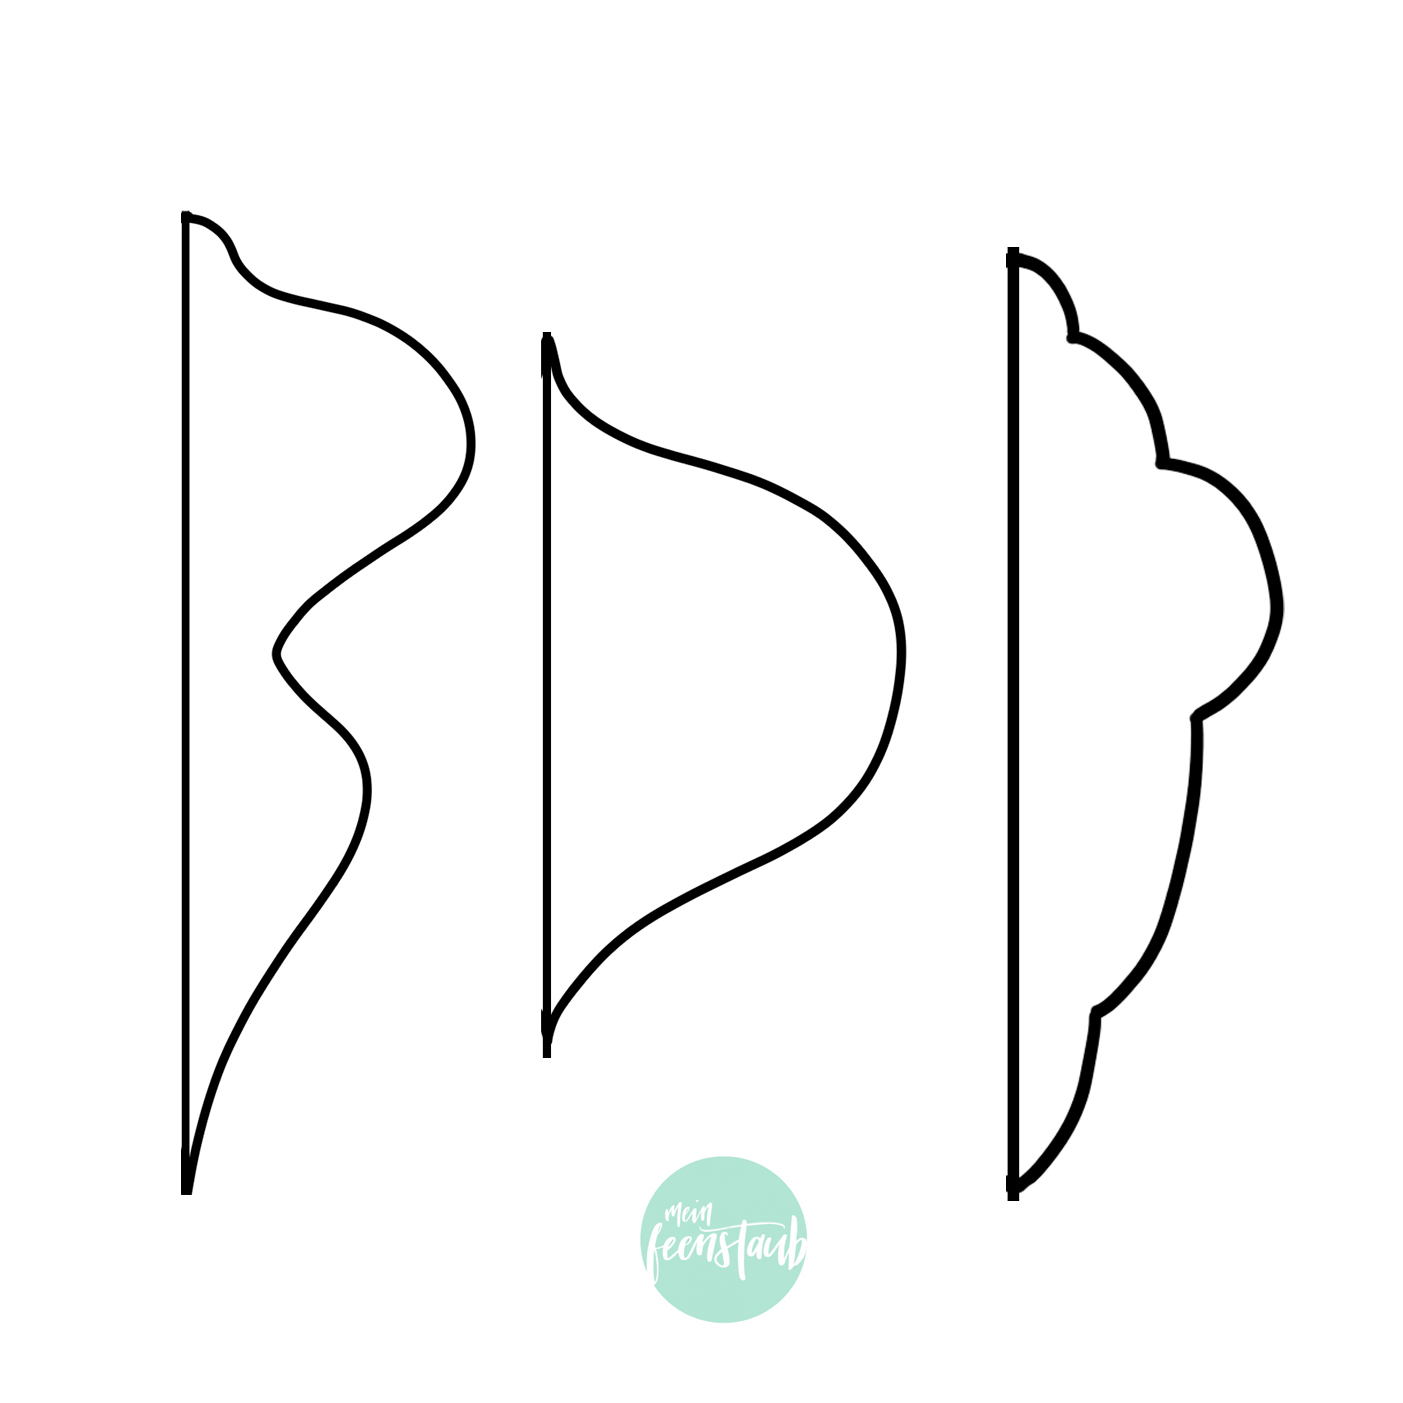
Download template here (click on image):
Directions:
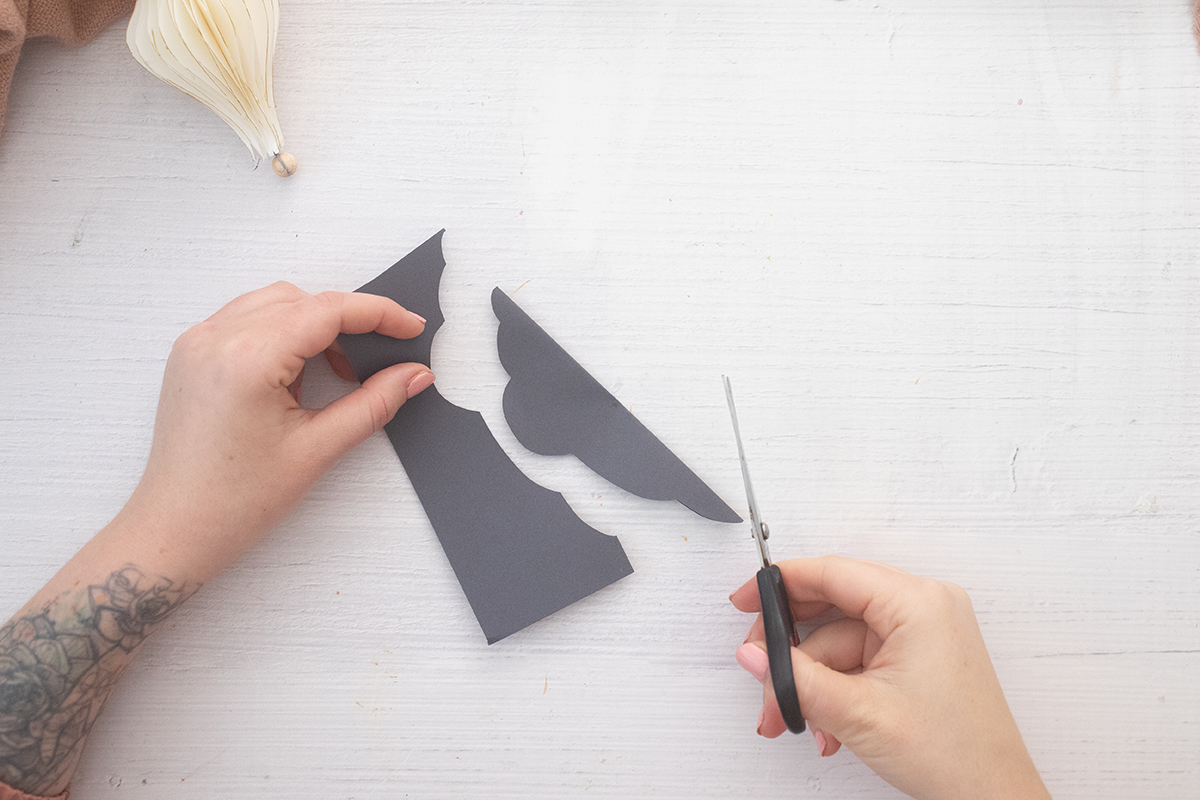
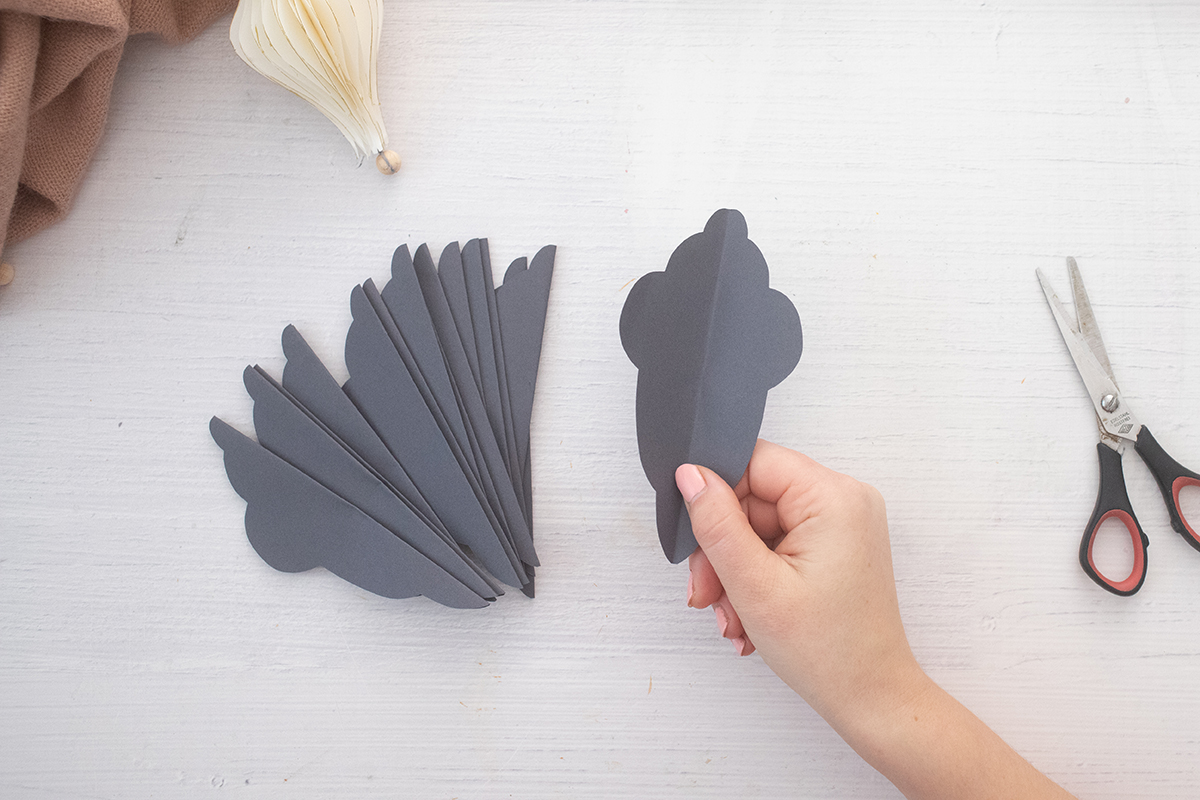
1. The first step is to transfer the template onto paper. The easiest way to do this is to fold the paper in half and transfer the template that way. You can also use a staple to staple several layers of paper together and cut them out more quickly.
For a beautiful honeycomb pattern, 20 copies are needed.
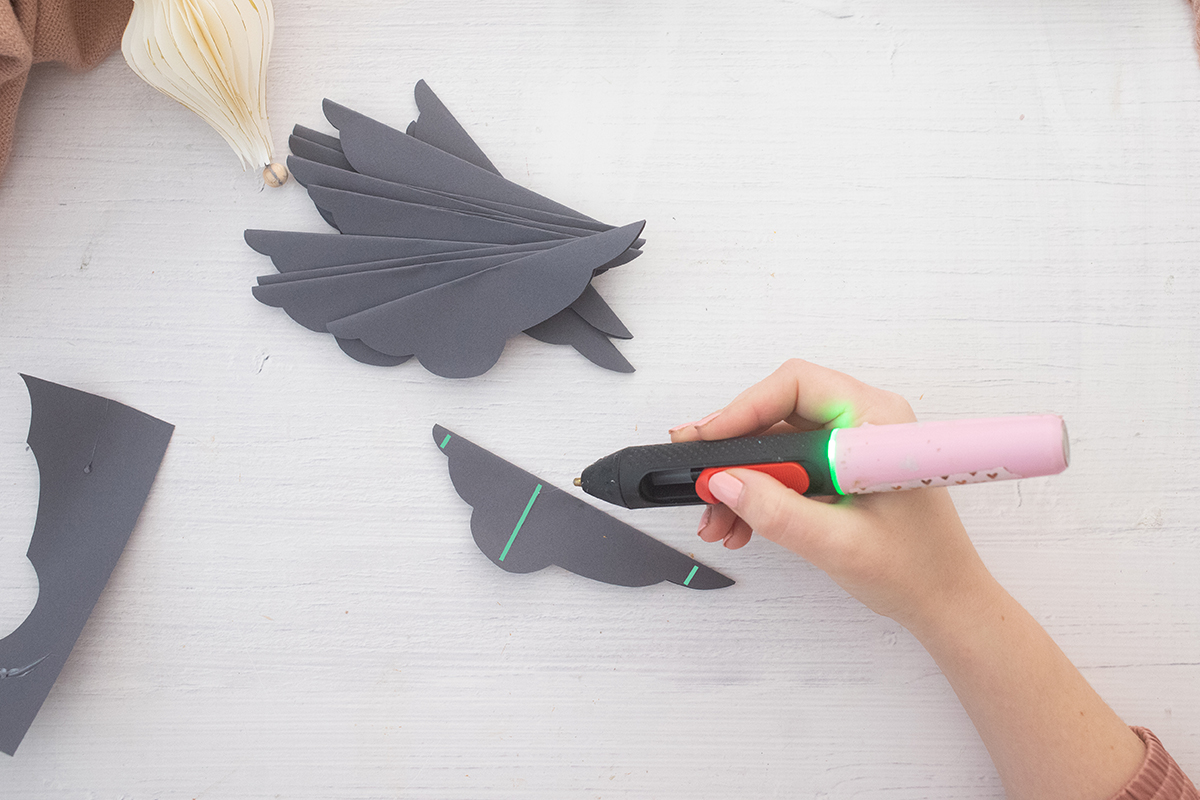
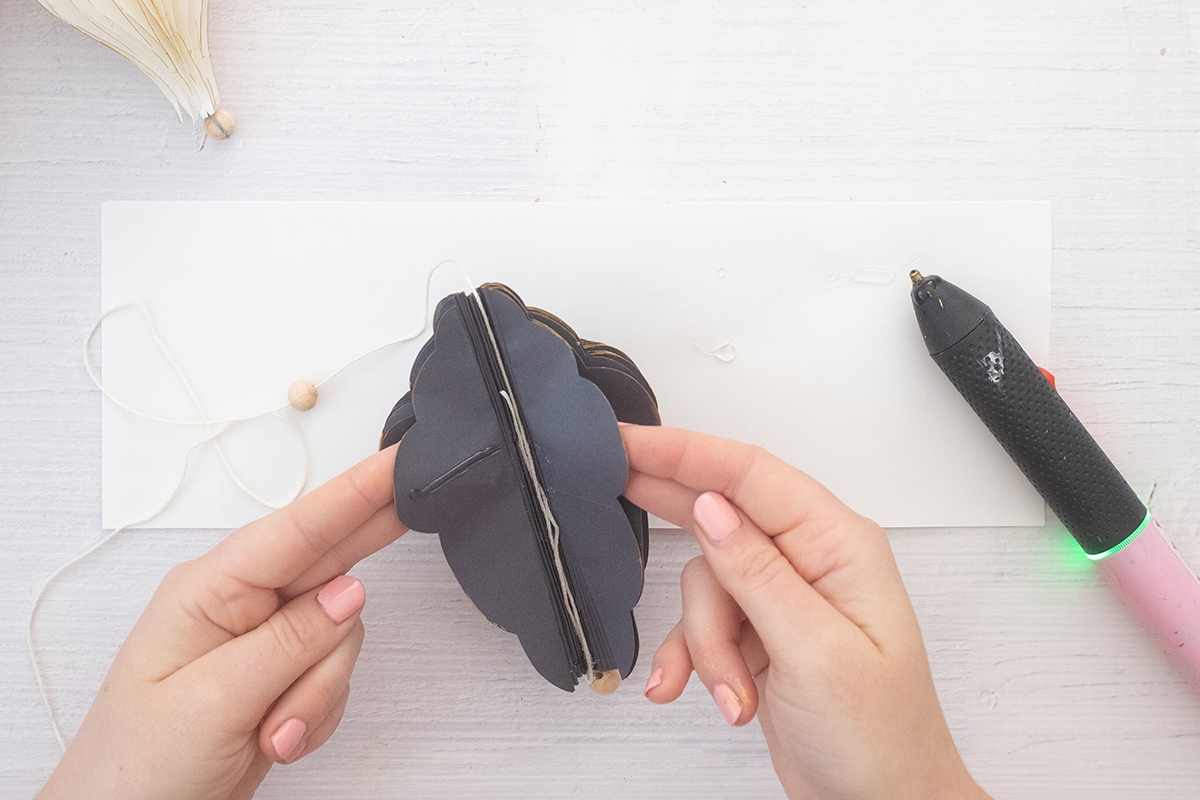
2. Now it’s time to glue it together. It is important to follow a certain pattern – this is how the honeycomb pattern is created.
3. First the outsides of the shape are glued together. To do this, always “draw” 3 lines on the paper with hot glue – these are the glue points. (see photo)
4. This is repeated until all shapes are glued together. (Important: Only glue the outside of the folded shape together!)

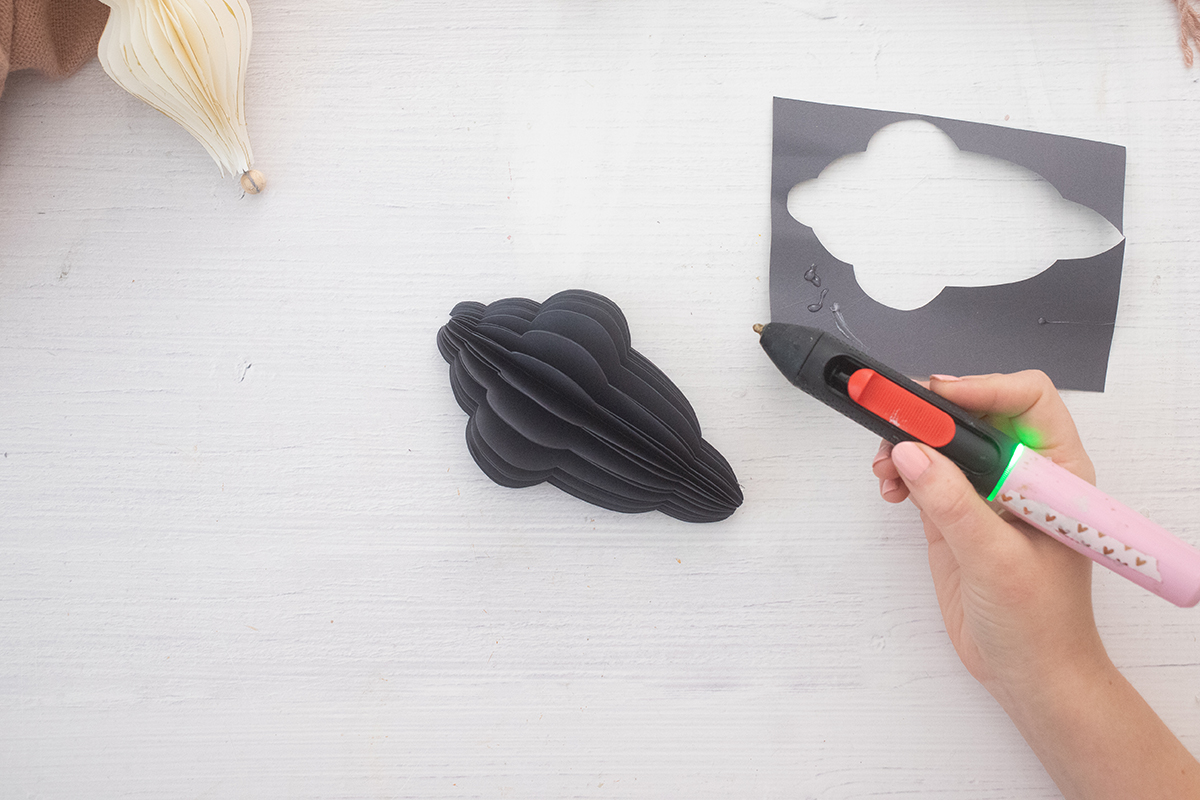
5. Now the result looks like an ornament – but there is no honeycomb pattern yet. Therefore, the inside pages are now glued together – but with different glue points.
6. In this step, unfold the inside of the ornament and draw the lines with the hot glue as shown in the photo. The insides of the mold are gradually glued together.
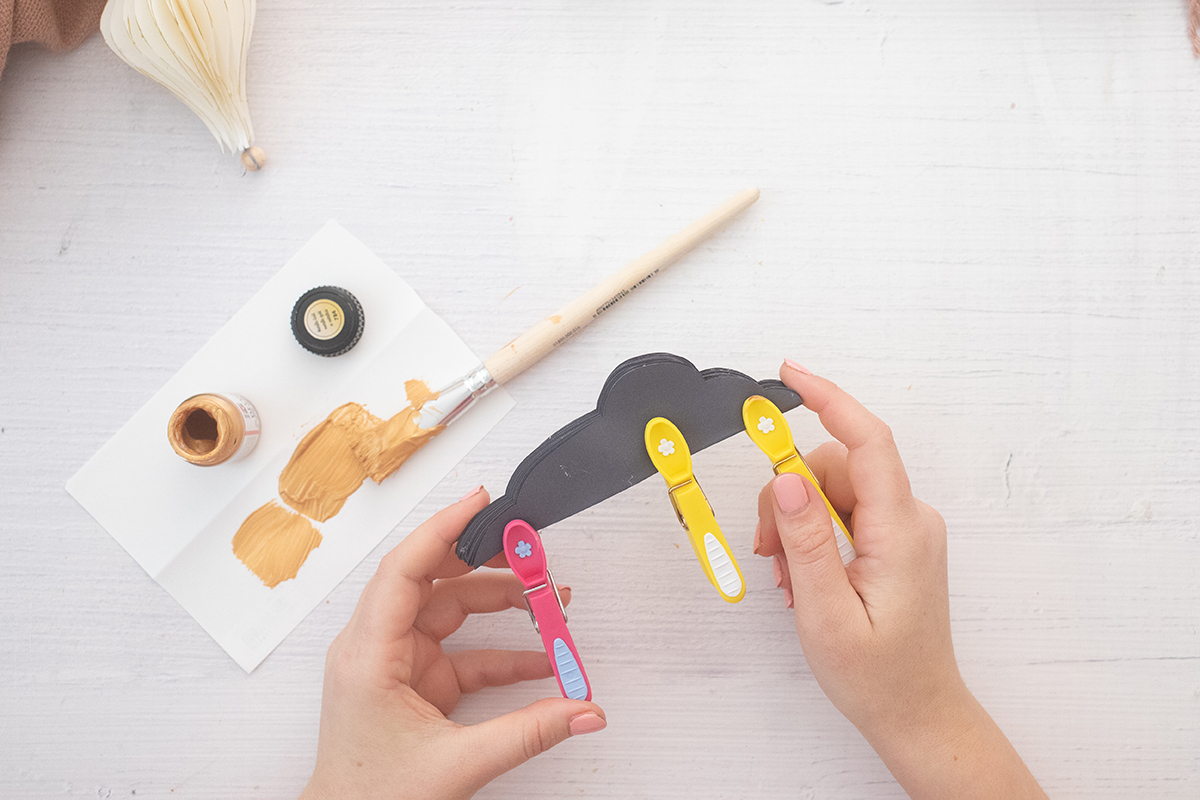
7. If the edge of the ornament is to be painted: Clip the ornament together with clothespins so that the edges are pressed together.
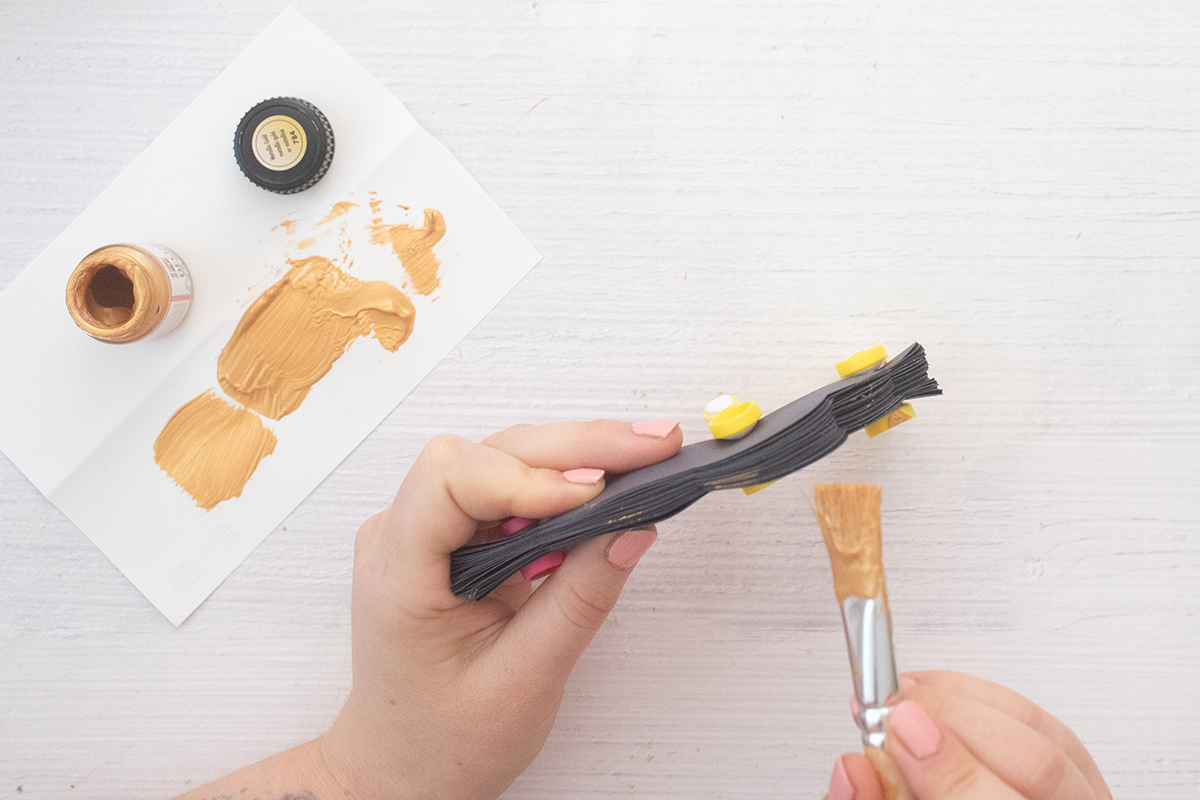
7. Paint the edge with a brush and gold acrylic paint and let it dry.
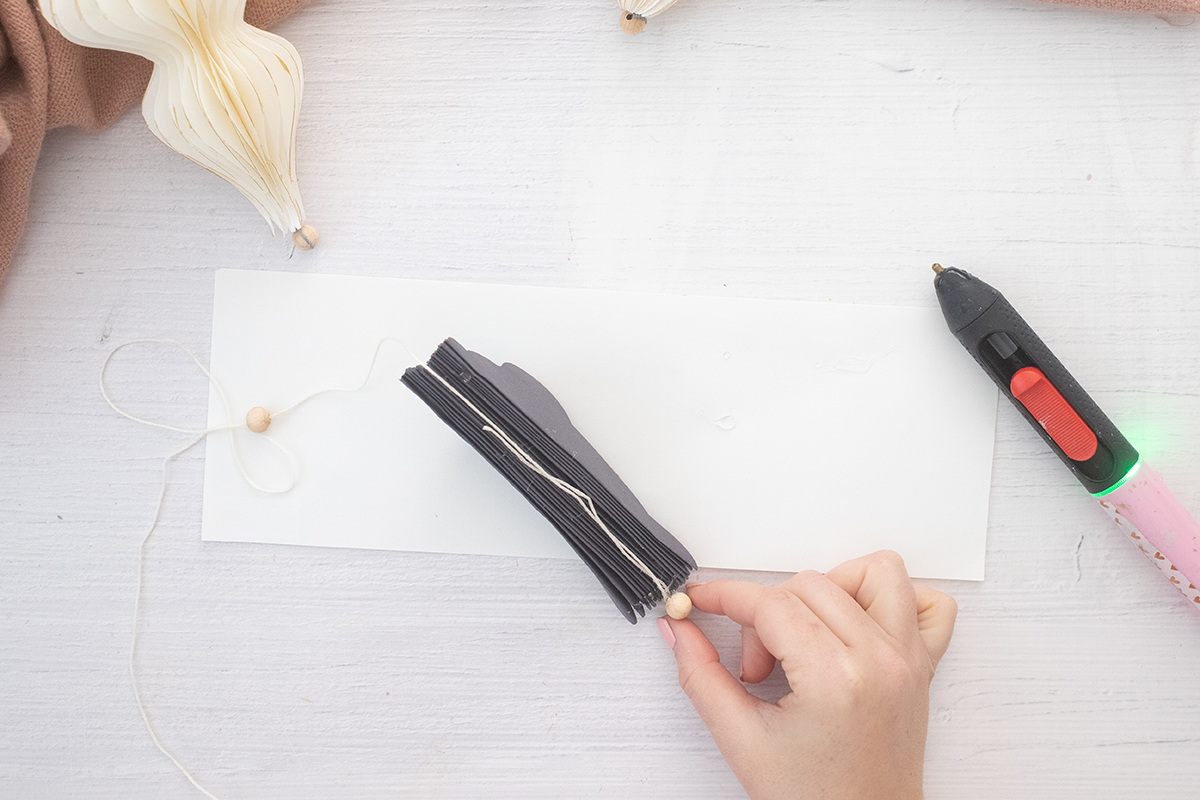
8. When the paint is dry, put the ornament together: Thread a wooden bead onto yarn and knot it. This will be the stopper at the bottom of the ornament.
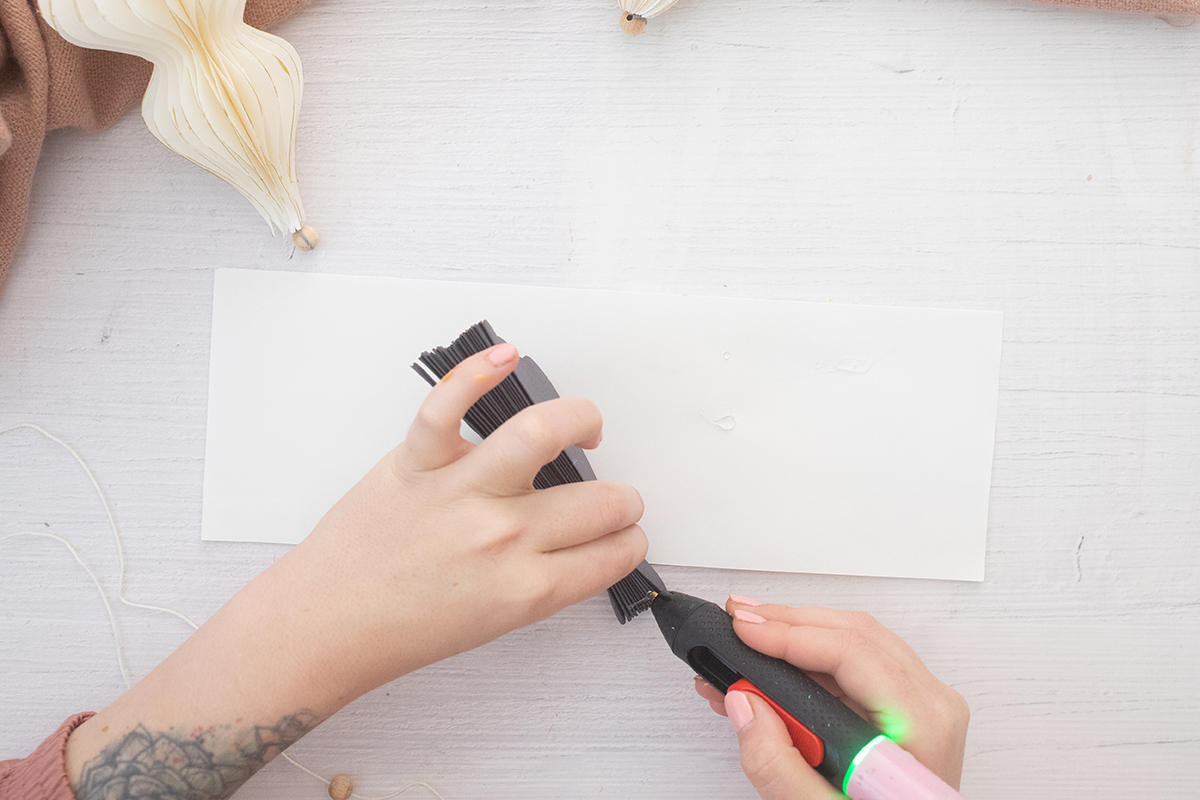
9. Then the yarn is placed into the ornament – and the ornament is closed with hot glue. Another wooden bead can now be threaded from above.
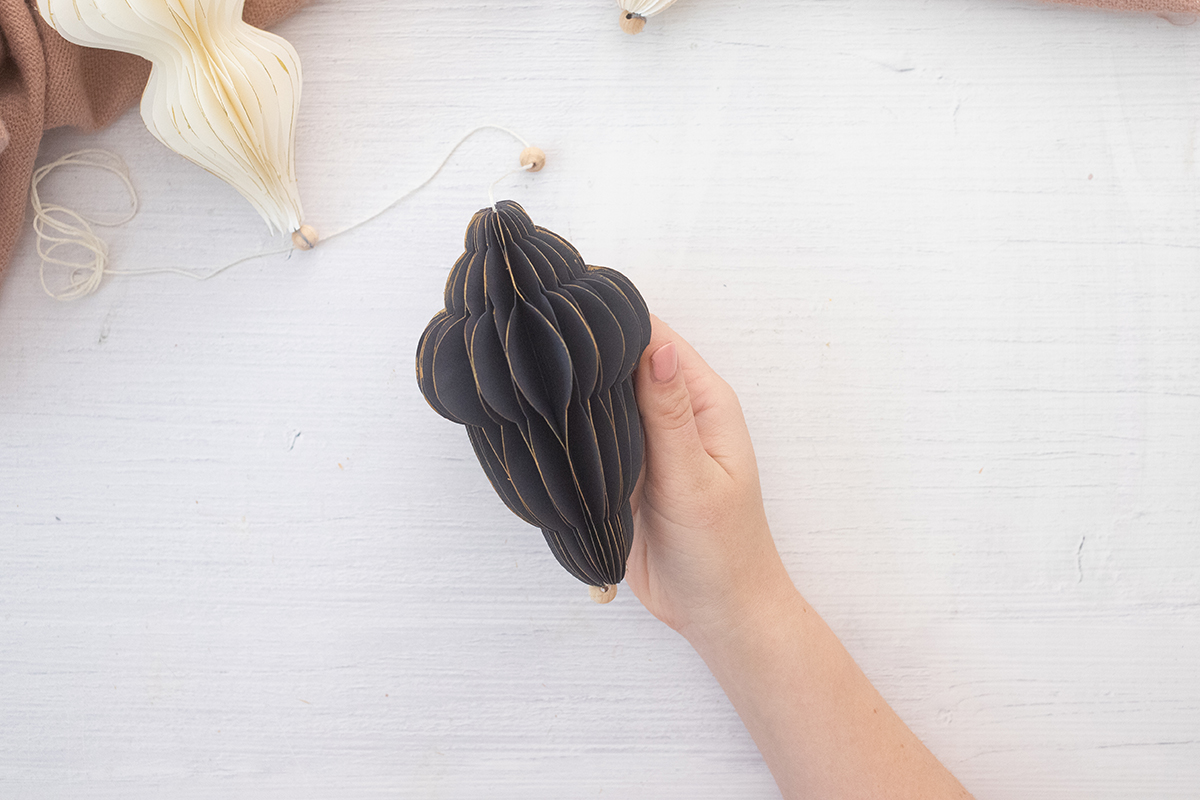
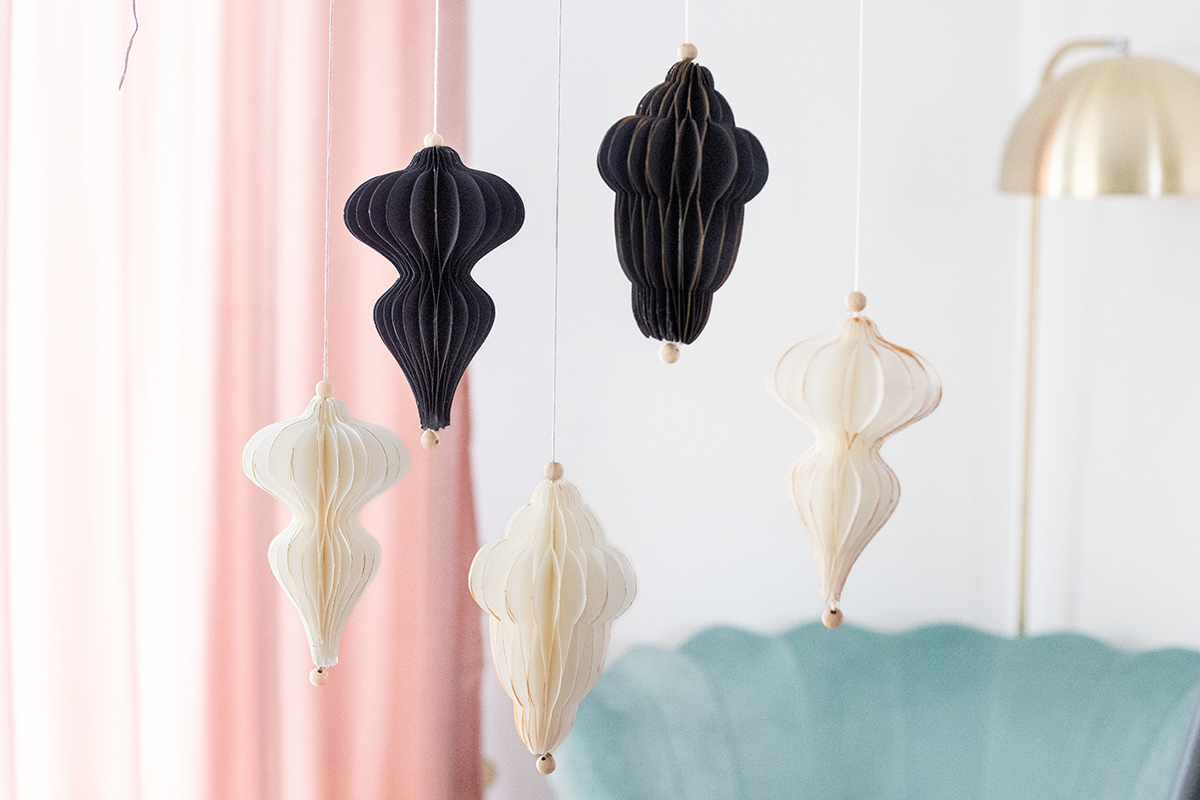
And your DIY ornament is ready. I think they also look great in combination with several colors. This is a chic winter decoration – but they are also great for Christmas.
Once you get the hang of it, it goes really quickly. And if you have a plotter, you can also use it to cut out the individual parts. All you have to do is “double” the template.
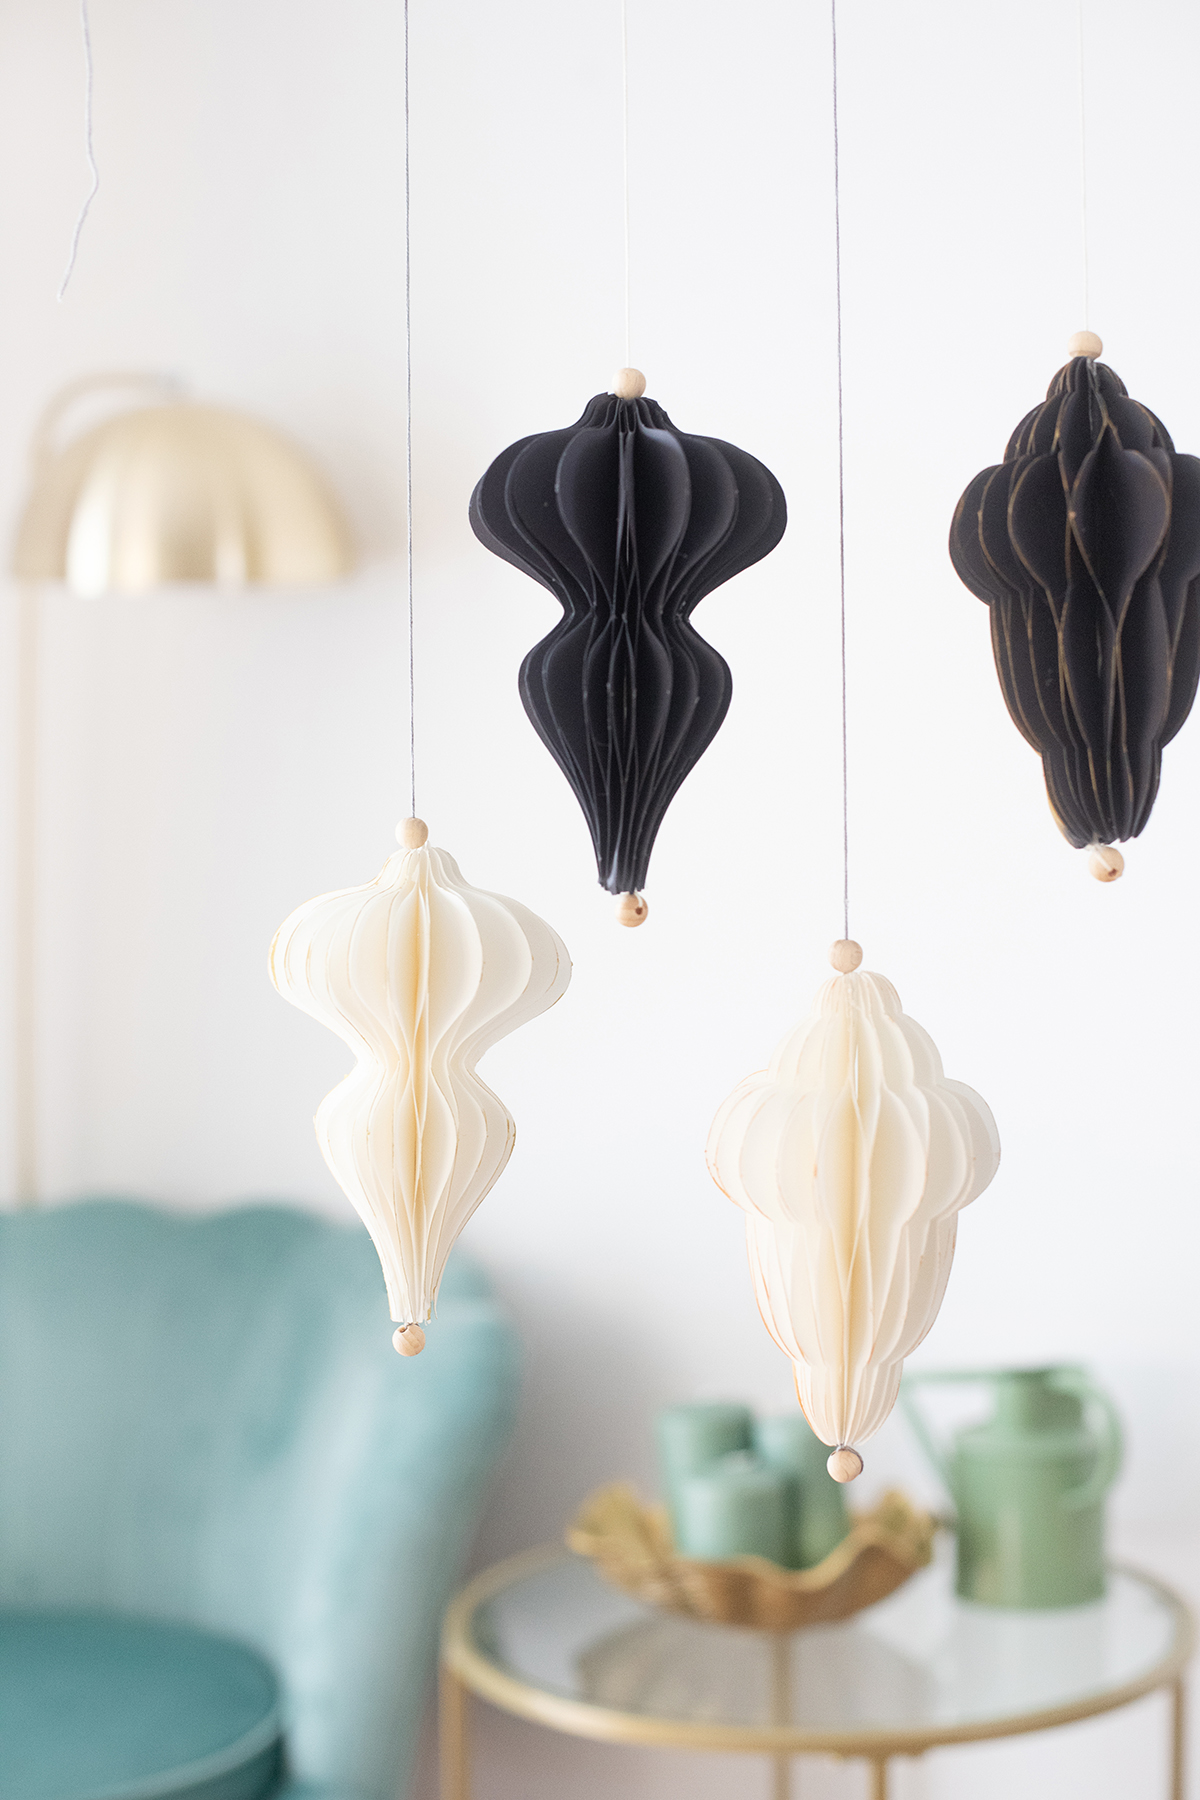
Do you like the DIY idea? Then feel free to take it to Pinterest with this photo and mark it on one of your pin boards:

I’m Lisa – and I can never sit still. I’ve been blogging about my passions on my fairy dust since 2013: These are great DIY ideas, chic design and very special illustrations. The main thing is homemade! More about me.
Source: meinfeenstaub.com