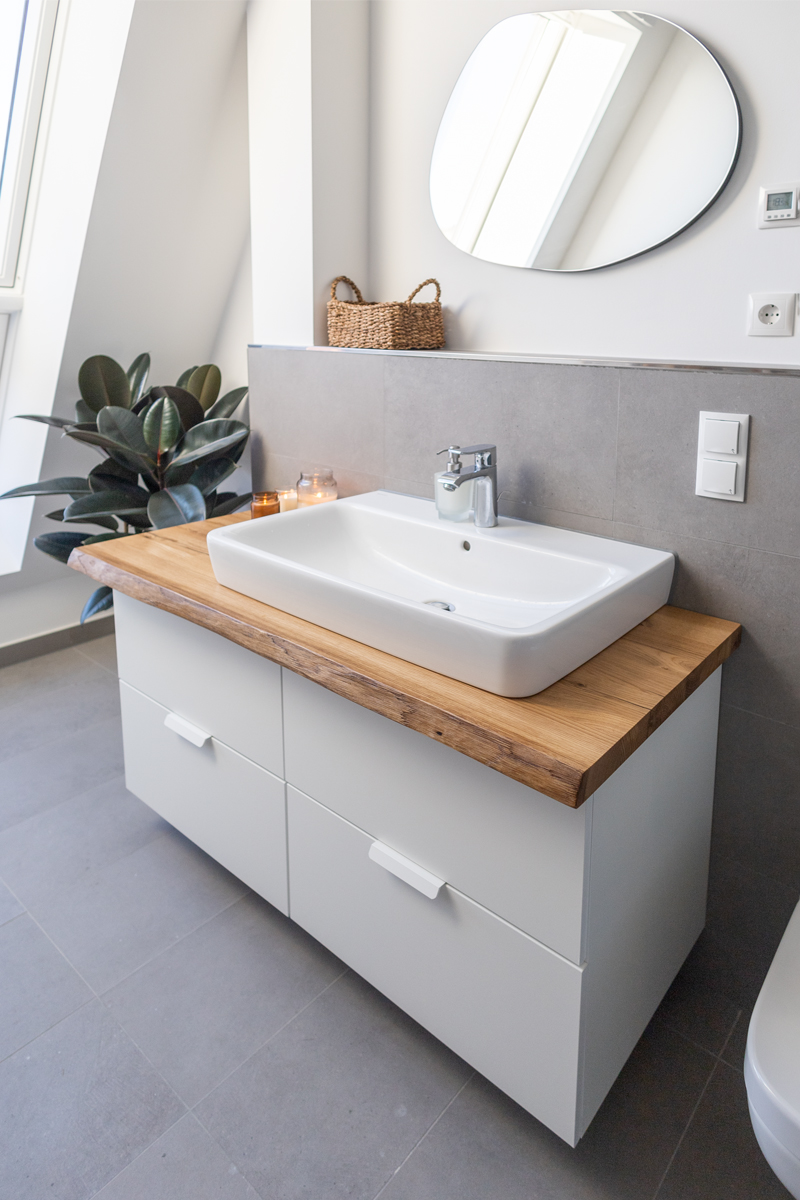
Advertising, unsolicited Redesigning the IKEA GODMORGON washbasin cabinet: Today I have a really nice DIY for you, for which we have already received many compliments. This is once again an IKEA HACK for the GODMORGON washbasin cabinet, which has undergone a great development
IKEA GODMORGON for the bathroom
When we moved into the new apartment, we didn’t have a washbasin cabinet, but we definitely needed storage space. It quickly became clear that we had to get one and attach it ourselves. Unfortunately, there are not very nice ones to buy there and often they have to be adapted to the sink. So it quickly became clear that we would build it ourselves. With my instructions you can redesign the GODMORGON washbasin cabinet.
Instructions
First of all: Of course, every sink is different and that’s why I can only give you one inspiration. The dimensions may differ for your sink.
If the cabinet is not already assembled, assemble the GODMORGON washbasin cabinet according to the instructions.
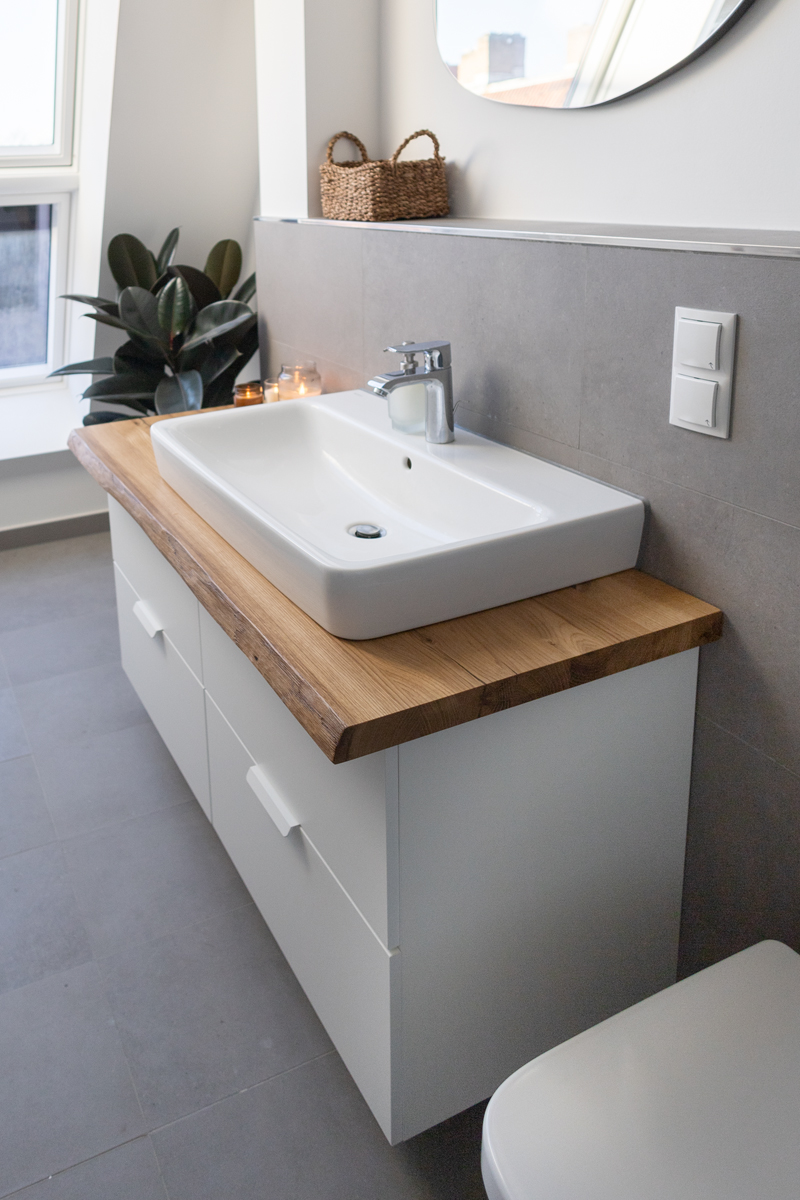
Place the countertop against the sink and mark where the wood needs to be cut out so that it can later be clamped under the sink.
Cut out the excess wood from the tabletop with a jigsaw.
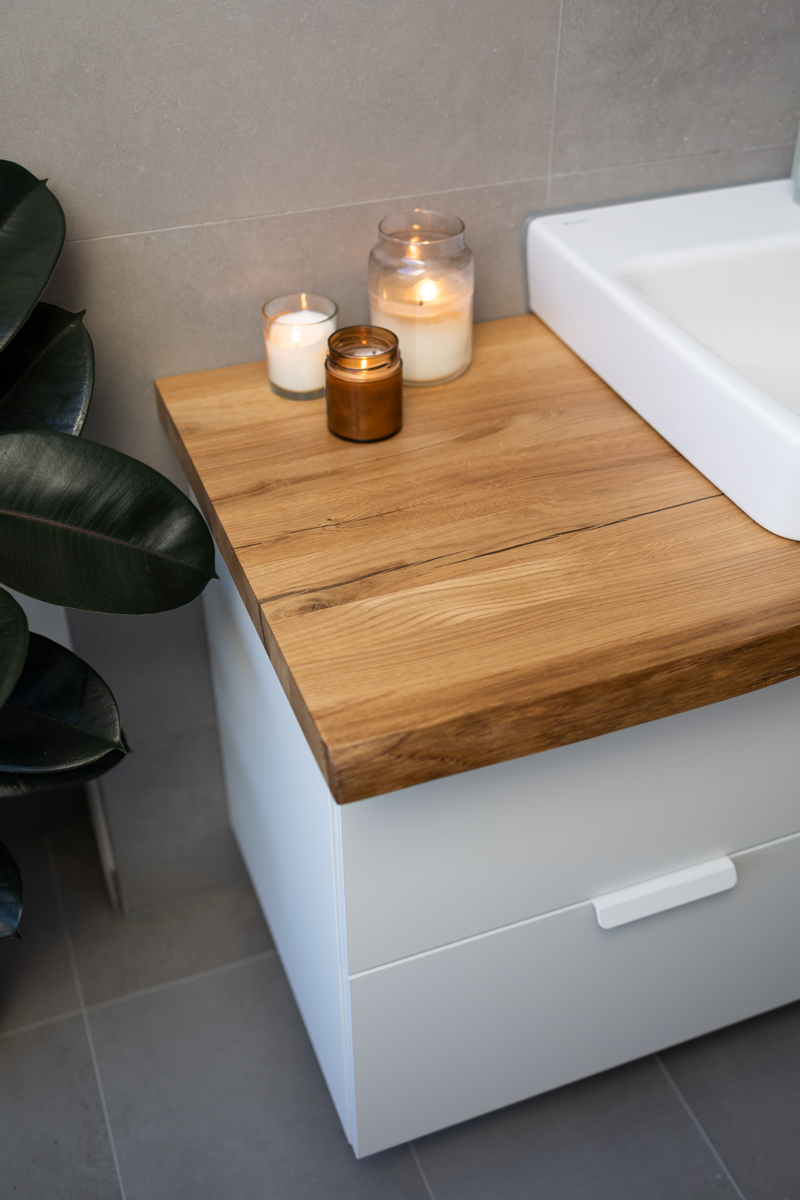
So that the washbasin cabinet “floats” later, I screwed on the furniture feet in the middle. In addition, I glued the cabinet to the wall with extra strong mounting tape. This is how I avoided drilling into the tiles.
If this washbasin cabinet does not fit under this washbasin, the back wall of a drawer may have to be cut out so that it can be closed later and the pipe does not get in the way.
The IKEA hack is ready!
annotation
*Advertising // Affiliate Links: I earn a small commission through these links. This does NOT cost you more. Thanks!
IKEA GODMORGON reshaped
I hope this article has given you some inspiration and ideas on how to transform your GODMORGON washbasin cabinet into a custom piece of furniture. With a little skill and following my instructions, you can make it a real eye-catcher in your home. Of course, there are many other ways to personalize IKEA furniture. What else would you like to redesign?
More IKEA hacks for your home
Want to see more IKEA hacks? Then have a look here: IKEA HACK: Convert SNIDAD basket into a side table, IKEA HACK: SUNDLANDET cupboard with board surface or XXL IKEA HACK: Convert KALLAX shelf into a mirror wall.
Until then. Your Laura
Source: trytrytry.de