
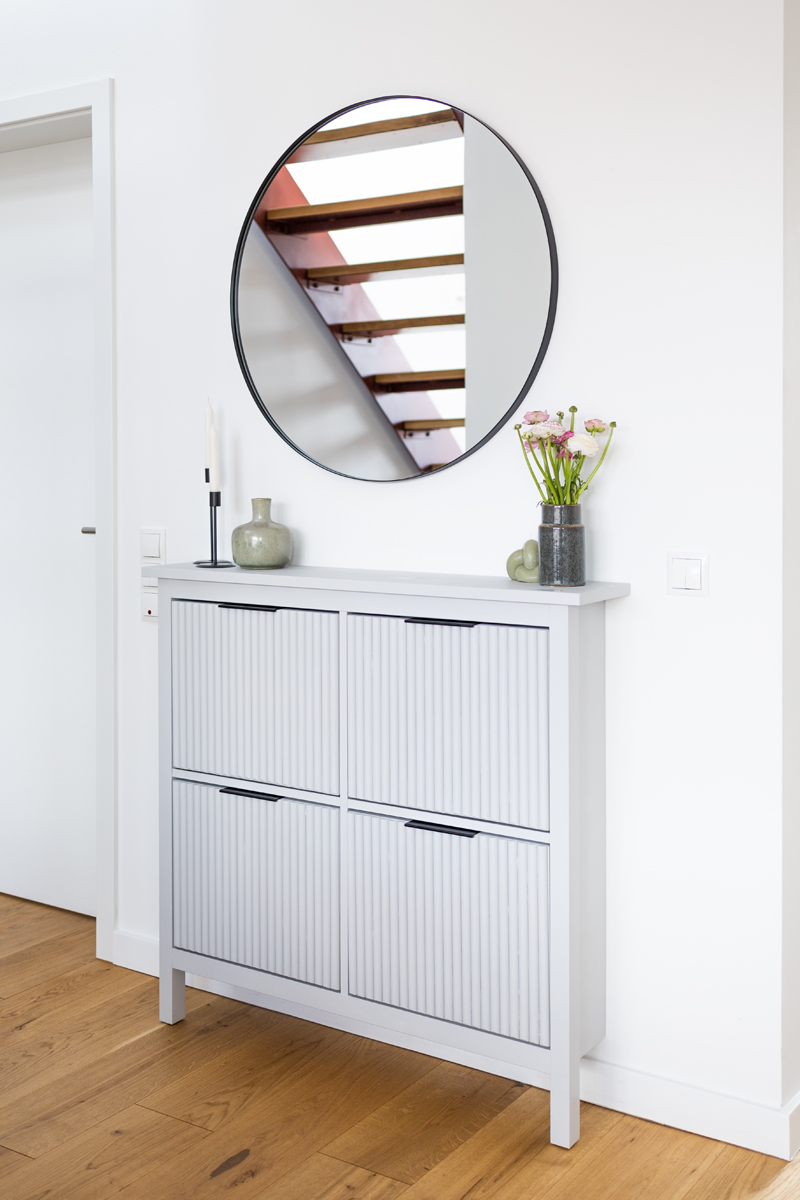
Advertising, unsolicited Redesigning an IKEA HEMNES shoe cabinet: Today I finally have another really nice DIY for you, which takes a little longer to implement, but in my opinion has a huge effect. Also, this is another IKEA HACK for the HEMNES shoe cabinet that we all know and love.
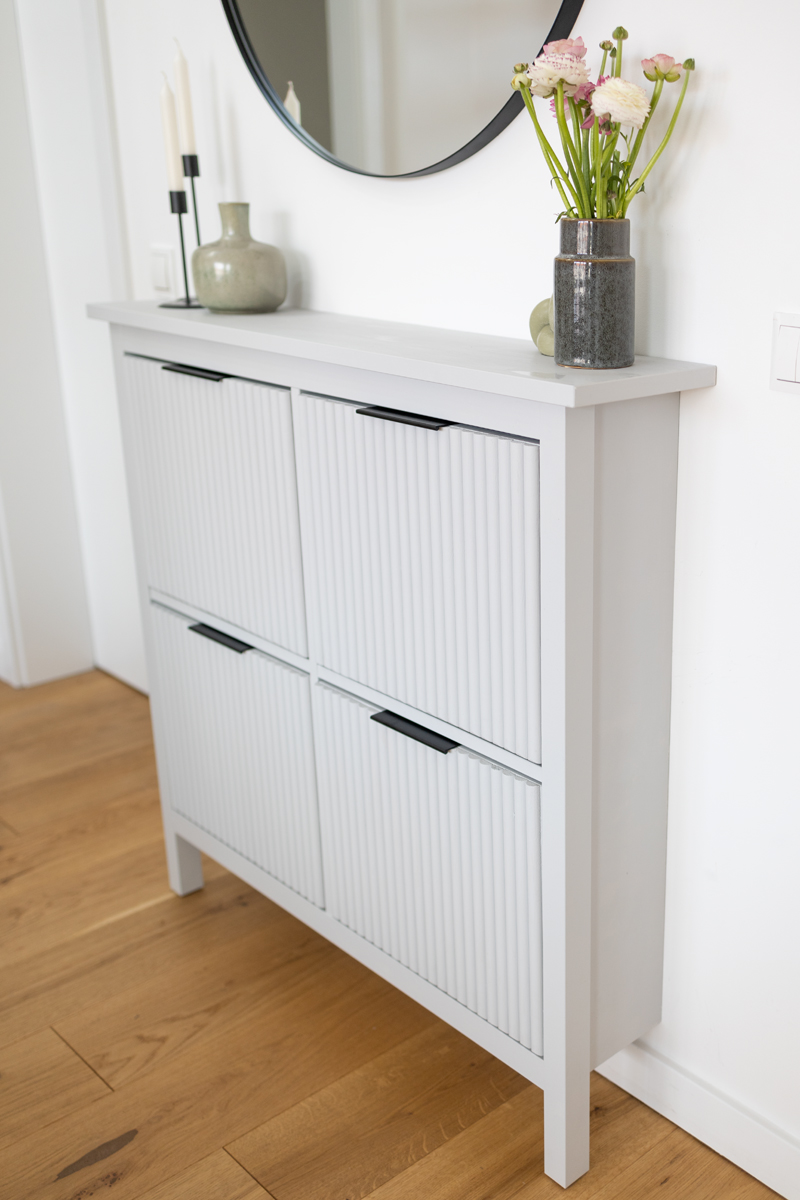
IKEA HEMNES shoe cabinet for the hallway
Are you a big fan of DIY projects and love to beautify your home? Then you’ve probably heard of IKEA hacks! These are creative ideas to turn IKEA furniture into something unique and personal. This article is about a simple yet effective way to remodel and add a personal touch to the HEMNES shoe cabinet from IKEA. I put a lot of effort into the hack and love the result!
Instructions
If the shoe rack is not yet assembled, trim the center rails of the shoe rack to 2cm in width. Alternatively, the braces must be removed from the shoe rack and then cut to size.
Reassemble the shoe rack. Do without the screws on the center braces and only use the pieces of wood. For additional fixation, the struts can be glued with some assembly glue. Here I show it in more detail in the video.
Unscrew the handle from the drawers.
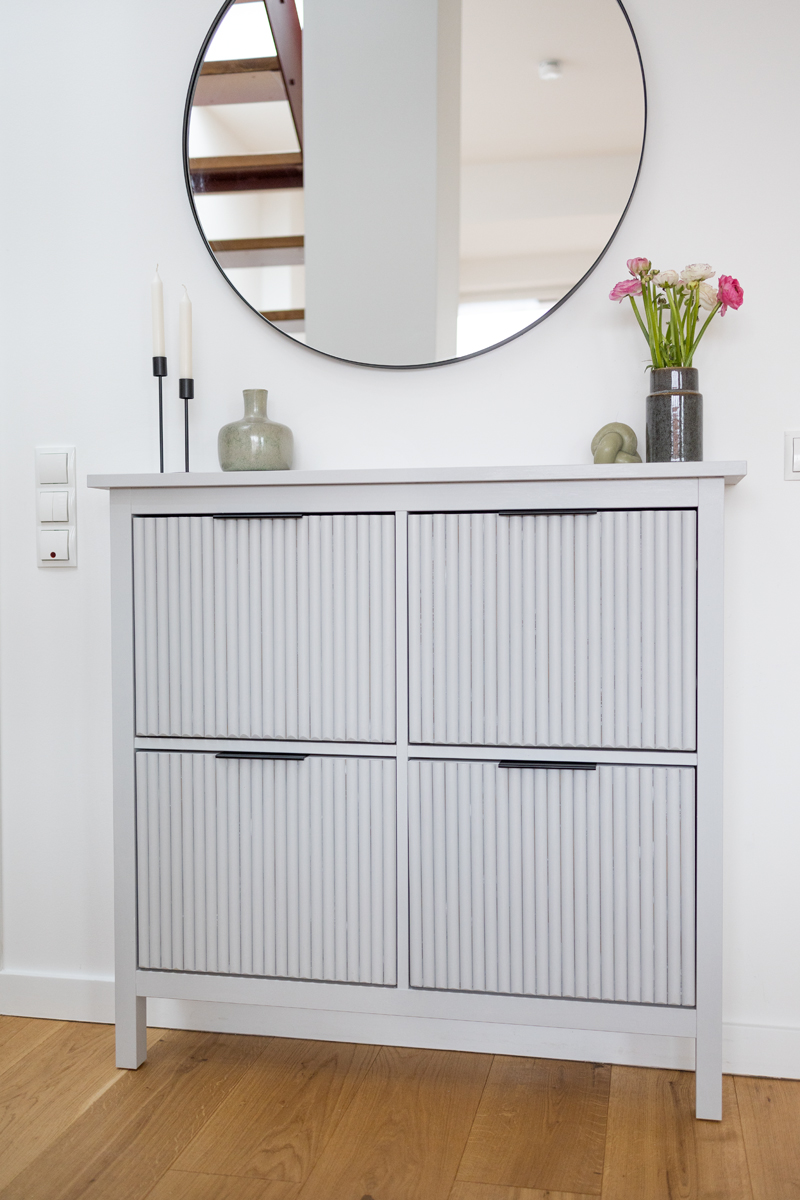
Cut the semicircular sticks to 36 cm each. 22 semicircular rods are required per drawer. The leftovers can be used for new projects.
Glue the rods to the drawer fronts with mounting adhesive.
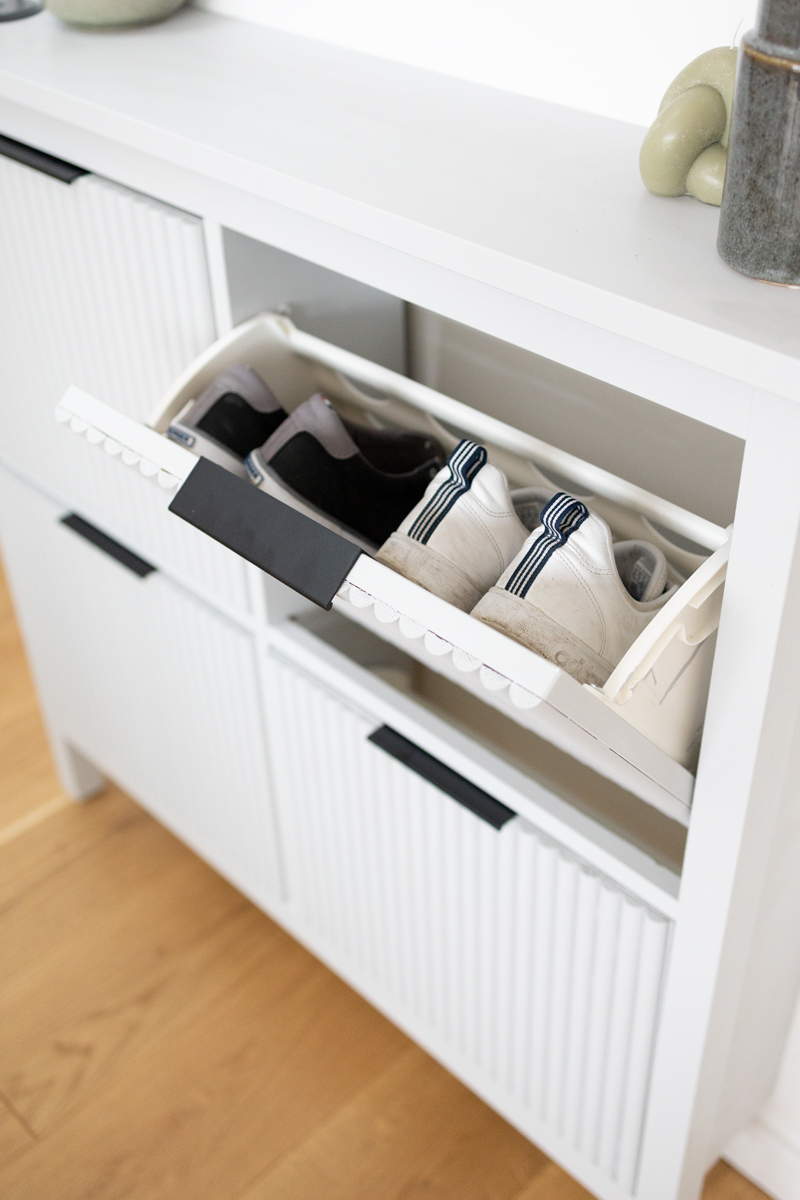
Sand the lower edges of the logs on the drawer fronts at an angle so that the drawers in the cupboard can be tilted later. You may want to use the drawers again and again to make sure enough has been sanded down.
Completely paint the shoe cabinet with the colored paint. A second layer may be required.
Then paint the drawer fronts as well.
When the colored paint is painted, seal with a clear coat.
Attach the black handles to the drawers. A hole may need to be pre-drilled for the screws.
Insert the drawers and your IKEA hack for the HEMNES shoe cabinet is done.
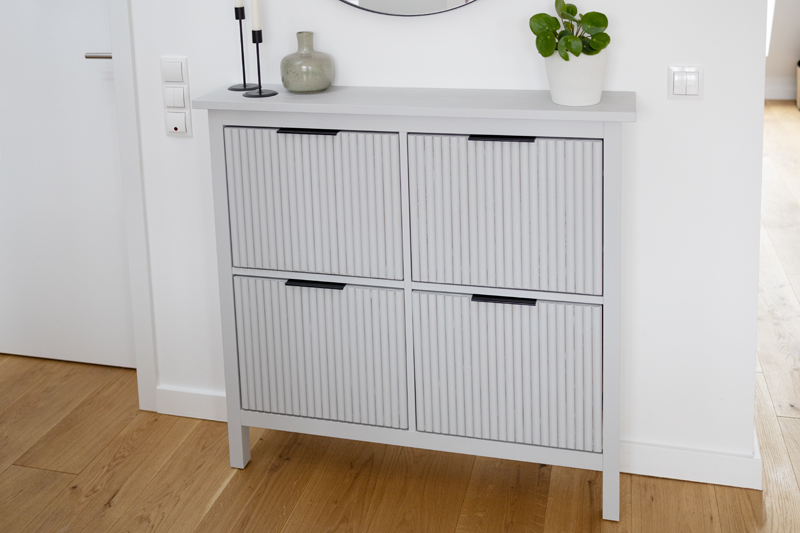
IKEA HEMNES remodel
I hope this article has given you some inspiration and ideas on how to turn your HEMNES shoe cabinet into a custom piece of furniture. With a little skill and following my instructions, you can make it a real eye-catcher in your home. Of course, there are many other ways to personalize IKEA furniture. What else would you like to redesign?
More IKEA hacks for your home
Want to see more IKEA hacks? Then have a look here: IKEA HACK: Convert SNIDAD basket into a side table, IKEA HACK: SUNDLANDET cupboard with board surface or XXL IKEA HACK: Convert KALLAX shelf into a mirror wall.
See you then. Your Laura
Source: trytrytry.de

