Today the topic is “Painting IKEA furniture yourself”. A little fresh color can give your piece of furniture a very special, individual touch. And IKEA doesn’t always have exactly the color palette in its range that suits the furnishing style. In many of my DIY IKEA hacks, I gave the furniture a new coat of paint and encountered one or two difficulties. So that this doesn’t happen to you, I would like to give you a few tips on how you can paint your IKEA furniture yourself.
Depending on what material your piece of furniture is made of, there are different things to consider.
With IKEA metal furniture, for example, the smooth surface must first be roughened with a little sandpaper so that the color really sticks. After the surface has been sanded, the piece of furniture must be removed from dust and grease.
You can then get started with the primer. Make sure that the primer is also suitable for metal. I have had good experiences with this primer * so far.

Once the primer has dried thoroughly (I always wait 24 hours), the furniture paint can be applied in your favorite color. For example, I use a furniture varnish that I had mixed in the color I wanted from the color mixing service at the hardware store.
Depending on the color, you may need to apply two coats of paint.

If you want, you can apply clear varnish afterwards. This is worthwhile for furniture whose surfaces are often used.
You can find the detailed video instructions on YouTube in which I explain step by step how I redesigned these gray LIXHULT cabinets from Ikea HERE.

Paint plastic-coated / laminated IKEA furniture yourself
The popular IKEA furniture ranges such as KALLAX, BILLY or EKET are covered with a plastic film. I often get questions about this furniture about how to paint the surface so that the paint actually sticks to the smooth surface. We have had great experiences with the following approach:
In principle, the process is very similar to that of metal furniture. The first step is to roughen the surface again with some sandpaper.

Then remove the dust and any grease stains. If the surface is clean and dust-free, you can start with the primer. Here too, I have had good experiences with this primer* so far. After about a day of drying, the furniture varnish can be applied. Here too, you may have to apply two coats and then seal them with clear varnish.

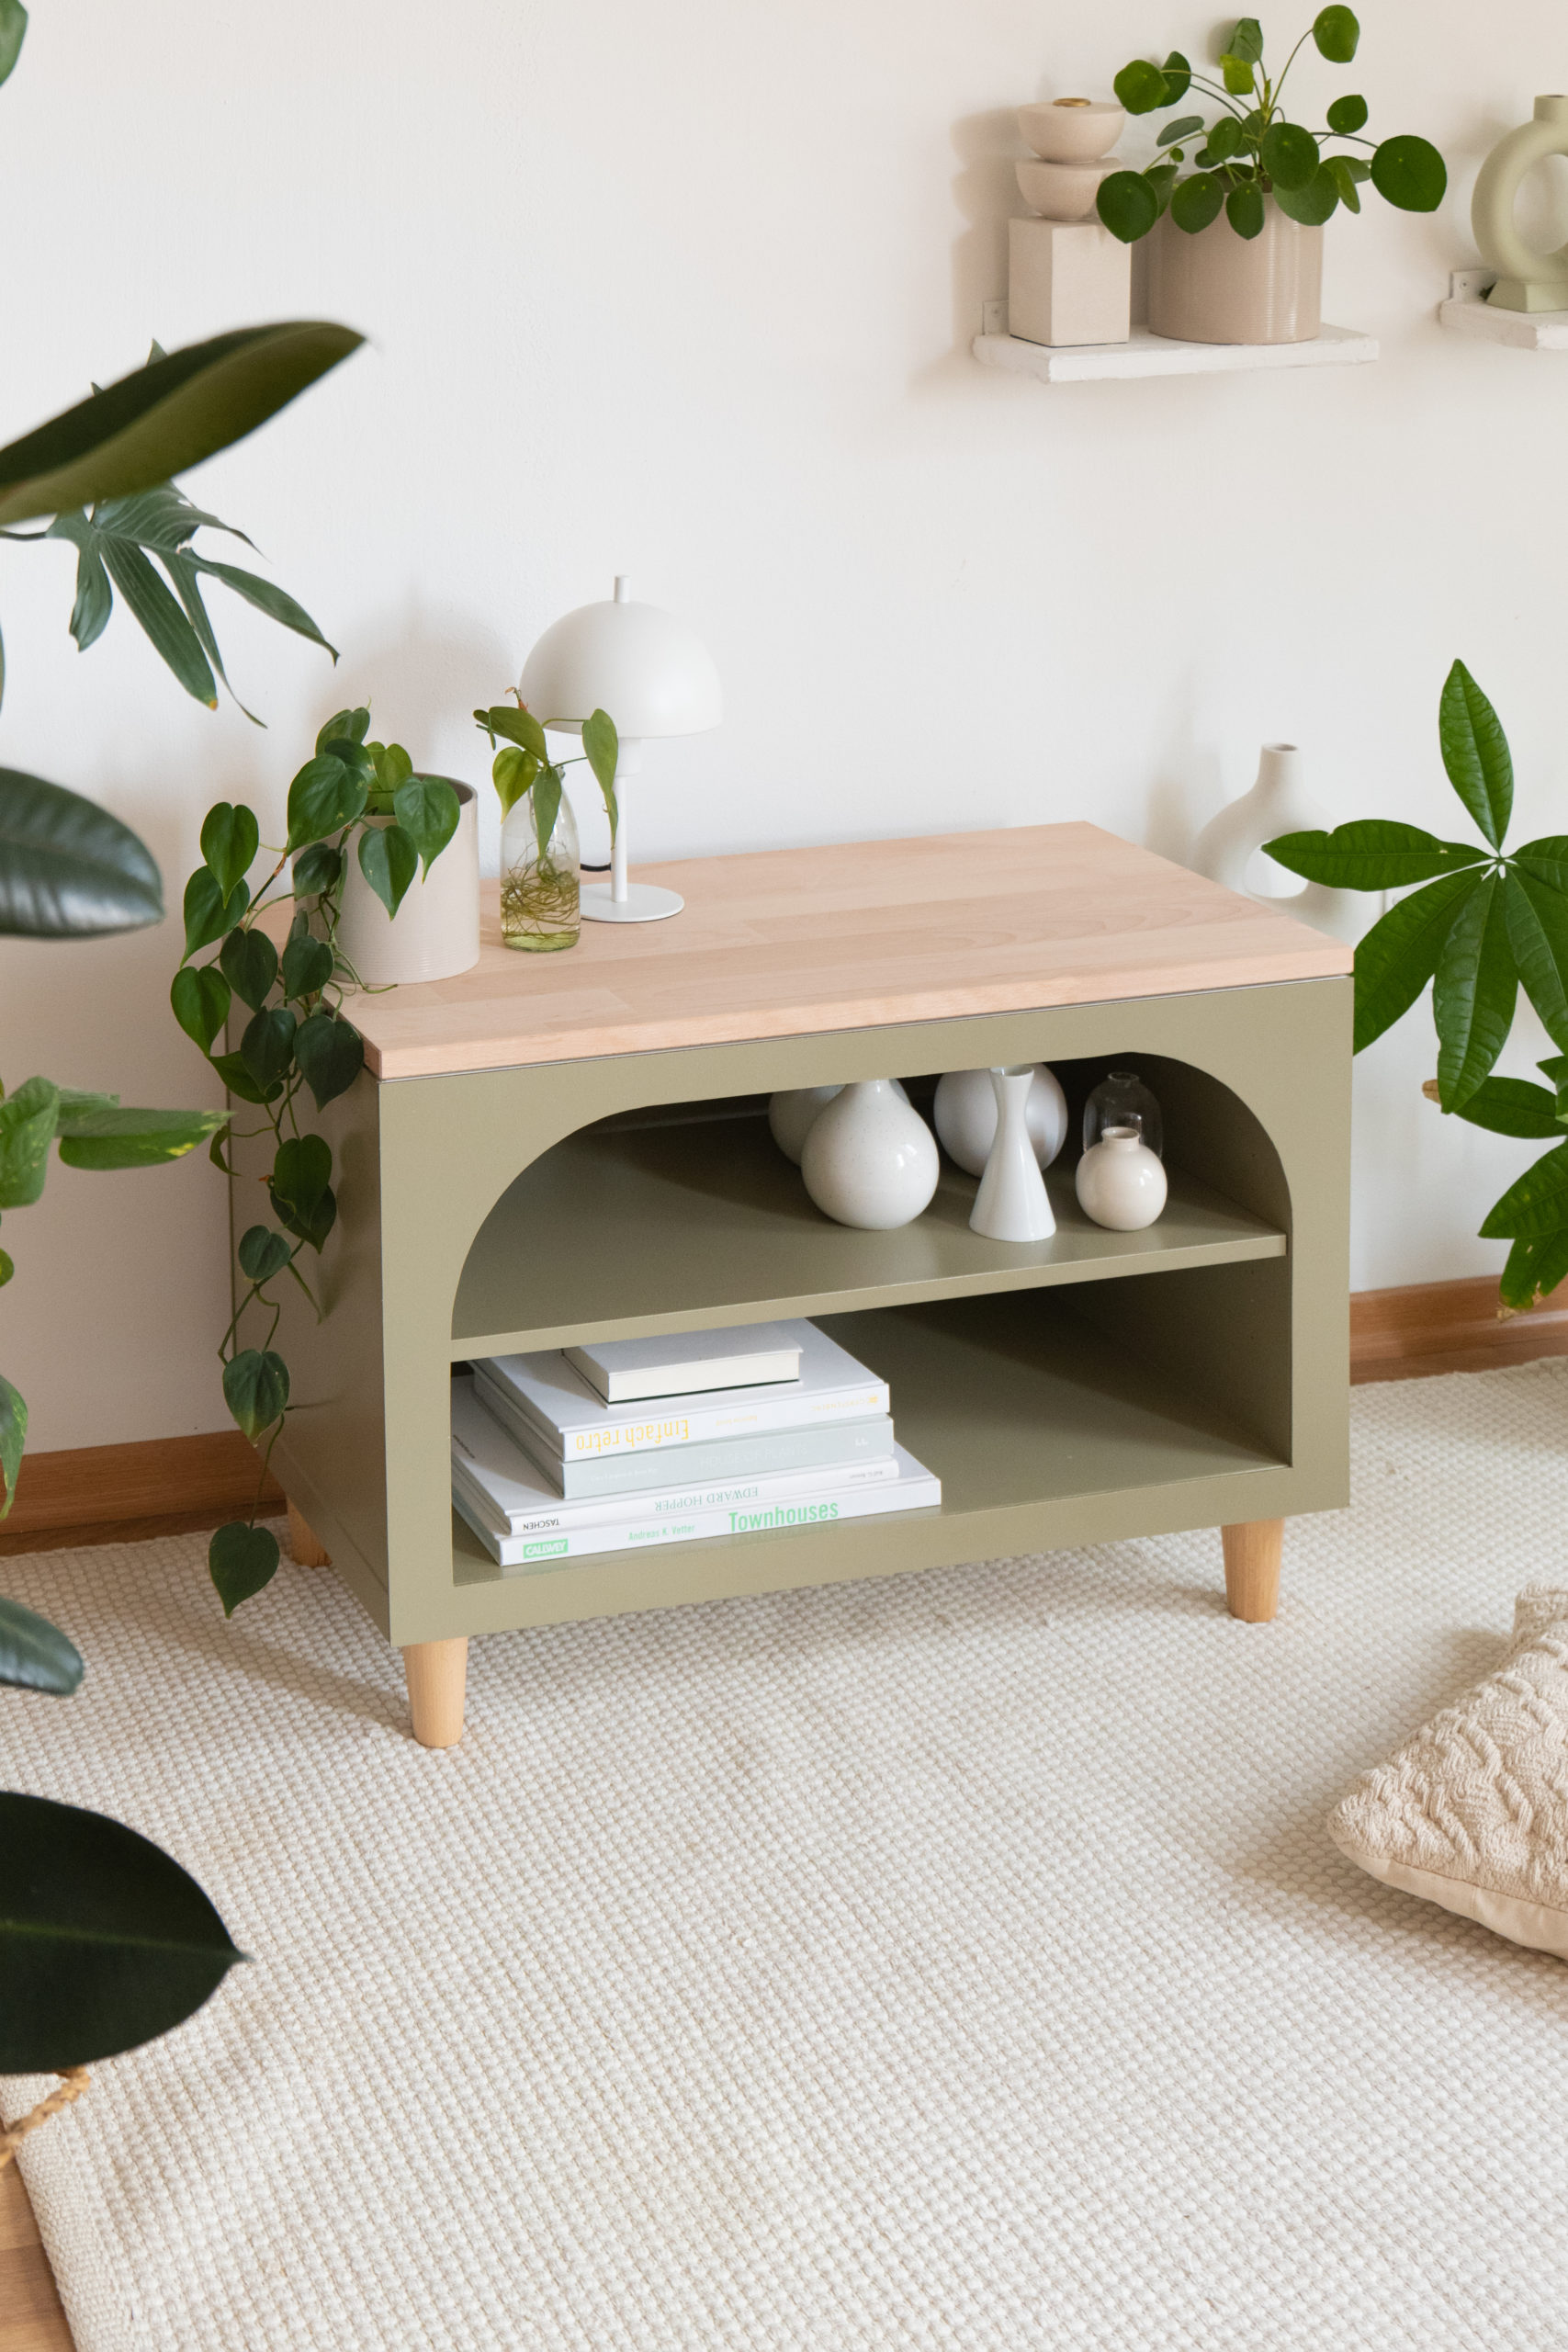
If you are curious about how I built this shelf with an arch cutout from a KALLAX element with 2 compartments, then please watch the video.

Paint IKEA wooden furniture yourself
IKEA also has furniture made from solid wood, such as the IVAR range. These are easier to paint than those made of metal or with a plastic coating. Furniture with wood veneer also falls under the same category.

If your piece of furniture is already painted, the surface must also be roughened with sandpaper. Don’t forget to remove dust! If the surface is untreated, you can save yourself the trouble of roughening it. However, it is advisable to clean the surface thoroughly.
There are practical 2-in-1 furniture varnishes for wooden surfaces that save you the trouble of priming because they also work as a primer. For wooden furniture, a primer can be useful to prevent the color from changing later due to so-called “bleeding through”. Ingredients in the wood come out and change the color. The primer can prevent this from happening.
I actually haven’t always worked with primer in my previous wood painting projects and have never had the problem of the wood bleeding and changing the color of the paint. However, I have received repeated messages on Instagram in the past that bleeding can be a problem, so I wanted to share this information with you.

Depending on the color chosen, it may also make sense to apply 2 coats of paint to achieve an opaque result.
You can find the detailed instructions for my Ikea IVAR dresser makeover HERE.

I really hope that the tips help you and that you can now get started painting your own IKEA furniture yourself. I wish you lots of success. 🙂
If you are looking for more ideas for Ikea hacks, then take a look HERE.
And if you don’t want to miss any of my new projects in the future, then follow me on Instagram!

*Affiliate Links: I receive a small commission if you purchase something through these links. This doesn’t make the product more expensive for you and you support me in my work.
similar posts
Source: www.schereleimpapier.de