
Advertising
{Partner: Brother // Information about advertising at my fairy dust}
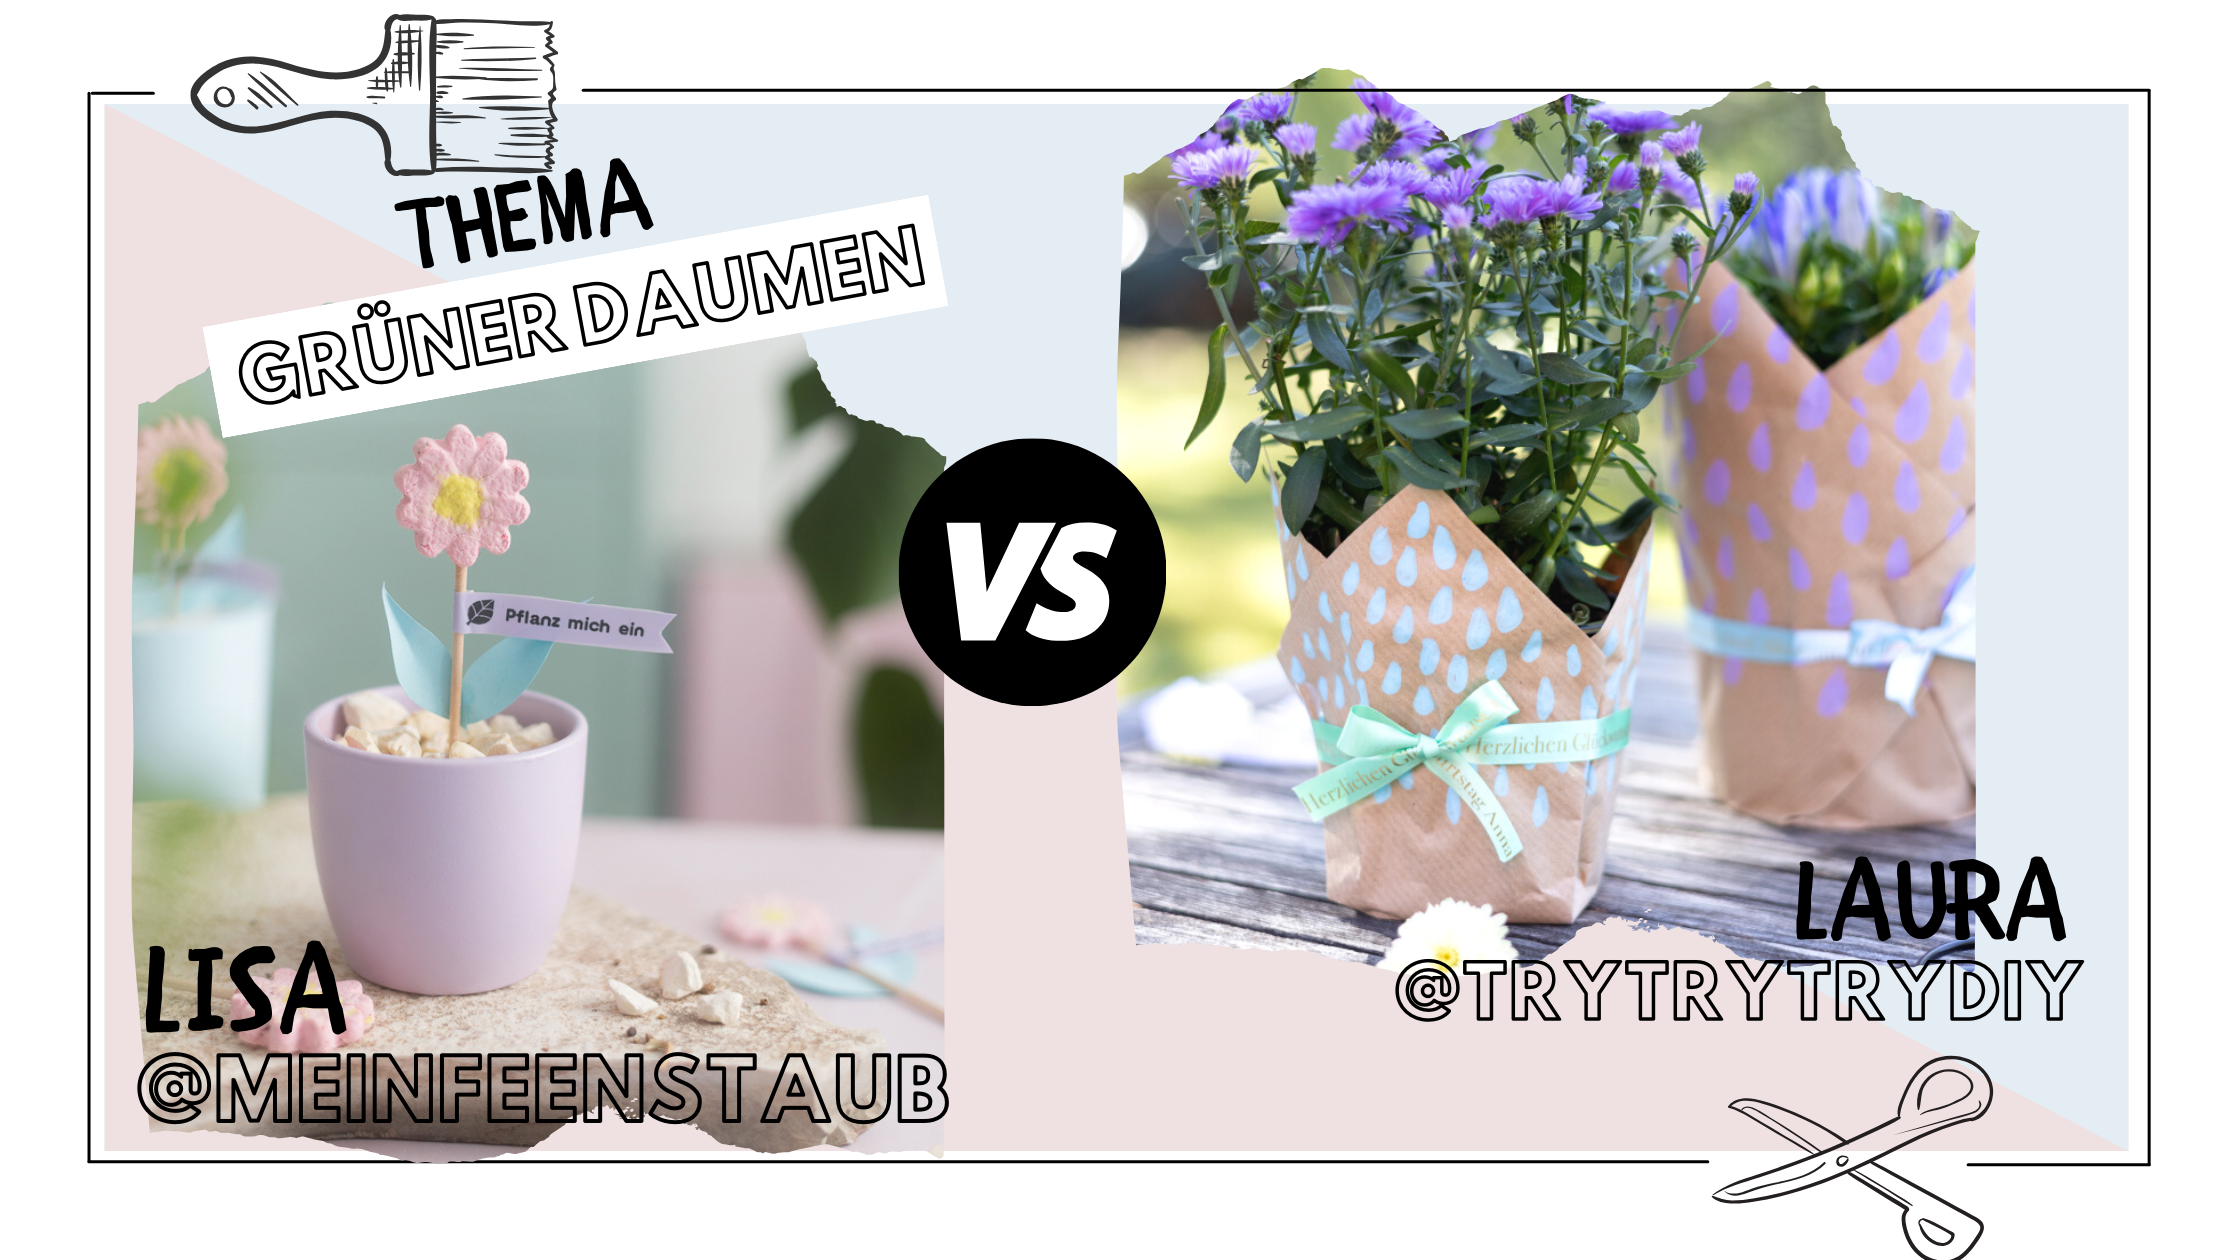
The #DIYYearChallenge, which I organize every month with Laura from trytrytry, continues! Our topic today is “Green Thumb” – so Laura and I each implemented a creative idea about flowers and plants.
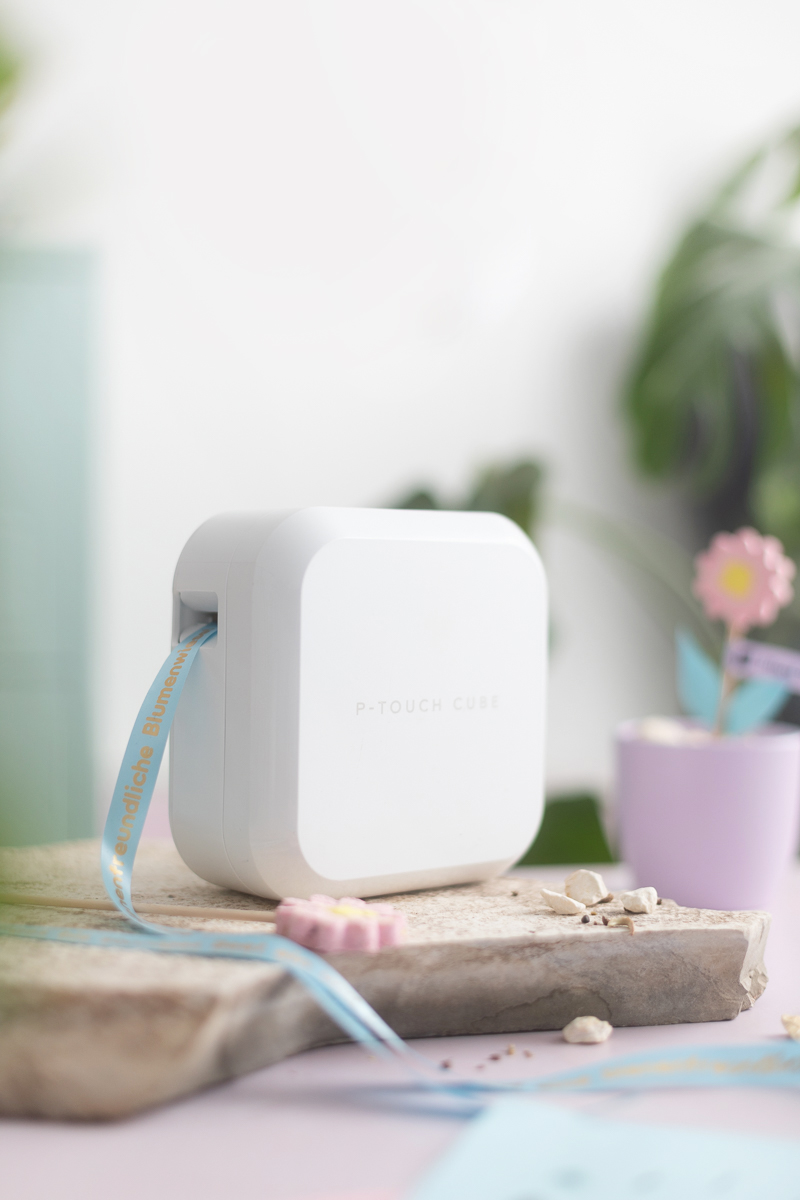
Our sponsor of the #DIYYearChallenge in September is Brother. Brother once again used the smart labeling device P-touch CUBE Plus – this allows you to individually label tapes and labels using an app. This means there are no limits to creative ideas.
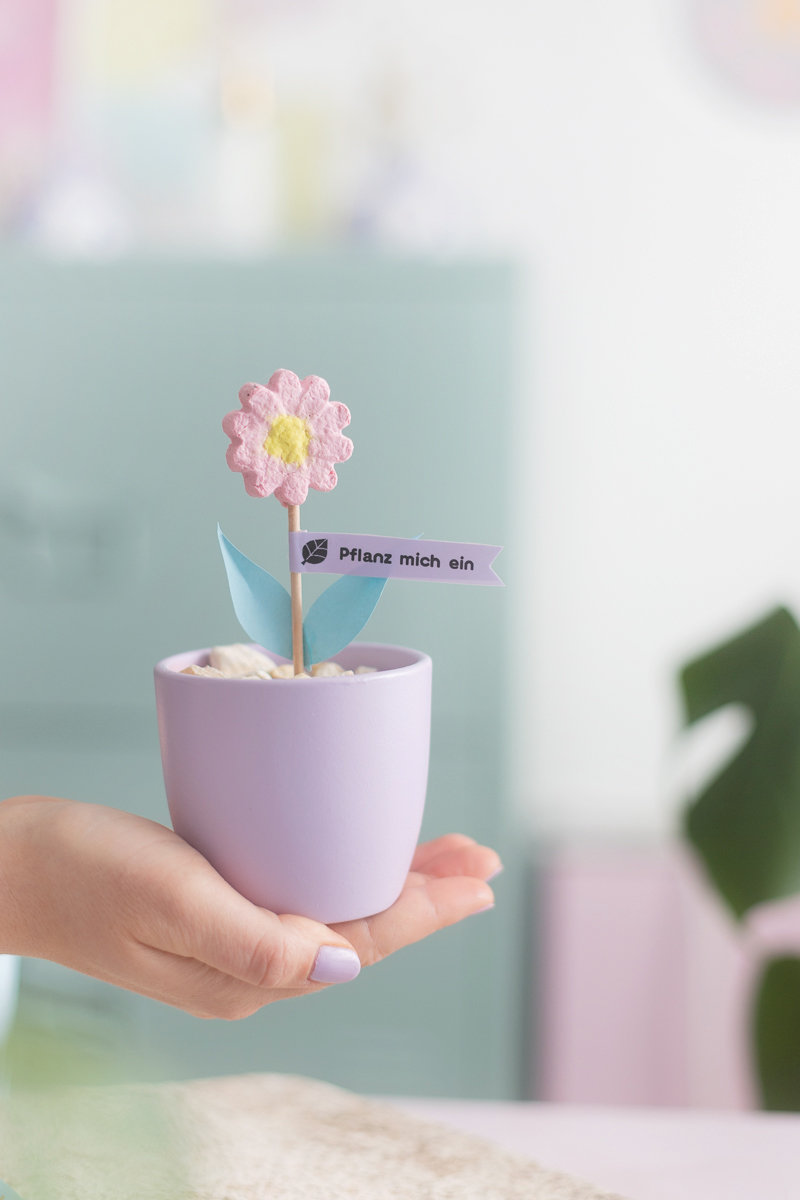
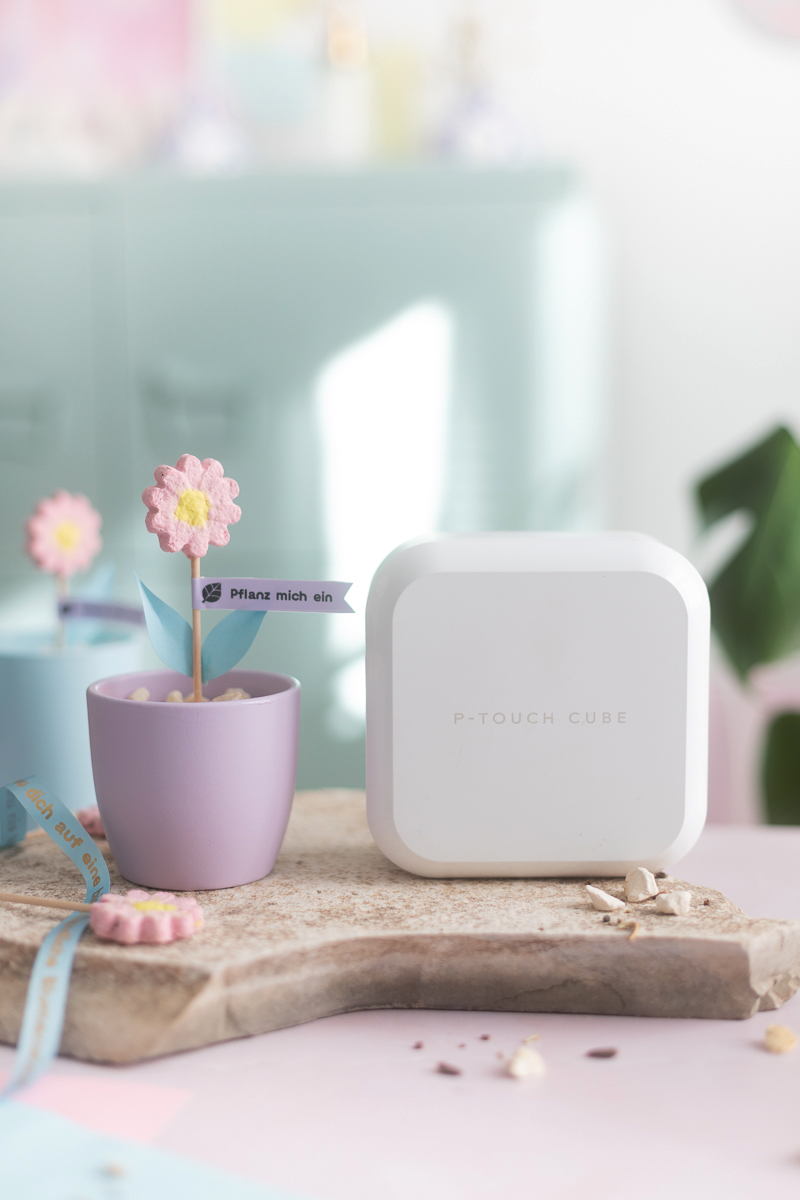
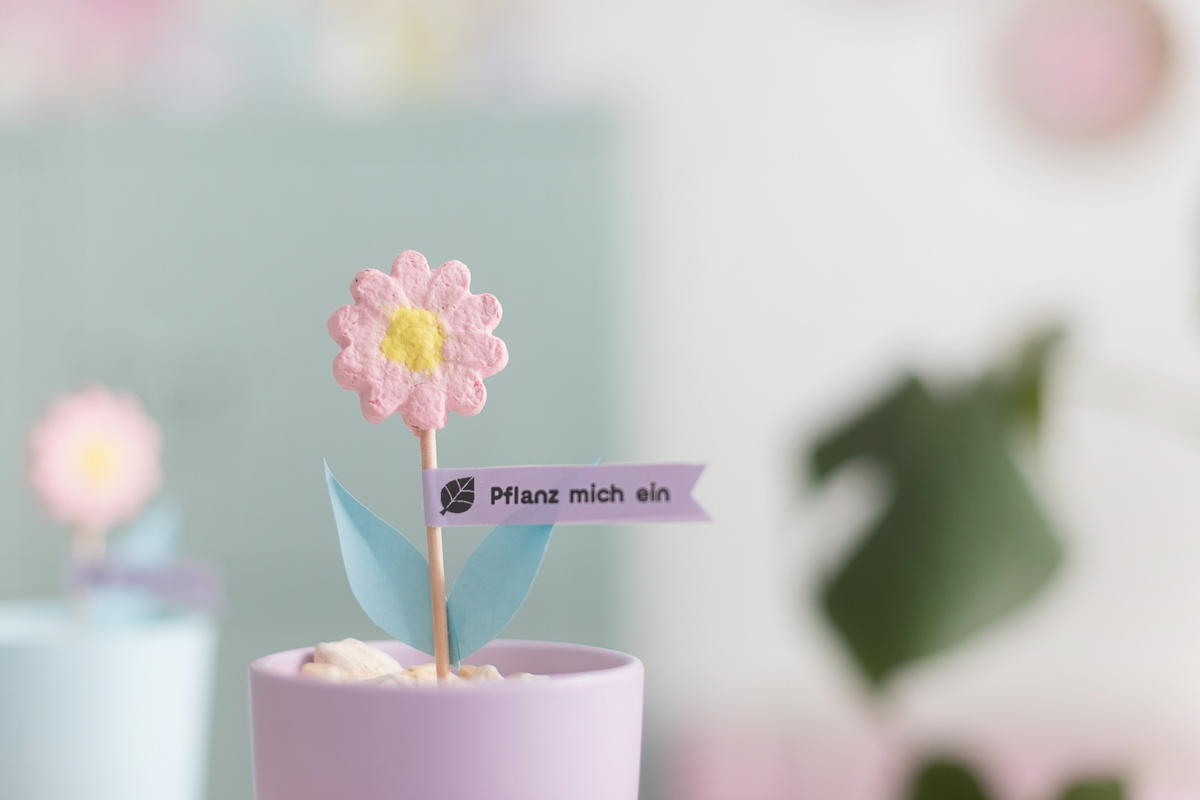
For our challenge topic “Green Thumb” I have implemented a homemade gift idea for everyone who loves flowers and plants: There are seeds in the paper flower to plant as a little surprise.
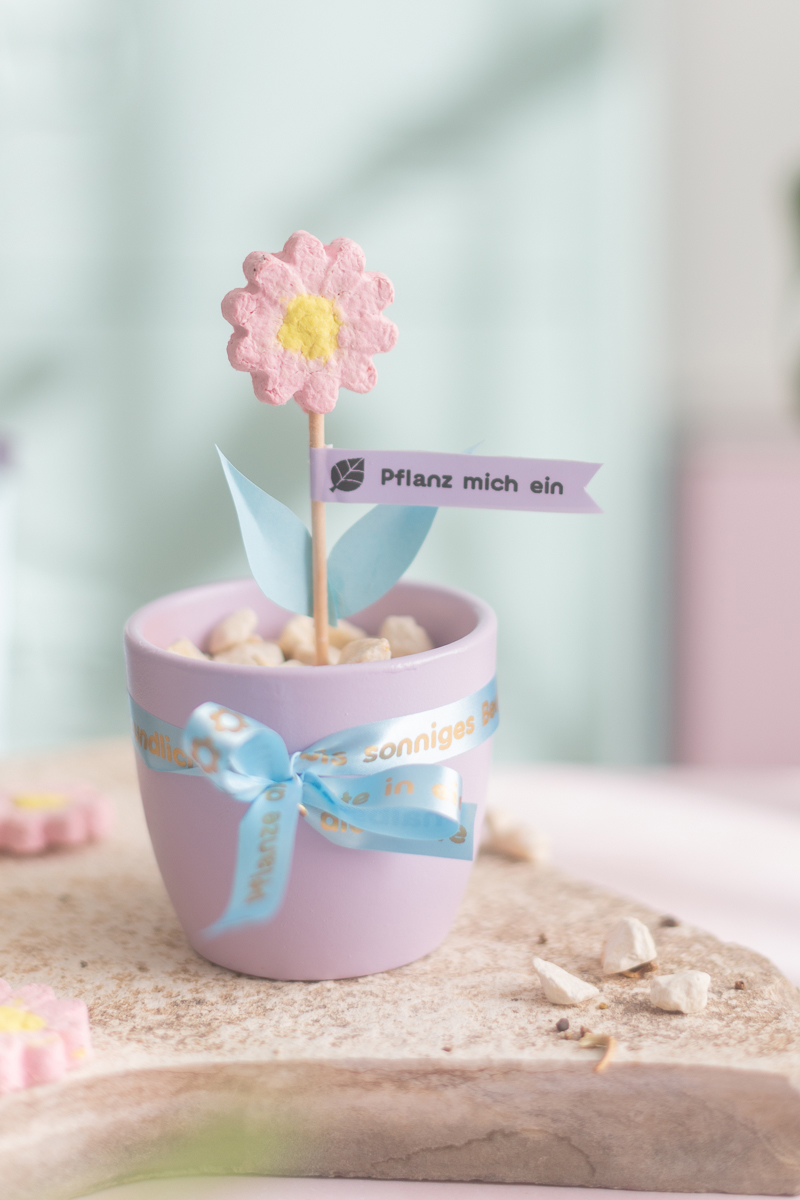
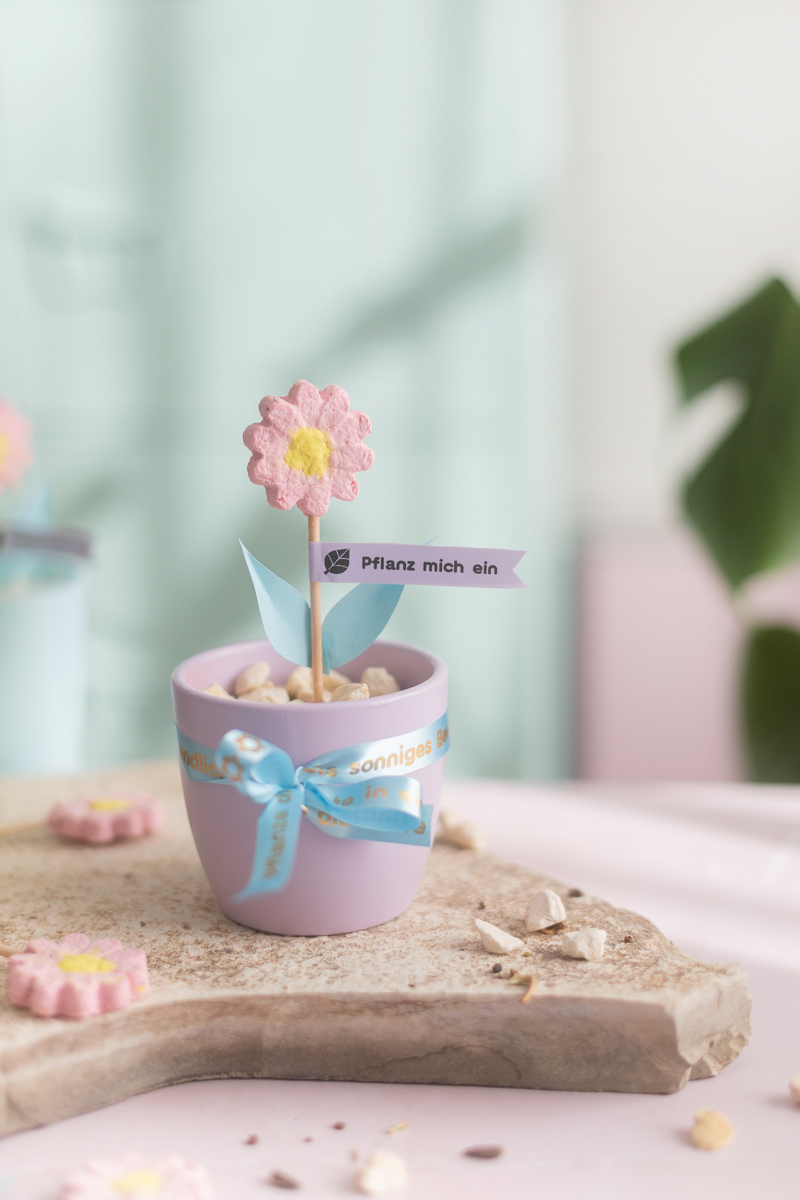
I printed out the “Plant me in” label with the P-touch CUBE Plus – as did the textile gift ribbon that I tied around the plant pot.
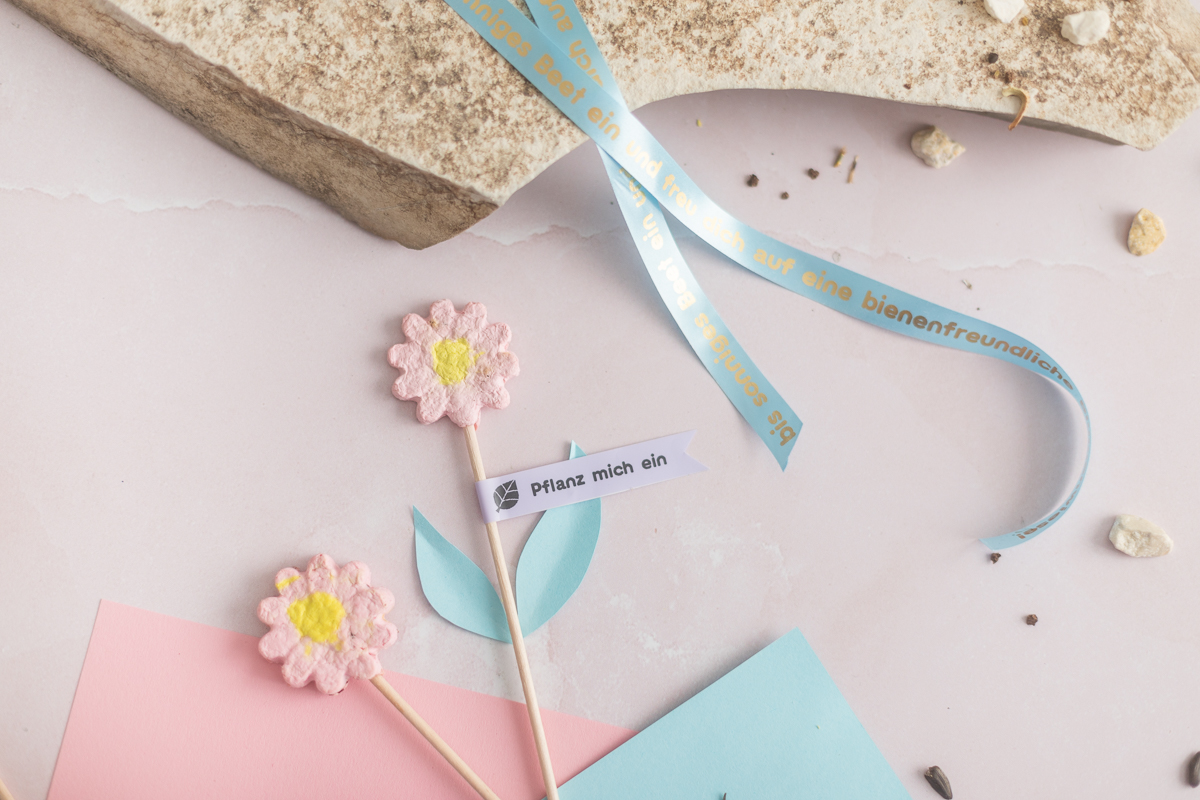
On the gift ribbon there are short instructions on when and where to plant the seeds. That’s a real wow factor when you unpack it.
Collect and dry seeds
By the way, now in late summer is exactly the right time to collect seeds from your flowers from the balcony and garden. So you are perfectly prepared for next spring
The plants that are now withering are now also setting seeds. To harvest the seeds, peel off the brown seed pod and open it – then shake the seeds out and dry them on some newspaper.
You can sow these flowers in autumn:
If you would like to give away the homemade gift now in late summer and autumn, it is best to buy seeds from the garden center.
In September, for example, you can sow forget-me-nots, pansies or violets.
About the P-touch Cube Plus
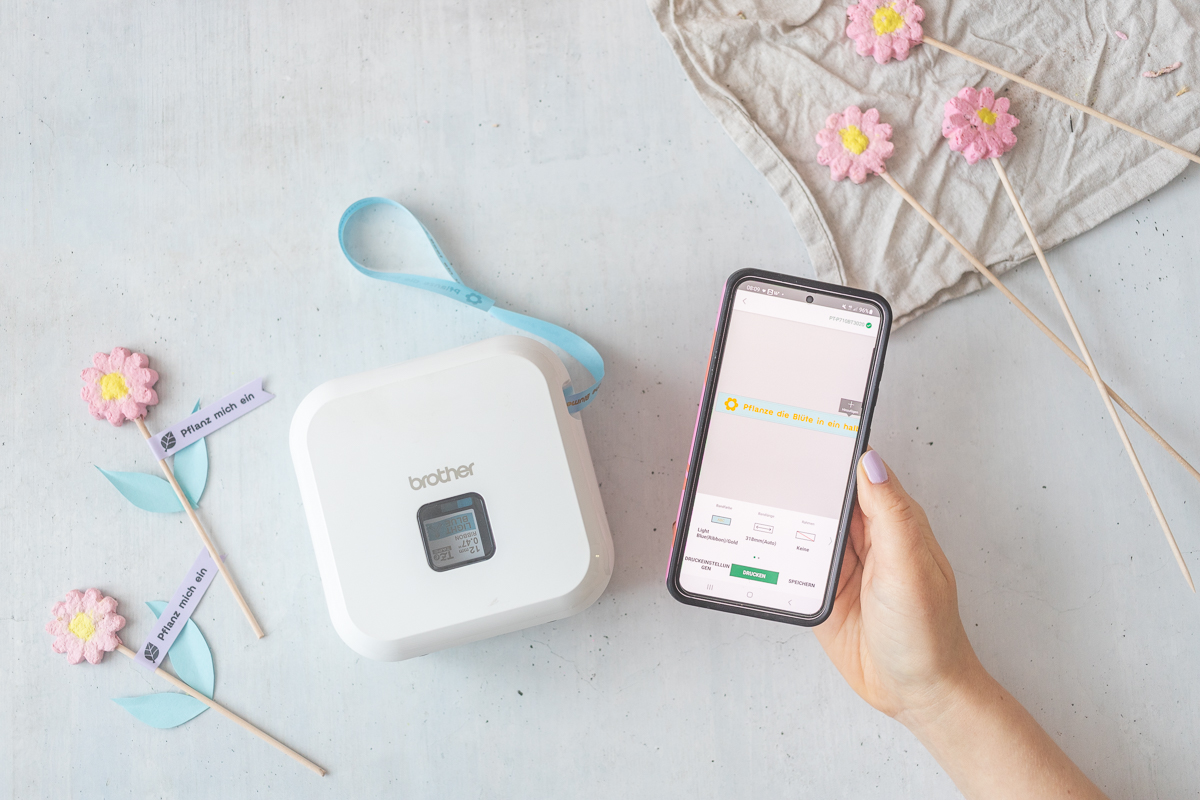
The P-touch CUBE Plus is a smart labeling device – you can connect it to your smartphone via a Bluetooth interface. This includes an app in which you can then enter the lettering that you would like to print.

This is how it works:
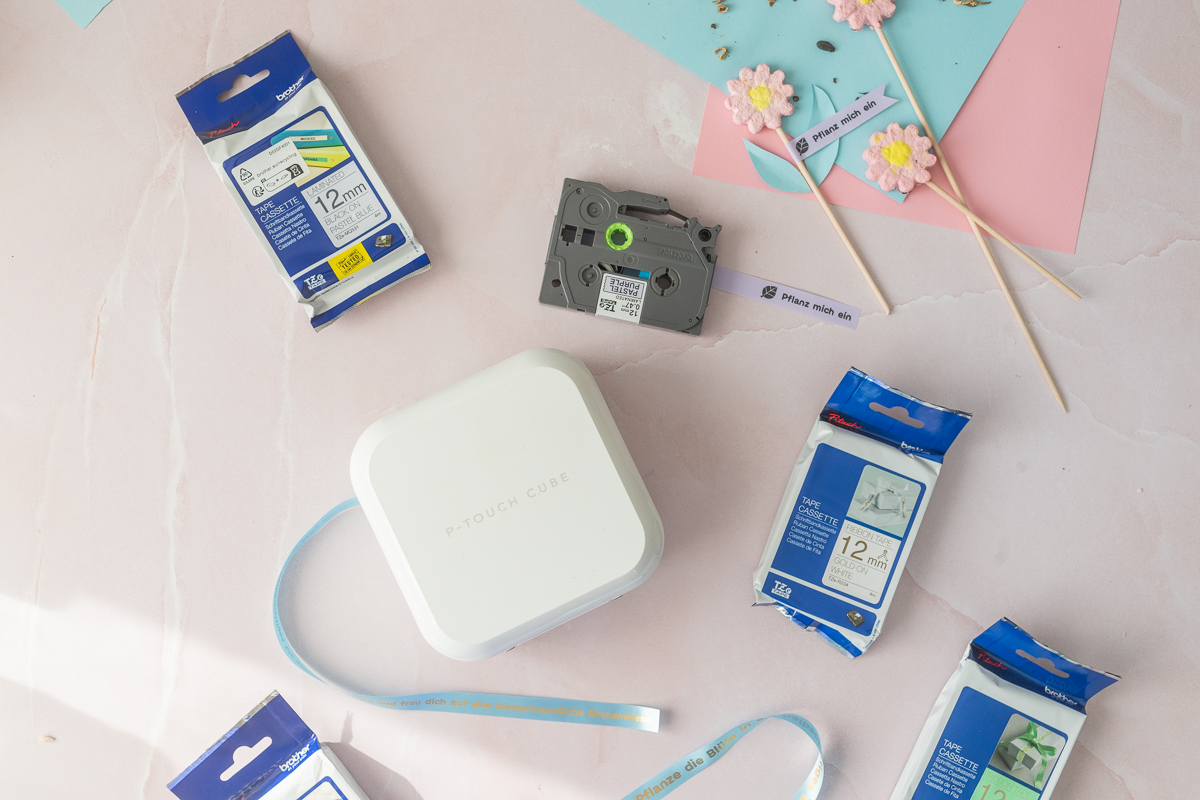
1. Equip yourself with a tape cassette of your choice (textile tape, labels or iron-on tape). The tape cassettes are available in many different colors.
2. The tape cassette is inserted into the device. Then open the associated app on your smartphone and enter your text. Here you can choose between different fonts and adjust the font size. Optionally, you can also add icons and frames.
3. Then click on “Print” and your individual label tape will be printed!
The P-touch CUBE Plus can print tapes and labels with a width of up to 24mm.
On this Brother page you can find more information about the P-touch CUBE Plus and the matching label tapes.
I love the P-touch CUBE Plus, I use it regularly at home – whether for practical labels (for the wardrobe, the kitchen or the medicine cabinet) or for great DIY decoration.
ABOUT THE DIYYEARCHALLENGE
Every month Laura from trytrytry and Lisa from meinfeenstaub take on a new DIY challenge on a given topic with the #DIYYearChallenge.
Our monthly sponsor sends us the same material – and everyone comes up with a DIY idea using the same material – the community then votes on who wins and who implemented the topic better! Besides, there is always on Instagram to win the sponsor’s products.
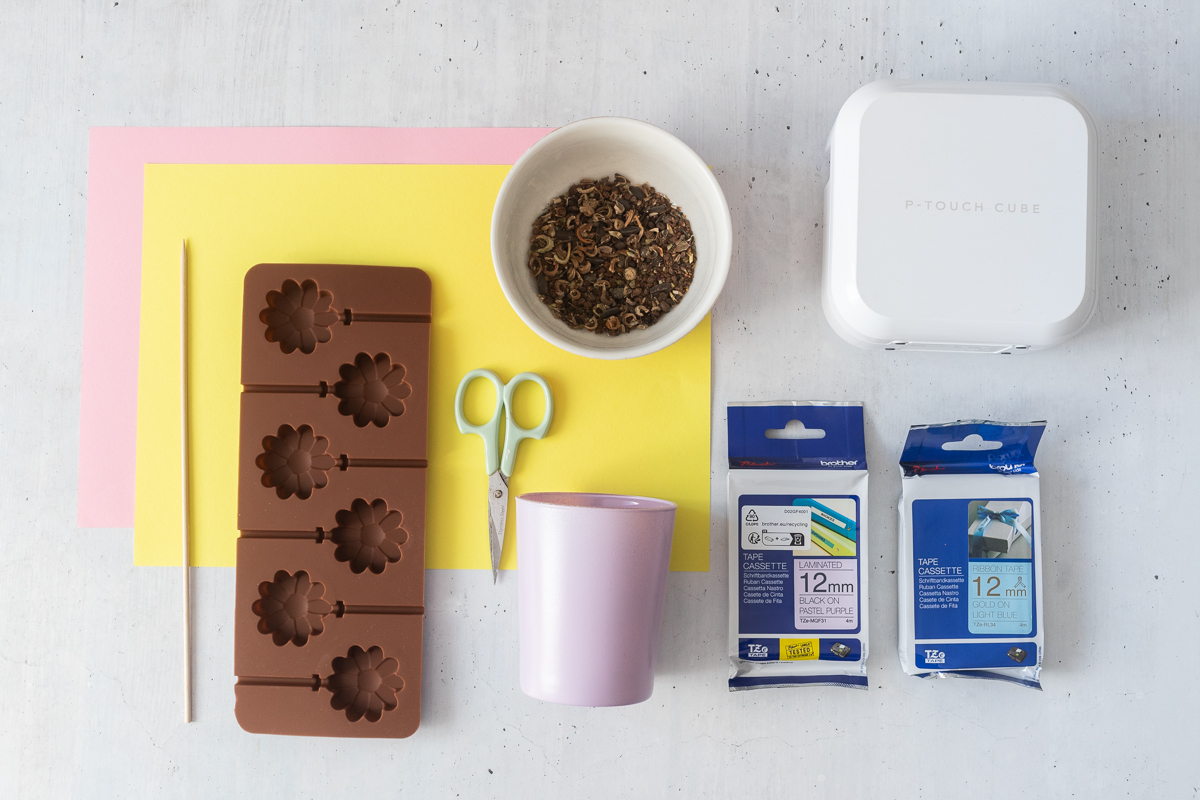
This is how it works: paper flower with seeds as a gift idea
The links are partner links. This means that if you purchase the product via this link, I will receive a tiny commission. Nothing changes in price for you!
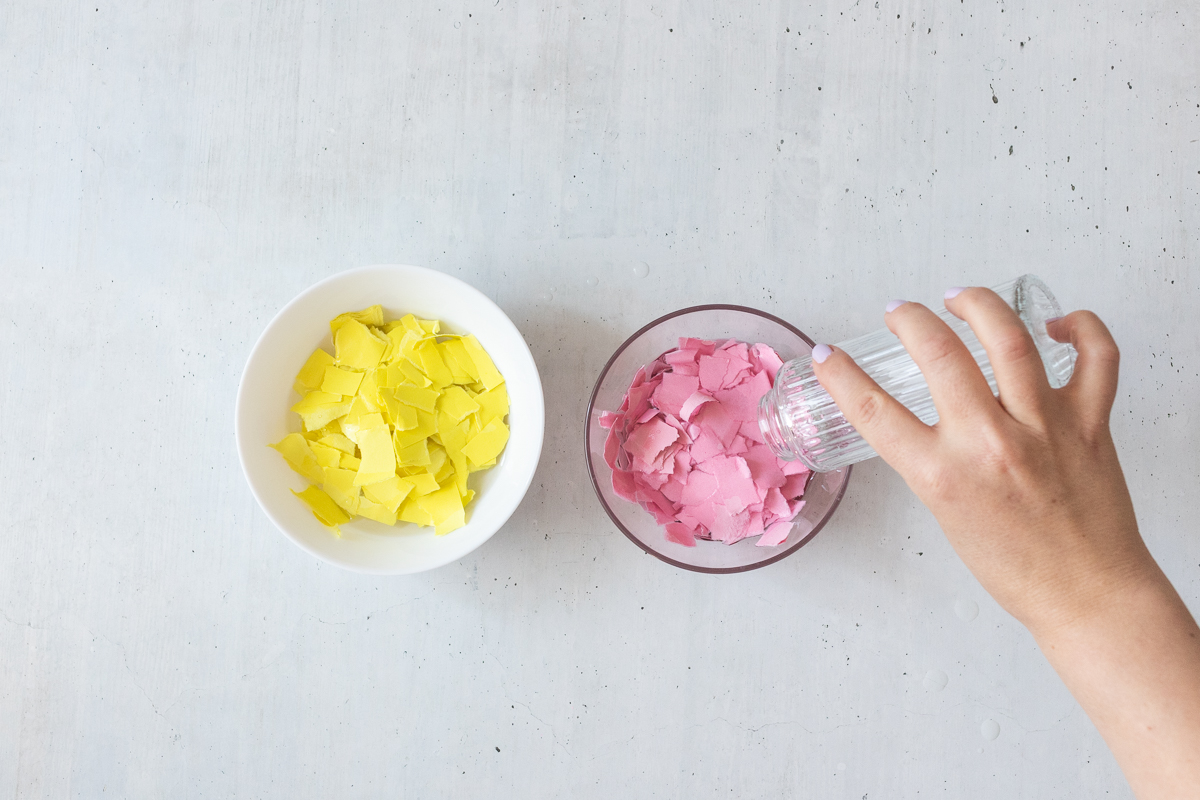
Step 1: Mix the paper mass
In the first step, the paper mass is mixed. Prepare two bowls for this. Tear the pink and yellow paper into many small pieces and place them separately in a bowl. Pour water into the bowls so that the shreds are all submerged in water.
Now let the snippets soak in the water for about 30 minutes until they are well soaked.

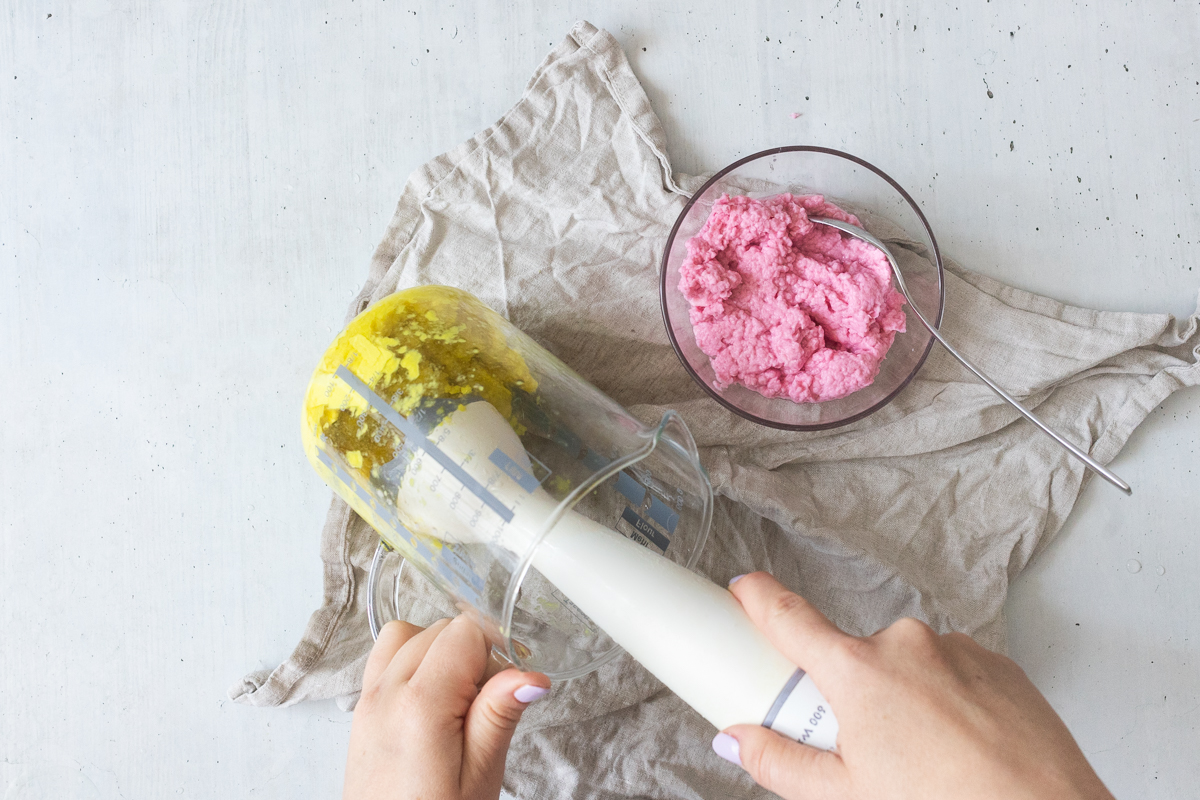
Now fill the paper scraps separately from each other in a tall mixing vessel. Using the hand blender, puree the paper shreds into a smooth mass. Then put the shreds back into the bowls.
Now press the excess water out of the paper mass with a tea towel.

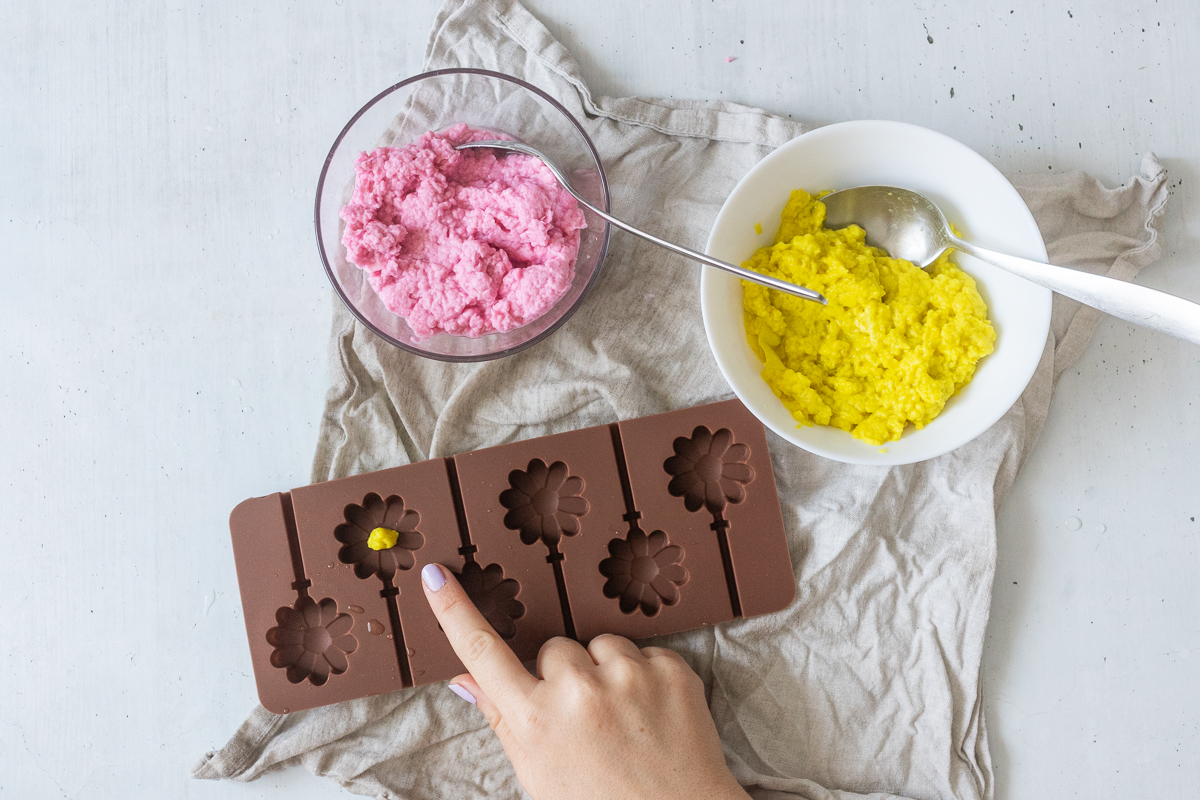
Step 2: Fill the silicone mold
In the next step, form a small ball out of the yellow paper mass and place it in the middle of the flowers in the silicone mold.
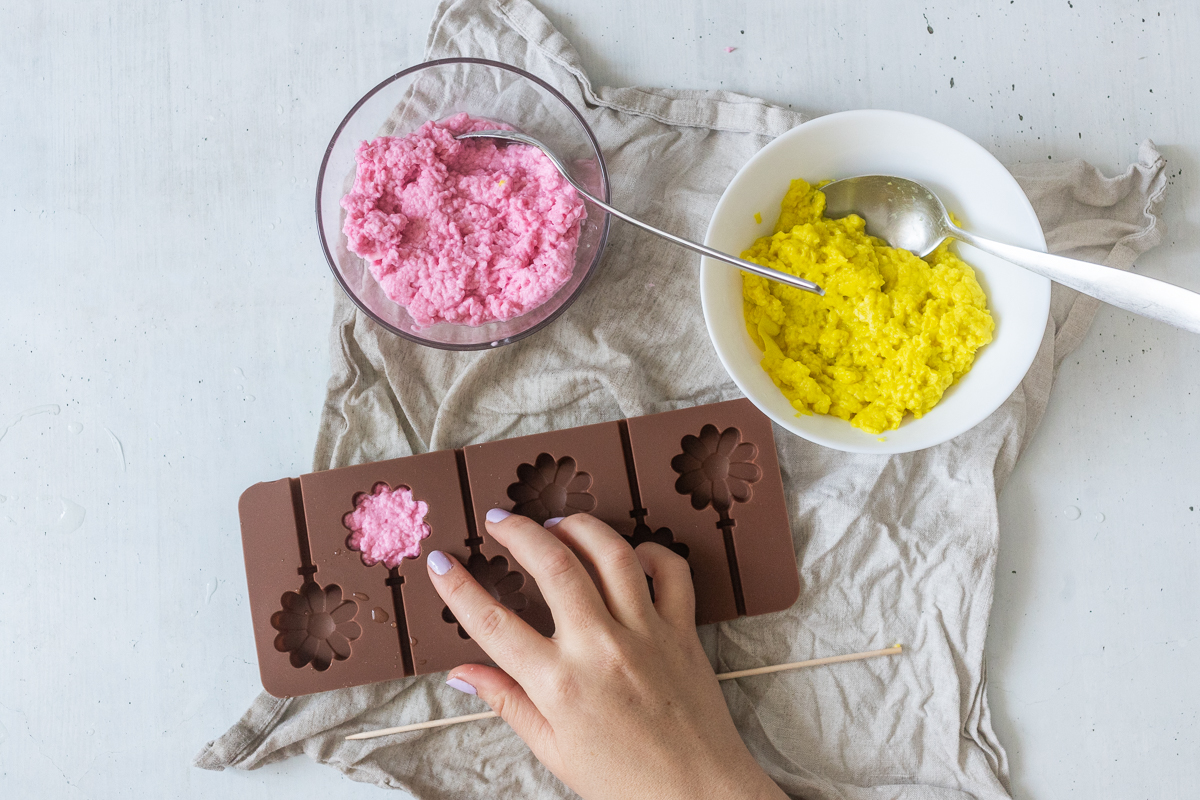
Now fill the mold halfway with the pink paper mass. Press it down well so that the shape is well filled.
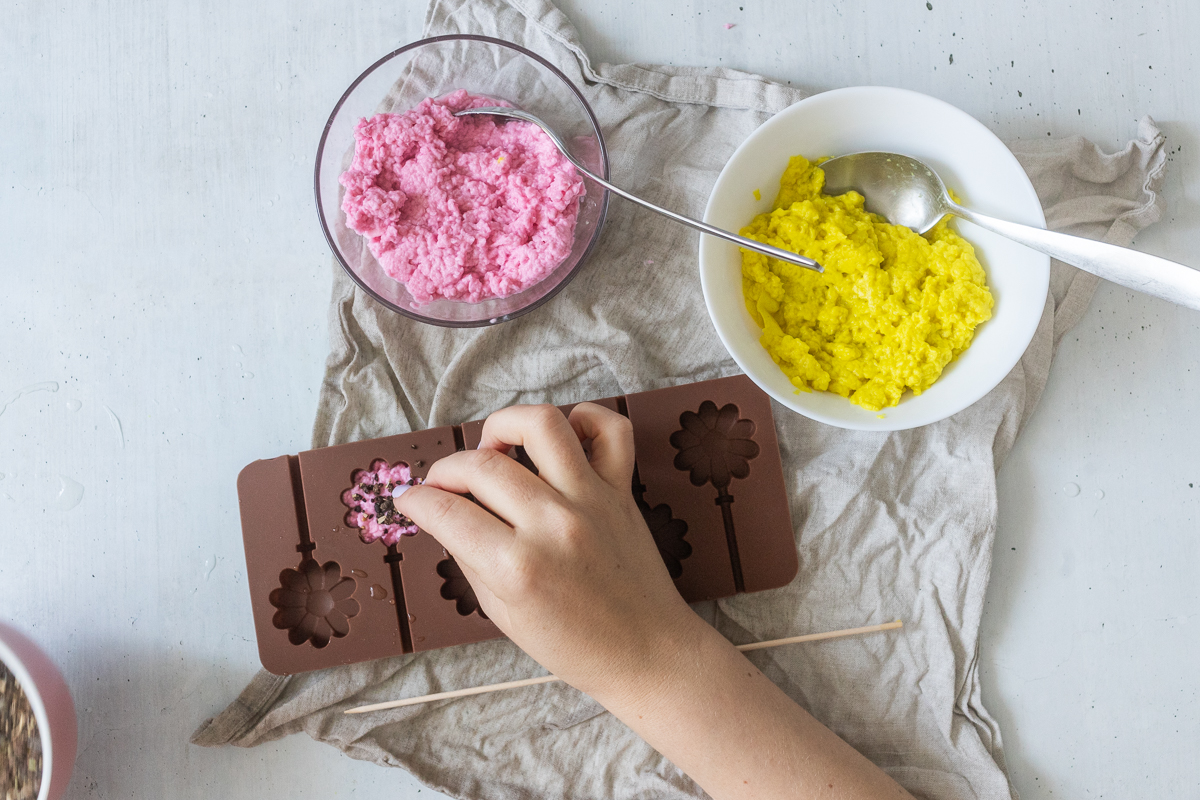
Step 3: Fill seeds into the silicone mold
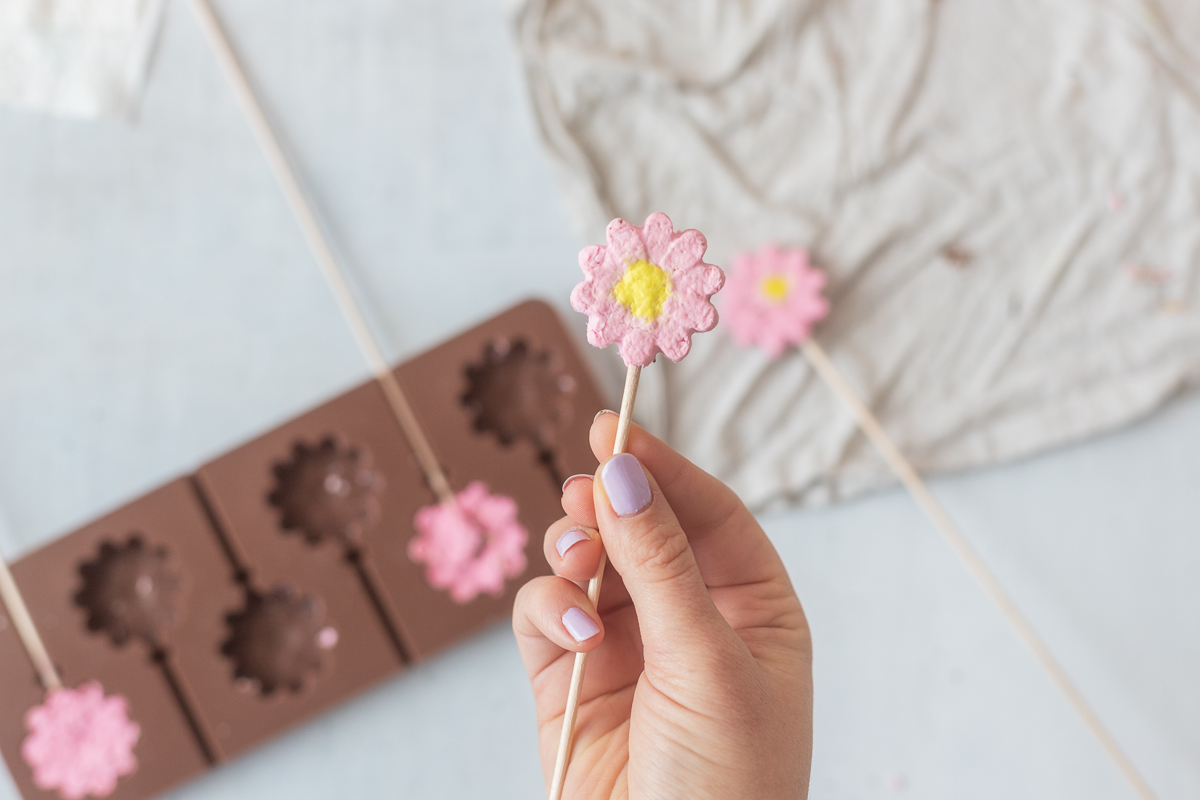
Next, fill the seeds into the silicone mold. Press them a little into the pink paper mass. Now place a kebab skewer in each of the flowers and press it slightly into the pink mixture.
Then fill the rest of the mold with pink paper mass.
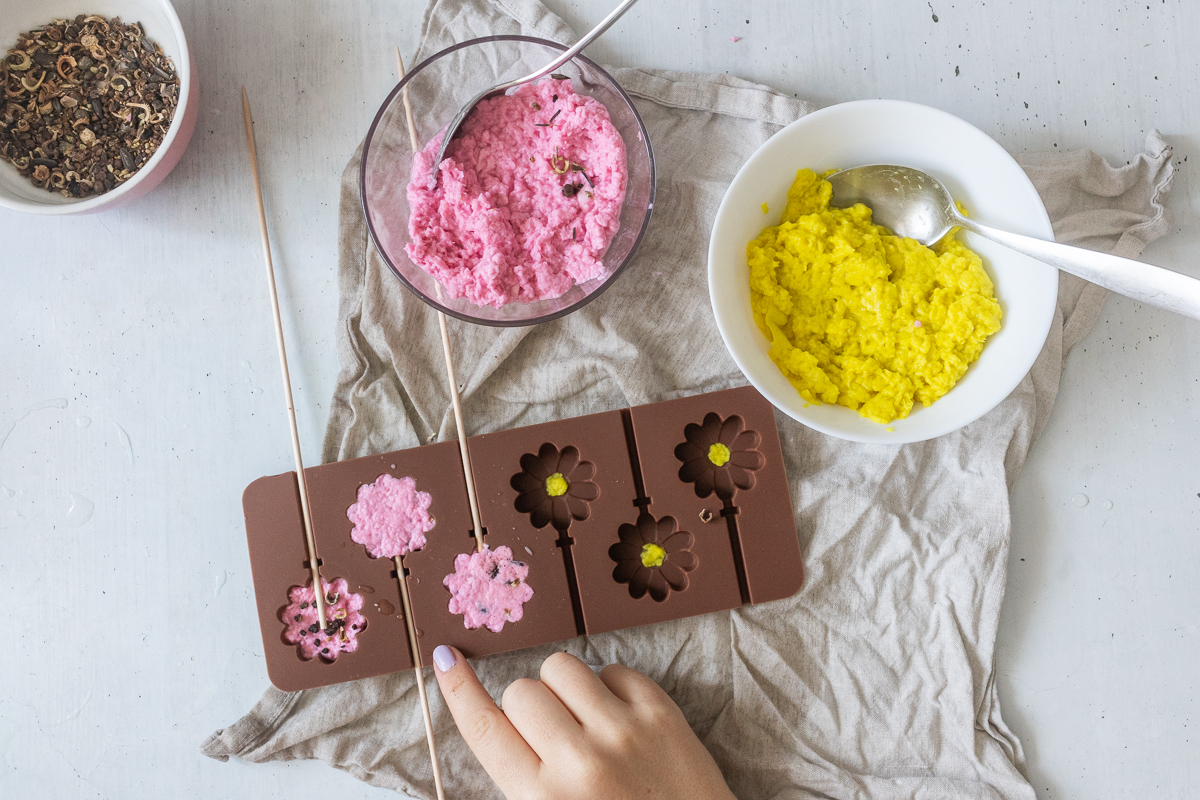
Now repeat this for the other flowers from the silicone mold if you want to make several of the DIY gifts.
Then let the paper flowers dry in the mold. They need about two days to dry thoroughly. Then carefully take the flowers out of the mold using the kebab skewers.
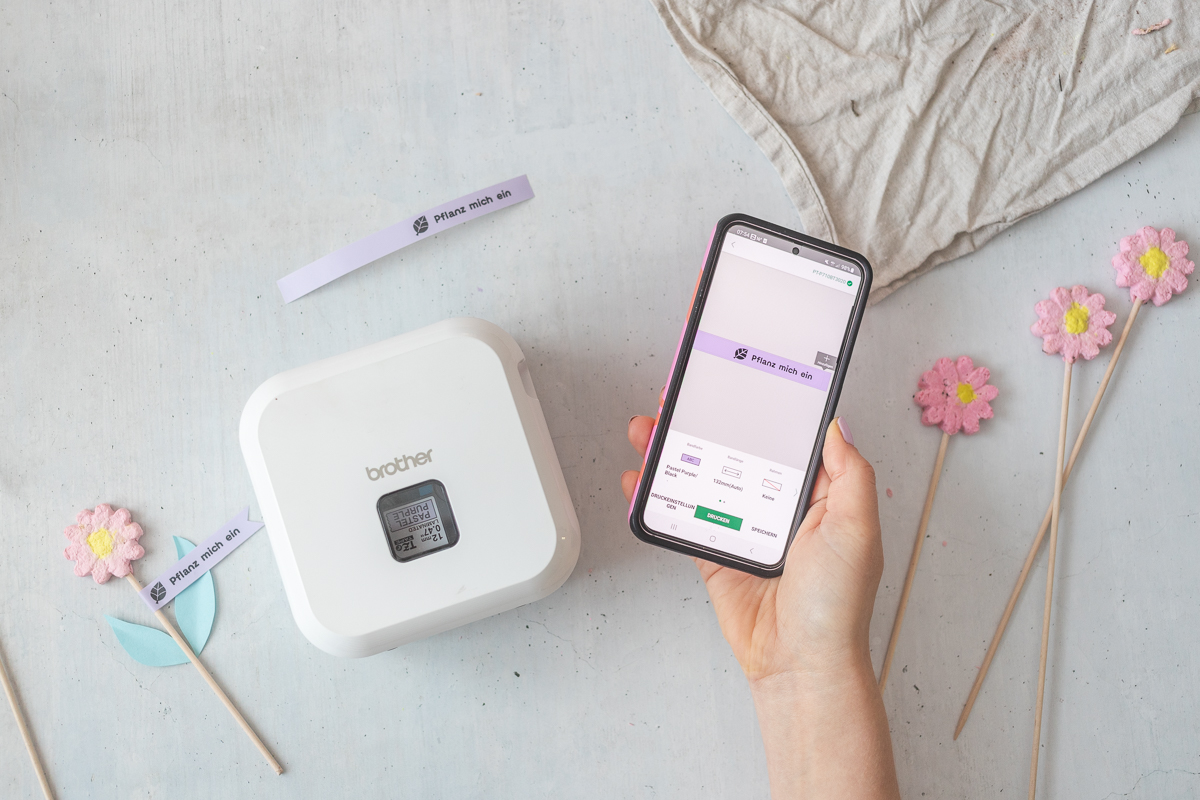
Step 4: Print labels with the P-touch CUBE Plus
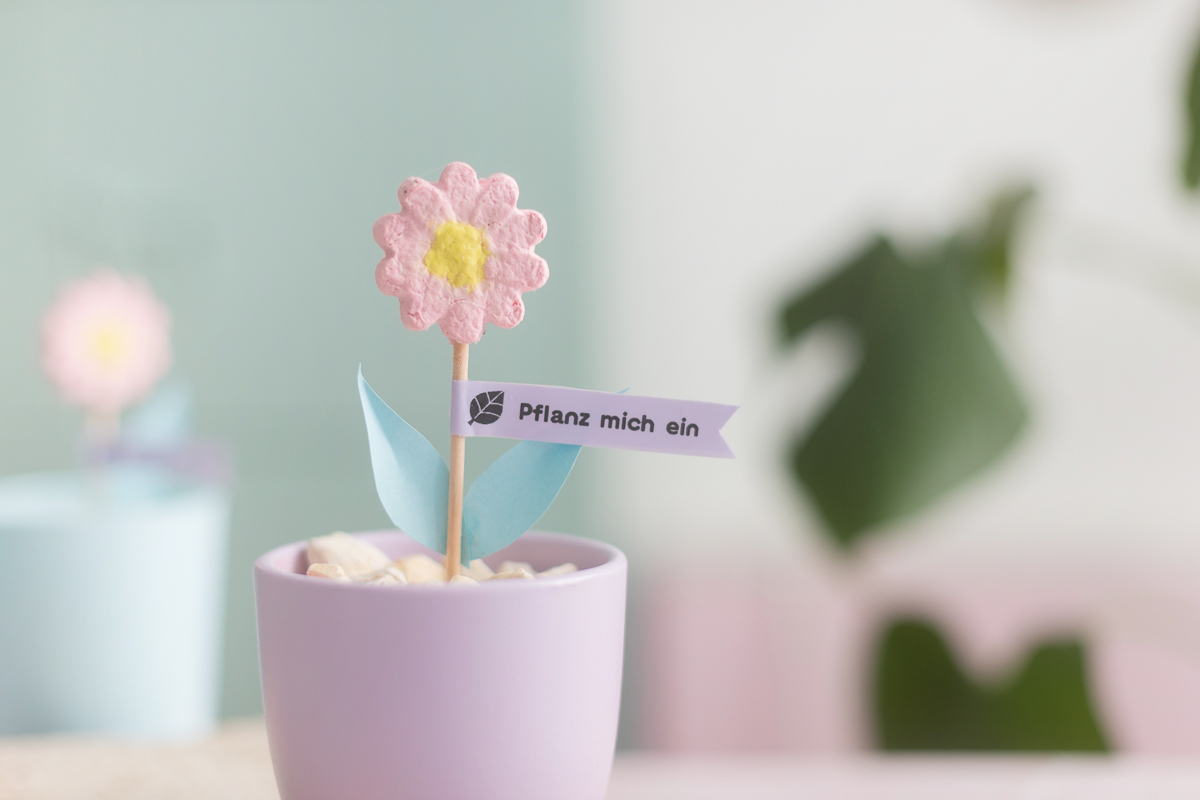
Now it’s time to decorate the DIY gift: Use the P-touch CUBE Plus to print out a label with the words “Plant me in”. I first placed a few spaces in front of the lettering according to the length of the text, so that I can use the label twice.
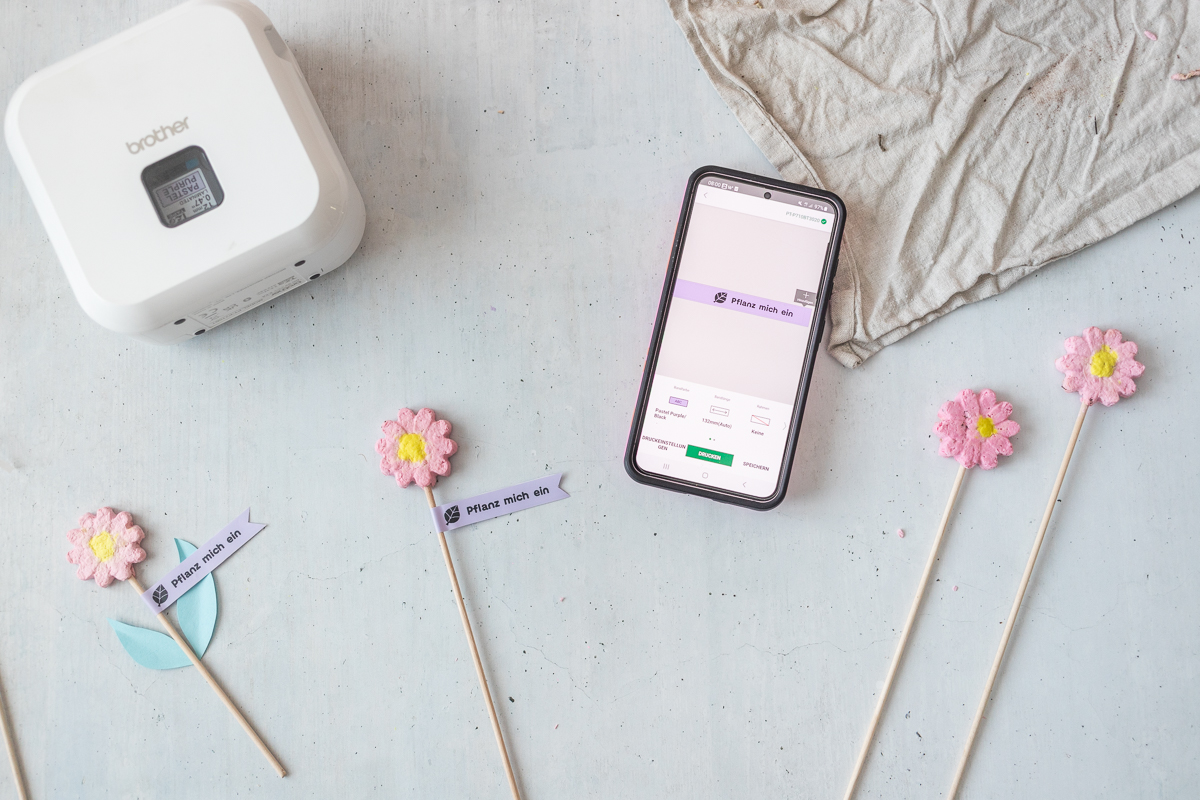
You also have the option to choose from different symbols in the P-touch CUBE Plus app. Here I chose a small leaf as a symbol to match the flower gift.
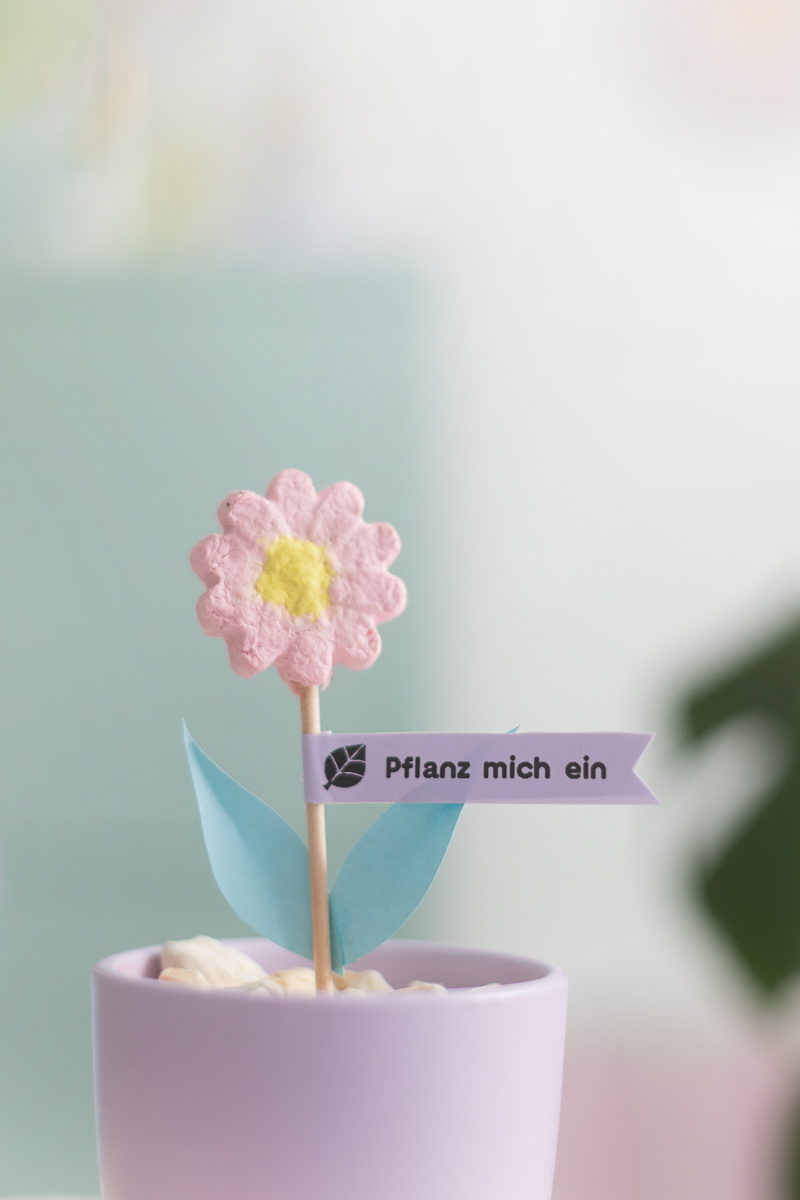
Print out the label and stick it around the shish kebab skewer. If you like, you can cut the label into a triangular shape on the edge, so it looks like a small flag.
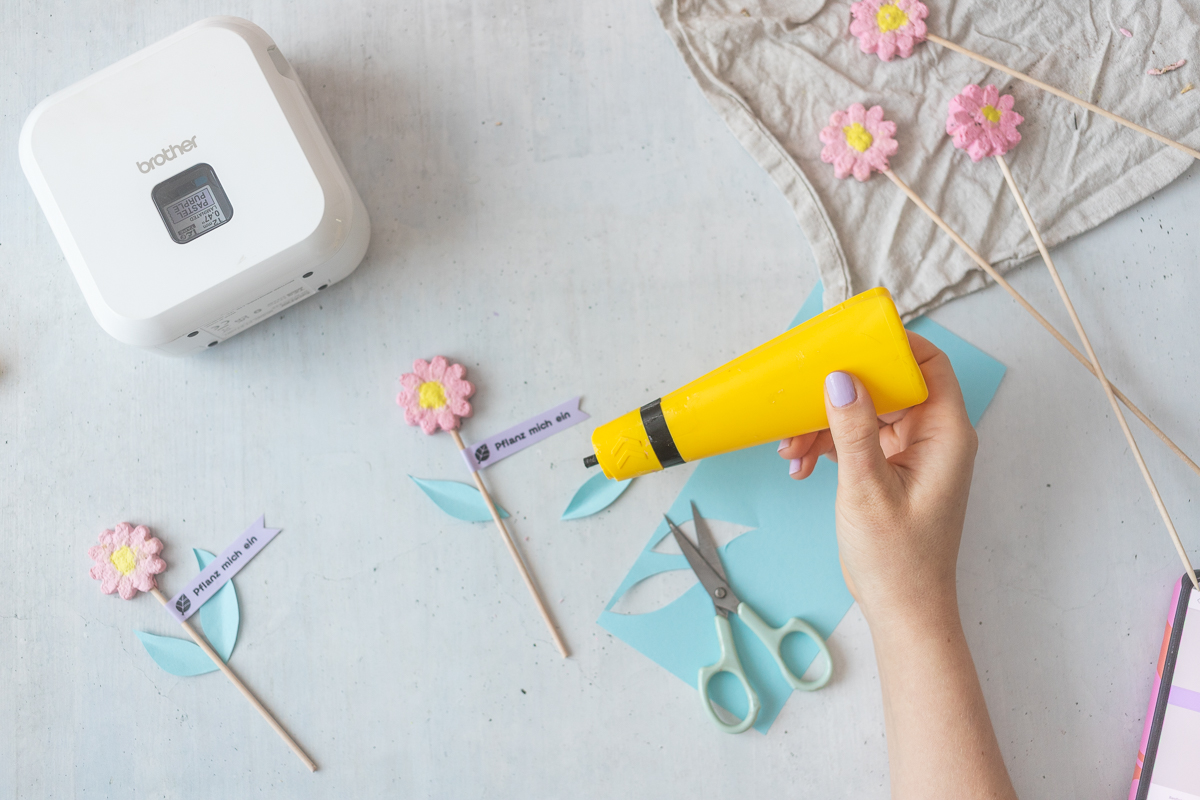
Step 5: Cut out flower leaves
In the next step, cut out the flower leaves from construction paper in a pointed teardrop shape.
I chose blue construction paper, but you can of course also use classic green construction paper. Glue the leaves to the skewer with craft glue.
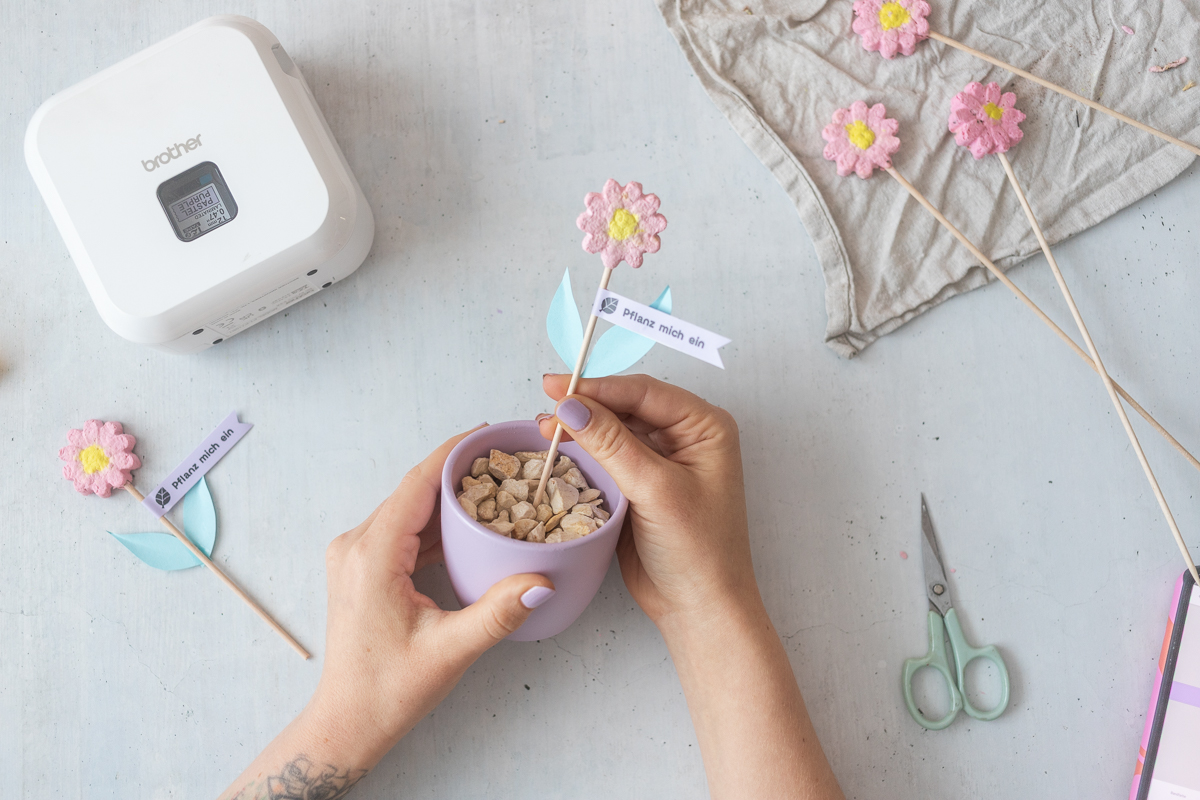
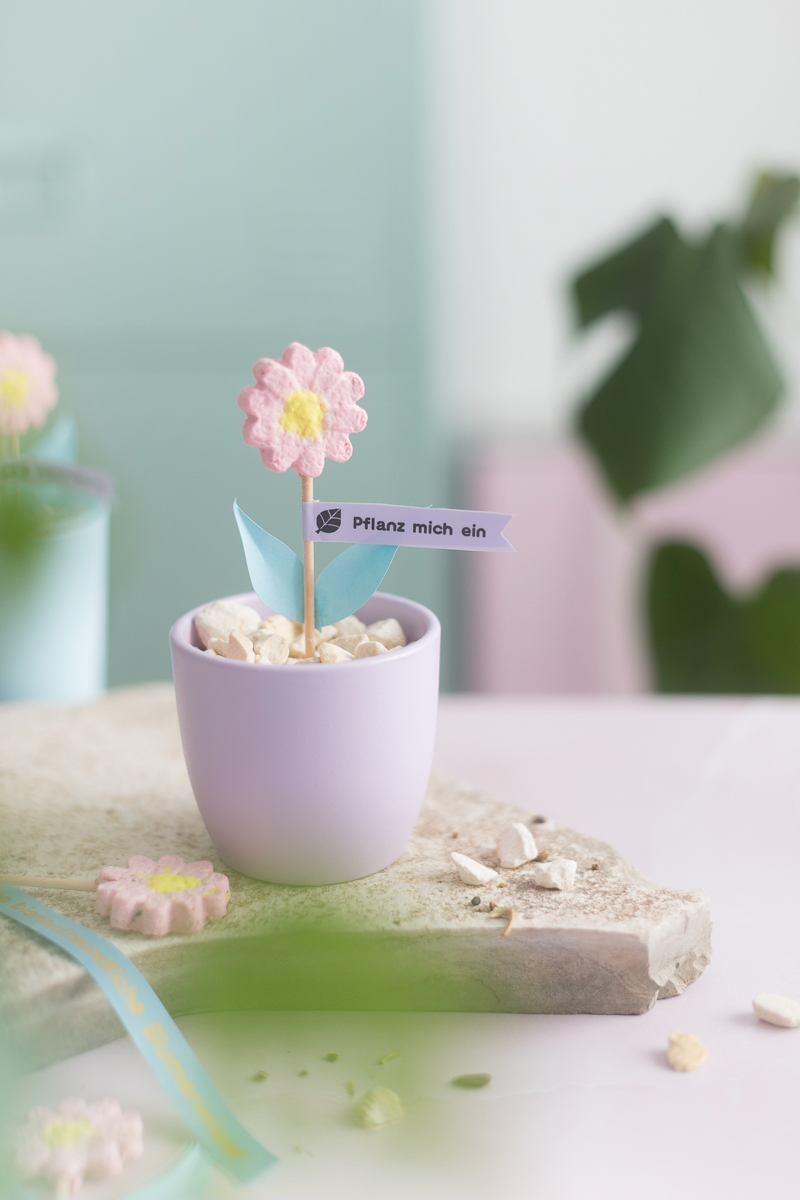
Step 6: “Planting” the flower
Now fill a small plant pot with stones or sand. Place the flower in the center of the plant pot. Depending on the size of the plant pot, you may have to shorten the kebab skewer a little beforehand. You can easily do this with scissors.
If you want, you can then print out another tape:
I printed mini instructions on how and where to plant the seeds on a textile tape. Of course, you can also print warm greetings or personalized congratulations on it instead.
You then tie your printed textile writing tape around your flower pot.
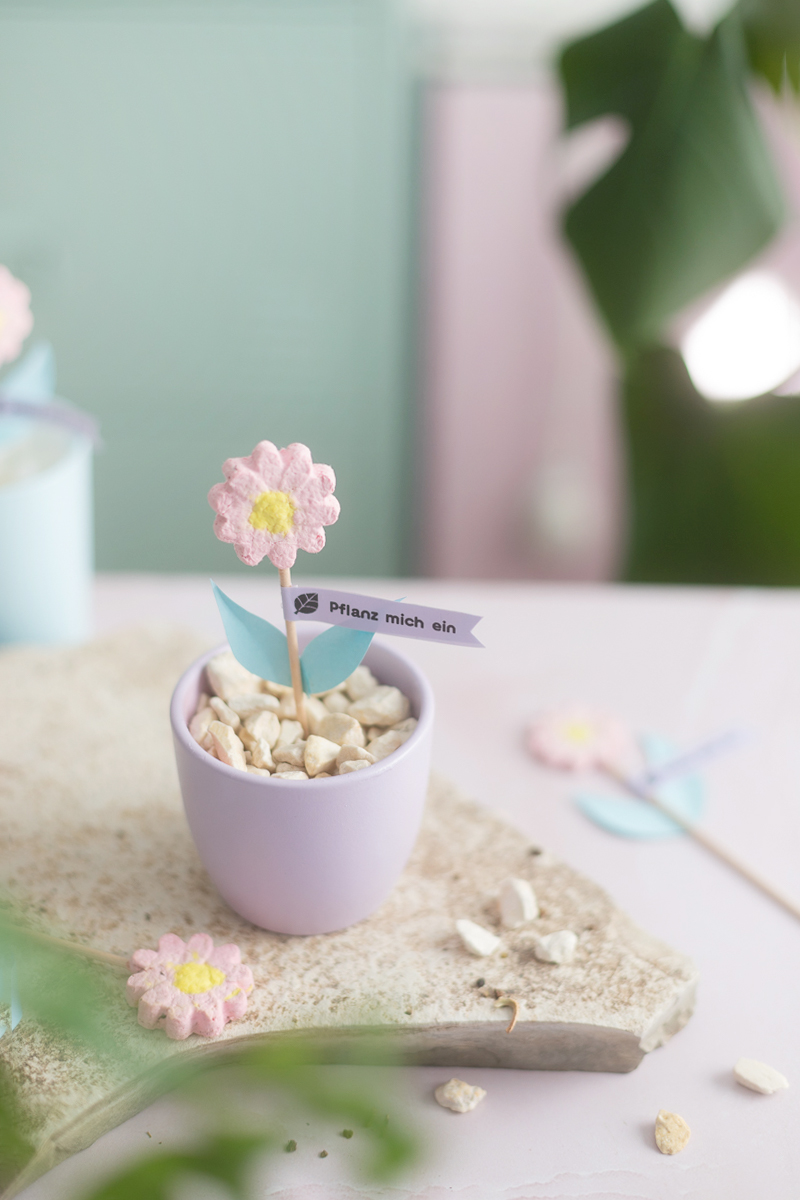
Your totally personal, creative DIY gift is ready, which anyone who loves flowers and plants will be very happy about.
The gift looks really pretty – the seeds in the flower are a very special surprise!
Do you like the DIY idea? Then take them to Pinterest and mark them on one of your pin boards:
All love
Lisa
I’m Lisa – and I can never sit still. I’ve been blogging about my passions on my fairy dust since 2013: These are great DIY ideas, chic design and very special illustrations. The main thing is homemade! More about me.
Source: meinfeenstaub.com

