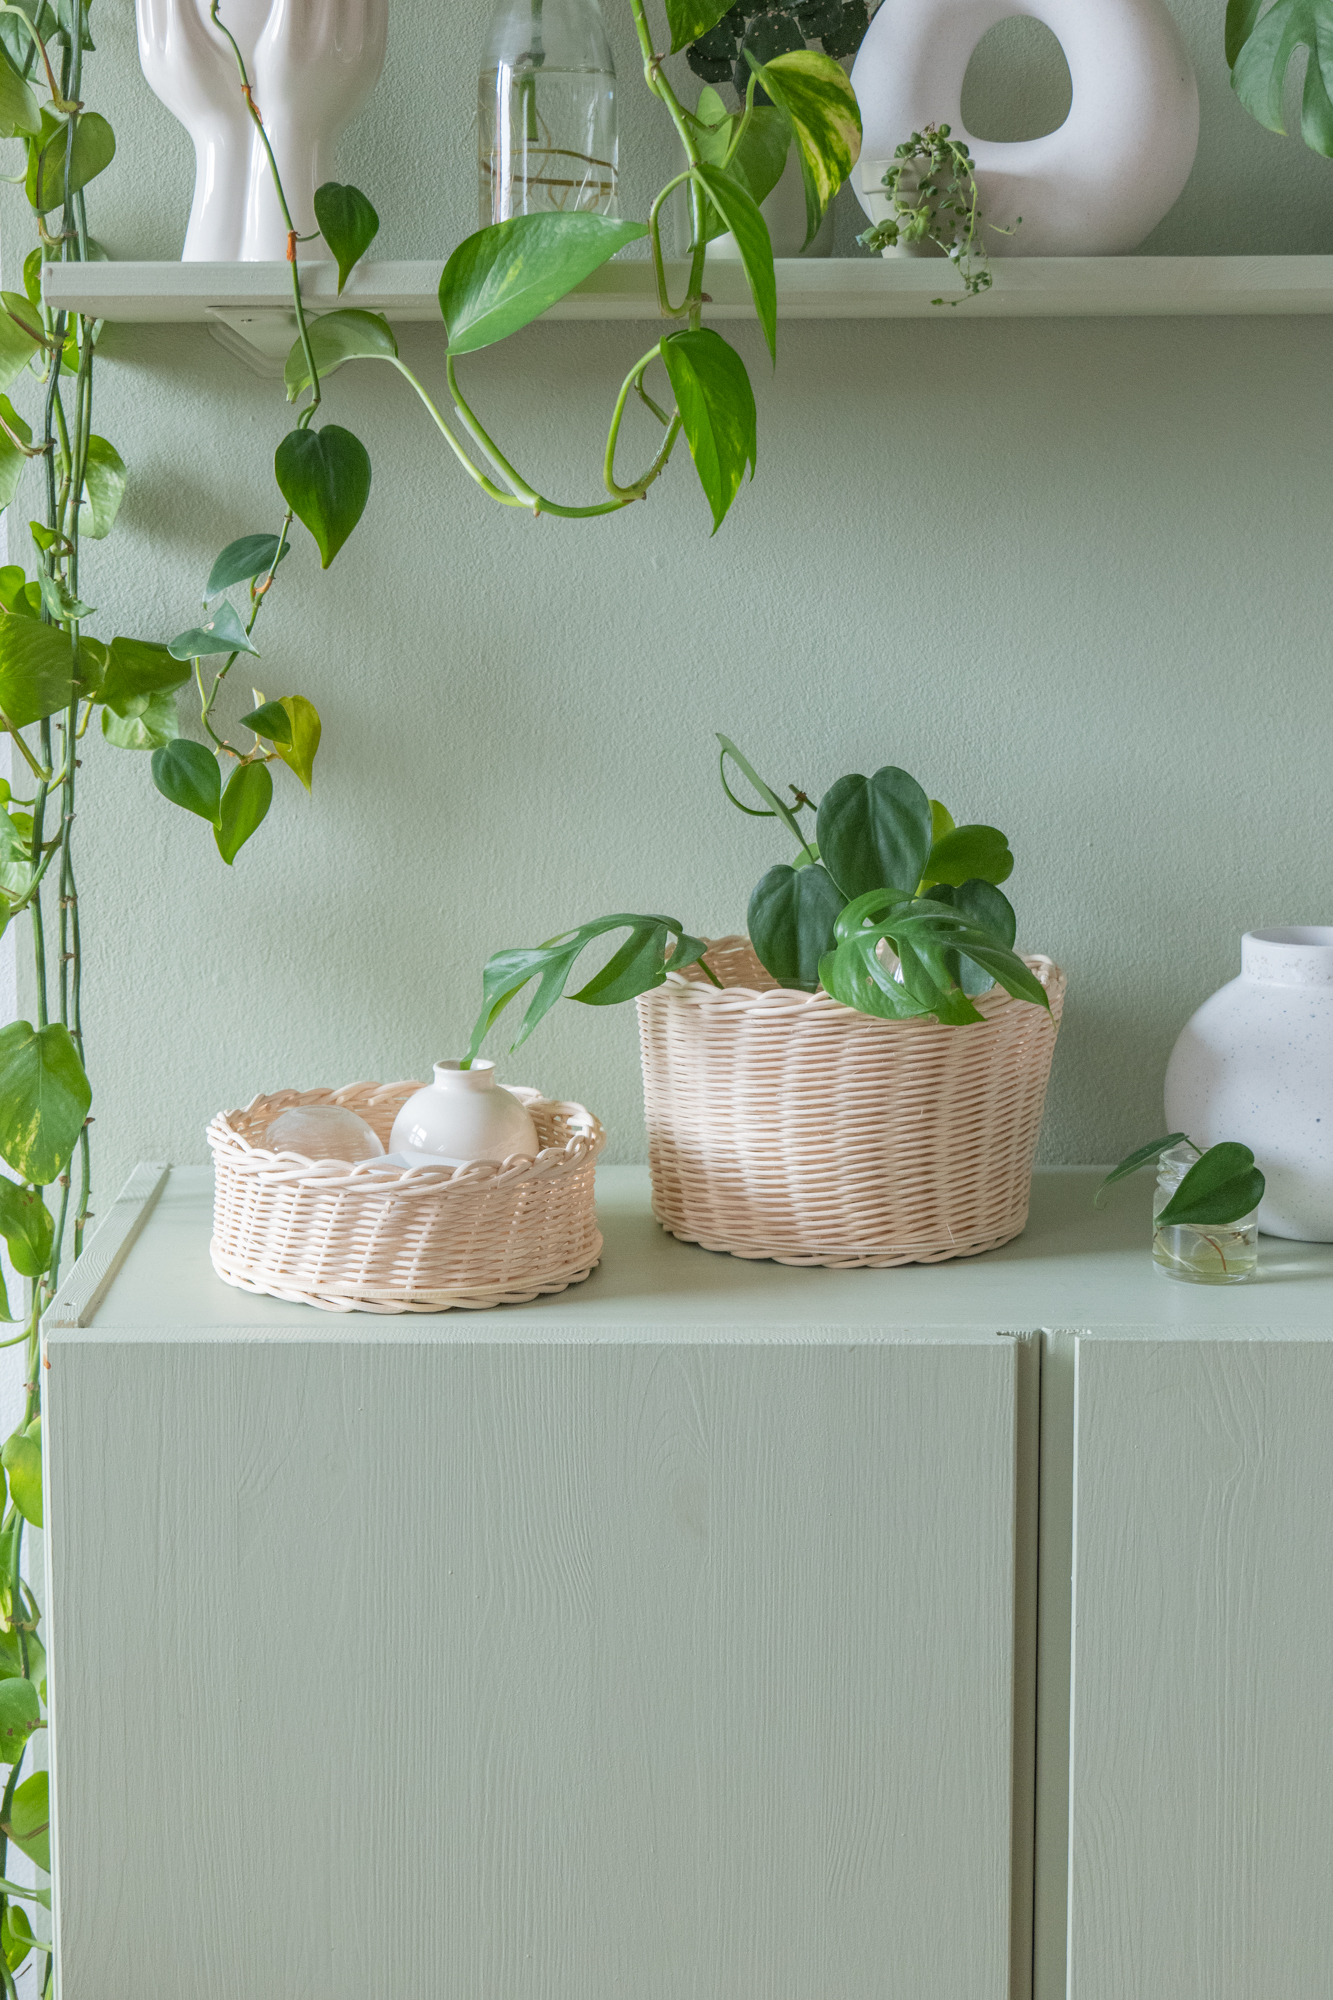
Baskets are a wonderful way to store things around the home in an aesthetically pleasing way, so they’re an important one for me Decorative Element. Also are Around tolle DIY gifts – for a birthday, Mother’s Day, Easter, Christmas or just because. 🙂 I’ve been wanting to learn how to weave a basket for ages, now the time has finally come: My friend Adrian has already gained experience with weaving baskets and explains to us step by step how it works. He has 2 variants for you, both of which are also suitable for beginners. There is also a video at the end of the article – there you can see exactly how the individual steps of basket weaving work.
Basket weaving – 2 simple techniques
For a basket you need the following materials:
Preparation
First we need to determine the length of the stakes. This results as follows: 5cm for the floor + basket height (you choose this individually) + 15cm for the basket edge. The dimensions apply to baskets with a diameter of approx. 20 cm. If the baskets get bigger, you should also leave more stakes for the bottom and edge.
Before we can start we need to soak the stakes and wicker in warm water for about 10 to 15 minutes.

Now let’s start weaving the basket itself! First, the soaked stakes are inserted into the holes in the base plate so that 5cm protrude.

Once all stakes are in place, the floor can be braided.
To braid the bottom of the basket, take any stake and pass it OVER the adjacent stake and then UNDER the next stake.

We basically do the same with the last stake. What is different here though is that the stake needs to be pushed below the stake we started with. You can use an awl for this, or push the first stake a little further through the hole in the base plate from above. The last stake is then pushed through the gap of the next stake from the front.

So that we can now weave the basket ourselves, we have to decide how many threads we want to use. The simplest variant is with a thread. But I also show you how to weave a basket with three threads.
Variant 1: basket weaving with 1 thread
The previously soaked rattan cane is placed in any space. The wicker should be placed far enough in the basket that the thread can be supported behind the left stake (right-handers braid to the right, left-handers to the left).

The thread is now always alternately guided behind and in front of a stake.
Make sure that the poles are as vertical as possible. Always making adjustments. If you braid too tightly, the basket gets narrower towards the top, if you braid too loosely, the basket can get wider towards the top. If you want the basket to be wider or narrower at the top, you can of course deliberately braid it a little tighter or looser.

Variant 2: Basket weaving with 3 strands
The variant with three threads is not very different from the variant with only 1 thread. First, three separate threads are placed in three adjacent spaces in the stakes.

Now the first thread is not fed into the next, but into the NEXT but one space and then braided forward again in the next free space. Now the previous second thread forms our first thread and we repeat the whole procedure again with the new first thread. If everything is done correctly, the threads should be next to each other at all times or there should be no gap between the threads.


Insert new threads
Since the rattan is not infinitely long, new threads have to be used from time to time. This happens analogously to the first thread that was laid.
When the thread ends, it ends BEHIND a stake. The new thread is then inserted where the old thread would theoretically come out.


When the desired basket height has been reached, or only 15cm of the poles are visible, the braiding is finished.
So that the basket is the same height at every point, we end up behind the first stake, which supports the first thread we started with. For the variant with three threads, the next two are each braided again so that each thread is supported behind the stake where it started. The threads we end up with are no longer fed out at the front either, but end up inside the basket.


The protruding ends are cut off with side cutters. Be careful not to cut off too much. The threads should still be able to support themselves well on the poles so that they don’t slip out.
Basket edge braiding
In order to braid the basket edge, the stakes must be soaked again. The poles should be completely covered with water, so it is best to use a bucket or something similar that is high enough.

In order to braid the edge of the basket, the first step is to place the stakes around the neighboring stake from behind.

Similar to the ground, the last stake is fed from behind through the gap between the first stake.

In the second step, the stakes are inserted from the front into the next but one space (the space formed by two stakes, NOT the one between the thread and the stake!).
After the first stake has been placed in the next but one space, it is easier to see where the stake needs to go since the adjacent space is already occupied.


Last but not least, all protruding stakes and threads inside the basket are cut off with the side cutters. Again, be careful not to cut off too much so that the threads and stakes don’t slip out again.

The basket is ready! As you can see, Adrian and I created 2 very different specimens: Adrian woven a slightly higher basket himself using the 3-thread technique, while I made a wicker bowl or basket tray using the 1-thread technique. How do you like the results?

video instructions
As promised, I also have a video tutorial on how to weave a basket for you:
As always, I look forward to your feedback!
If you are looking for more DIY ideas with rattan or wicker, then have a look HERE.
And if you don’t want to miss any of my new projects in the future, then follow me Instagram!

similar posts
Source: www.schereleimpapier.de


