As you know, I am a very big fan of DIY Ikea hacks. With some of my Ikea hacks, a part is left over here and there. That’s why I always find it particularly exciting to create something new from leftover material. With the RÖDEBY tray, for example, I implemented two DIY furniture ideas some time ago, but at the time I got one tray too many, which until recently was slumbering untouched in my material box. It’s similar with the Boho KVARNVIK box set: I used it to build an Ikea Hack lamp in the past, for example, but I didn’t use all the parts. So I recently got out my Ikea Hack leftover box and built an Ikea Hack side table myself from a RÖDEBY tray and a KVARNVIK lid. You want to know how? Well then, here are the instructions for you!

Instructions Ikea Hack side table
If you want to tinker, you will need the following materials:
*Affiliate Links: I get a small commission if you buy something through these links. This does not make the product more expensive for you and you support me in my work.
Here we go!
Step 1: Glue the tray
First you grab the largest lid of the KVARNVIK set, the RÖDEBY tray and the assembly adhesive. The glue is spread on the inside of the lid and the tray is then pressed from the inside to the edge of the lid.


Step 2: Prepare wooden circles
When the assembly adhesive has completely hardened (after approx. 24 hours), the table is placed on the MDF board with the lid facing up. Two circles must be sawn out of the plate. For the first circle, use the pencil to trace a circle on the INSIDE of the tray.

Since the circle isn’t complete, we recall high school geometry and find the center of our near-circle, then use a compass to complete the circle.
Here’s a little graphic to illustrate the process:

We trace the second circle on the OUTSIDE with the pencil. This will later form the bottom of our Ikea Hack side table.
Step 4: Saw circles
Both circles are then sawn out with a scroll saw or jigsaw. Be sure to wear safety goggles when sawing.
After sawing, you can sand the saw edges smooth with some fine sandpaper.

Step 5: Varnish
Then I decided to brush on the two circles. I used simple furniture paint for this, which I got mixed up in a soft beige/taupe by the color mixing service at the hardware store.

Step 6: Build the bracket
While the paint dries, we can move on to the next step: the bracket for the intermediate shelf for our small Ikea Hack table. To do this, I used my cordless drill to drill holes in three places on the table wall and then screwed screws through the tray. The screws should be as far apart as possible. I placed one screw relatively close to the table opening. You can choose the size of the screws here, depending on which screws you have in stock. However, they should not be too small so that the intermediate floor is sufficiently held.


Step 7: Fasten the base plate
In the last step, the base plate is again glued to the lower edge of the table wall with assembly adhesive.


Now only the bottom has to be inserted and our small Ikea Hack side table is ready!

Video for the Ikea Hack side table
Do you prefer to watch the instructions as a video? Then I have the YouTube video for you here, in which you will find 2 more Ikea hacks:

By loading the video, you accept YouTube’s privacy policy.
Learn more
load video
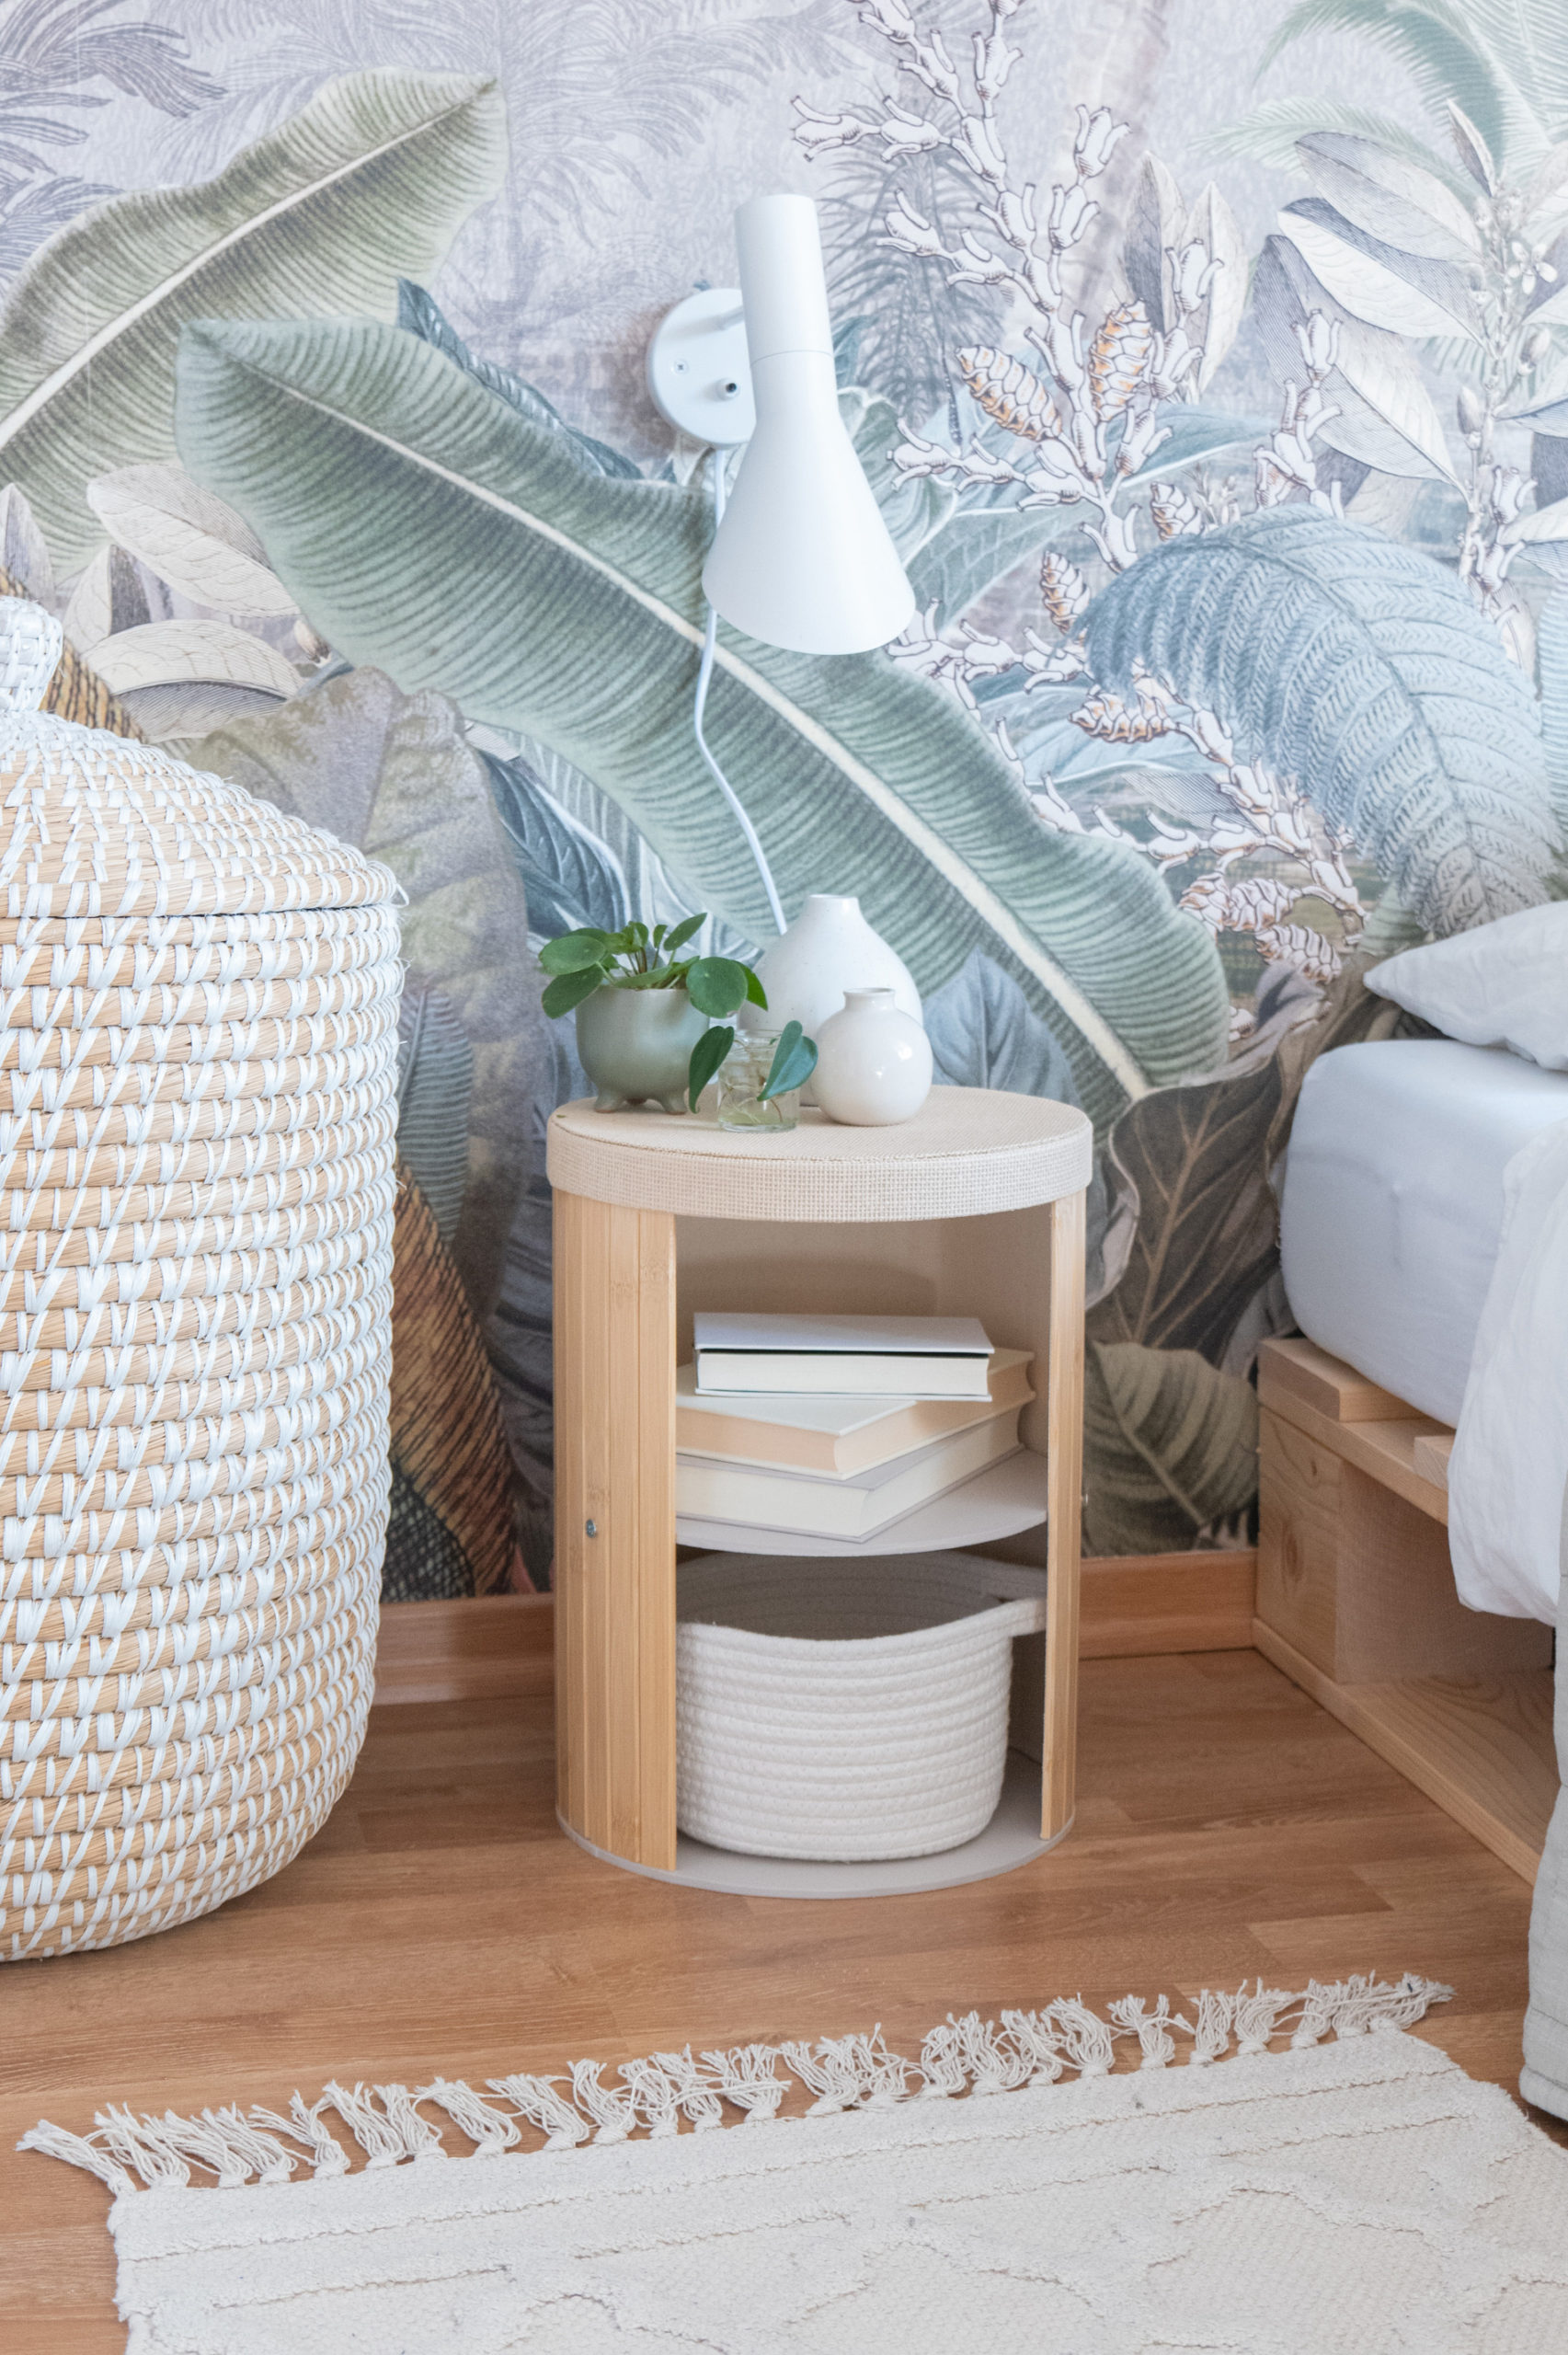
What do you think of this idea? I really like the little DIY piece of furniture. For example, you can use it as a bedside table next to the bed, or simply as a small DIY side table next to the sofa.
If you are looking for more ideas for Ikea hacks, then have a look HERE.
And if you don’t want to miss any of my new projects in the future, then follow me Instagram!

similar posts
Source: www.schereleimpapier.de