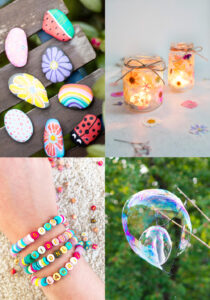
It’s spring again! Also this year I would like to make flowery spring decorations with you to match the season and I have prepared 3 great ideas. All 3 projects are Ikea hacks or decoration ideas with Ikea products. I used the CYLINDER vase set, misappropriated the TRÄDGRÄNSEN wall decoration and made it with the VARGFISK napkin rings. The result is 3 easy-to-implement spring decoration ideas that are so timeless and easy to transform that you can theoretically use them all year round.

DIY spring decoration instructions:
1. IKEA Hack lantern with early bloomers
My first DIY spring decoration idea for you is a lantern. When the evenings get warmer again and you spend more time on the balcony or in the garden, the lantern contributes to the cozy atmosphere.
* Affiliate Links: I get a small commission if you buy something through these links. This does not make the product more expensive for you.

Step 1: In the first step, the early bloomers are freed from the soil. Try to be as careful as possible so as not to damage the roots of the plants.

Step 2: After all early bloomers have been removed from the soil, a first, thin layer of gravel is poured into the flat glass vase.

Step 3: Now the early bloomers can be carefully placed in the vase.


Step 4: In the last step, the smallest vase from the CYLINDER set is placed in the middle of the large vase. Be careful not to damage the early bloomers. Now all you have to do is fill in gravel until the flowers are well covered.

Finally, a candle is placed in the smaller vase and the first DIY spring decoration is ready! Tip: You can also use an LED candle here instead of a real candle. Nothing gets hot and so the early bloomers stay fresh longer.
2. IKEA Hack candle plate
As a second decoration idea for spring, I have prepared a candle plate for you. The DIY can be implemented very quickly and is not only suitable for spring. Do you want to try it? I’ll show you step by step how to make this spring decoration.
By the way: You can redecorate the candle plate as you wish and, for example, design it with fir branches for the Christmas season.
Material list:

Step 1: Spray on the candle holder
In the first step, I first sprayed the candlestick. I chose a neutral taupe tone that goes perfectly with the color of the wall art. Be careful not to spray the underside of the candle holder (the later adhesive surface).

Step 2: After the paint has dried, the candle holder can be glued to the base with mounting glue. Here you should really use assembly glue so that the candle holder is also firmly connected to the base. Then you let the glue harden for about 1 day.

Step 3: Now you can decorate your candle plate as you like. I chose sea lavender and eucalyptus because both look very nice when dried.

The Ikea Hack candle plate is ready! You should definitely make sure not to leave the candle burning unattended.
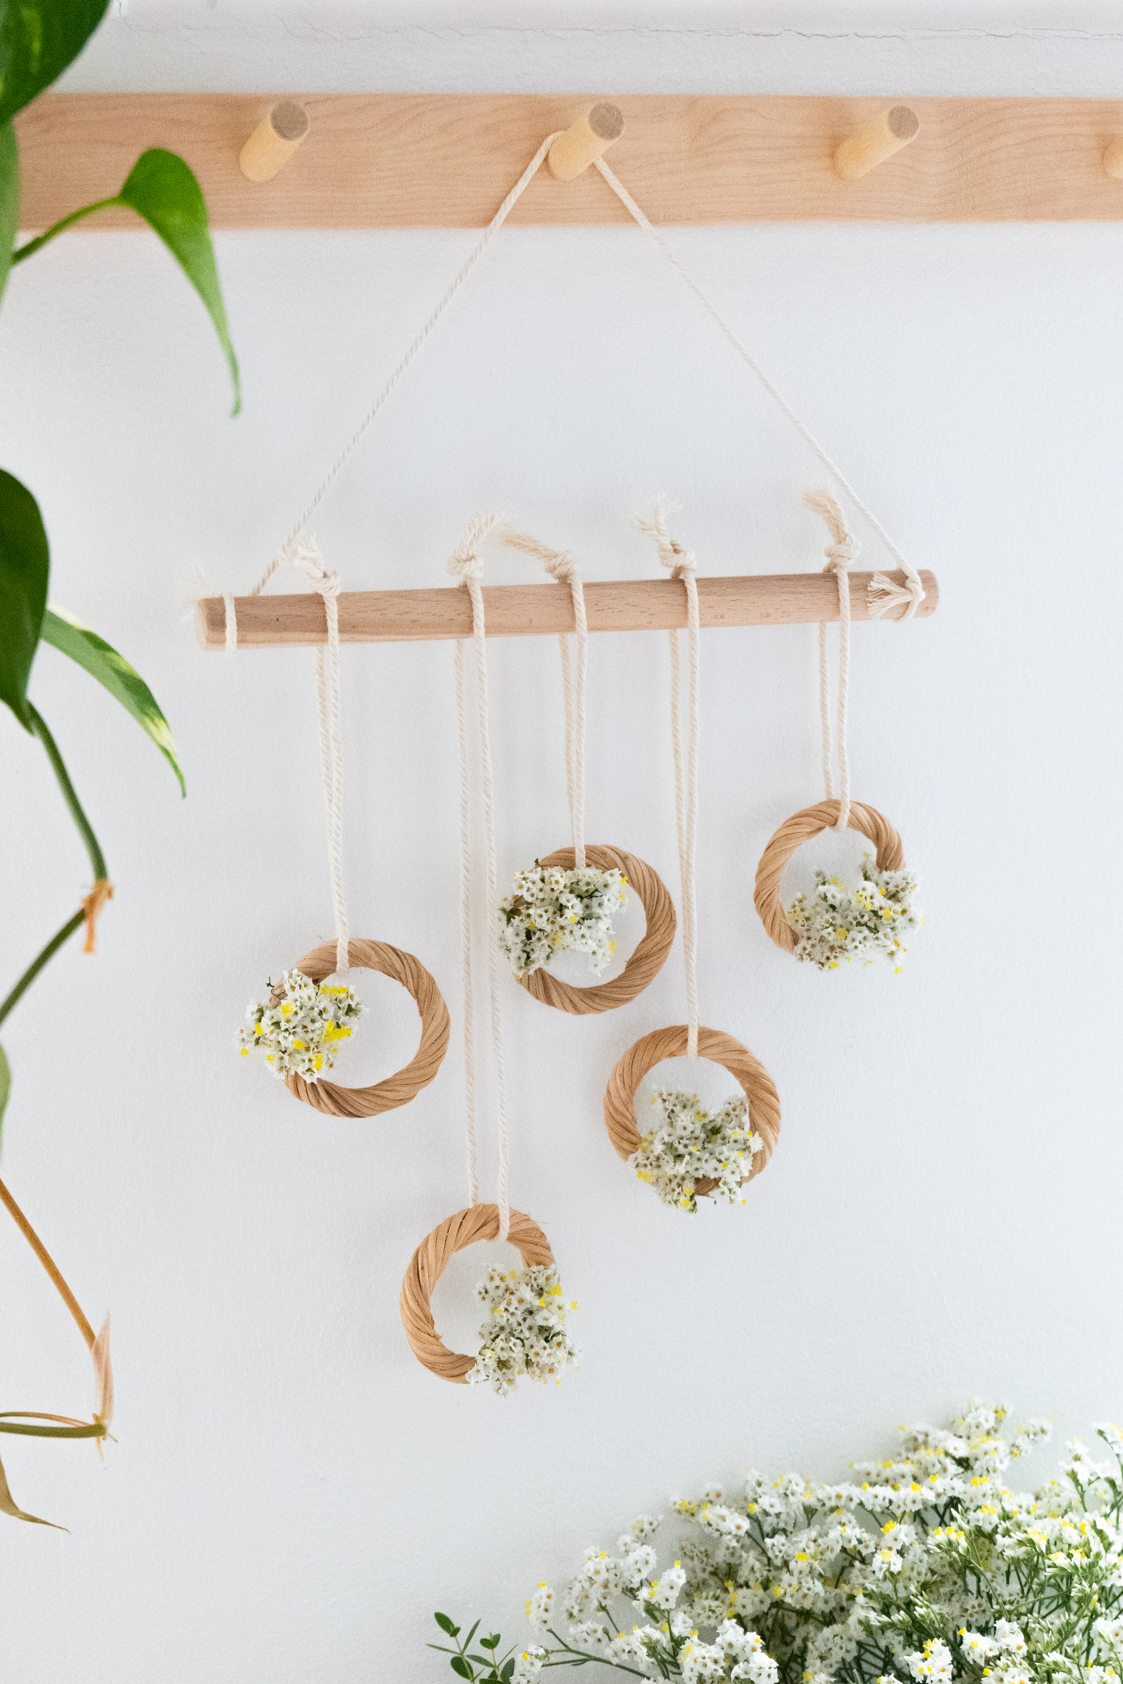
3. IKEA Hack Mini floral wreaths made from napkin rings
DIY flower wreaths are simply part of spring, right? So it was clear to me that I really wanted to make a spring decoration wreath again this year. This time, small mini wreaths of flowers were created, which I combined into a spring-like wall hanging.
Material list:

Step 1: In the first step I cut small branches from the sea lavender.

Step 2: I then tied the small branches together into small bouquets with the help of floral wire.

Step 3: Next, I attached the small bouquets of flowers to the rings, also using floral wire.

Step 4: Finally, I made a hanger for the wreaths out of macrame yarn. I just threaded the yarn through the ring and then knotted it together.
Now you can either decorate directly with the small mini wreaths – or use them to make a spring decoration for the wall. For this I simply attached them to a wooden stick, which I then gave a suspension with some macrame yarn. The spring-like wall hanging is ready! The beauty of sea lavender is that it will now dry over time and still look great. So you don’t have to do anything else & after a while you have small wreaths with dried flowers that theoretically last forever.

Make spring decorations – the YouTube video with all the ideas
If you need more inspiration, feel free to watch my YouTube video, in which I show all projects in detail.

By loading the video, you accept YouTube’s privacy policy.
Learn more
load video
I hope you enjoyed my spring decorating ideas!
If you are looking for more ideas for Ikea hacks, then have a look HERE.
And if you don’t want to miss any of my new projects in the future, then follow me Instagram!
similar posts
Source: www.schereleimpapier.de