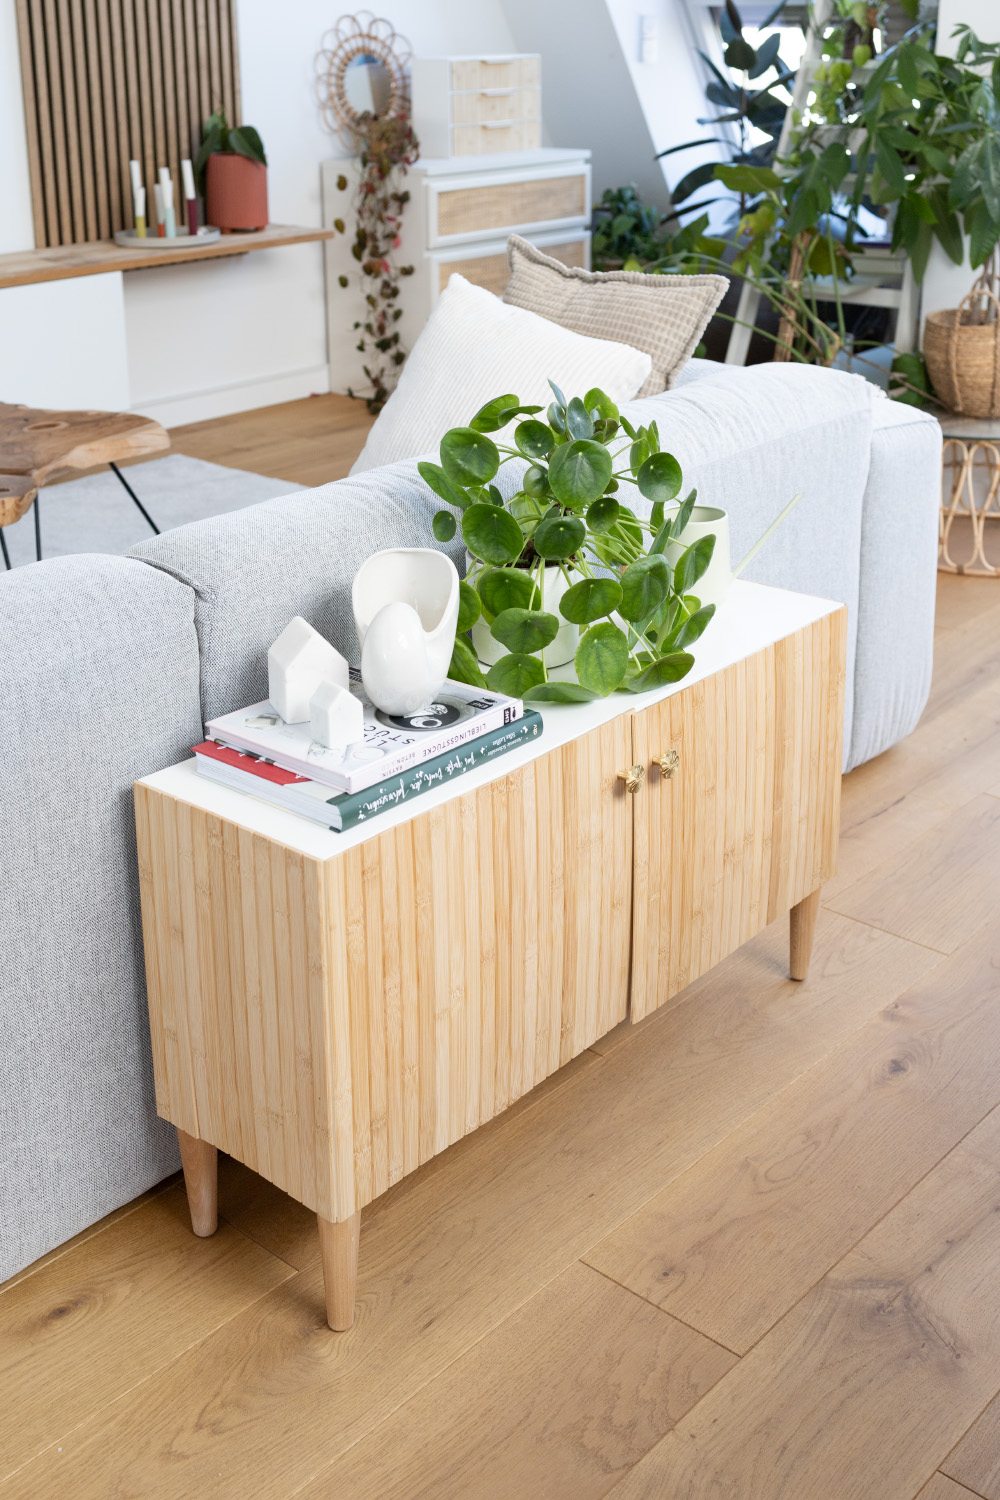
Advertising, unsolicited Redesigning an IKEA LACK shelf: Today I have a really nice DIY for you, which this time isn’t very complicated and is therefore easy to copy. This is another IKEA HACK for the LACK shelf, which I have transformed into a chic piece of furniture.
The LACK shelf becomes a small cupboard
There is one thing I can never have enough of at home: storage space. When we moved two years ago, we took almost no furniture with us and had to buy a lot of it new. We have already implemented many IKEA hacks. For example, with the MALM chest of drawers, the GODMORGON washstand or the MOPPE chest of drawers. Today I have also brought another solution for a bit more storage space, which this time is not quite as complicated: the LACK shelf, which is really very cheap at €15 and can be converted into a stylish sideboard. It is so easy to do:
Instructions
If necessary, assemble the LACK shelf if this has not already been done.
Hold one of the RÖDEBY trays up to your shelf and mark where the shelf goes.
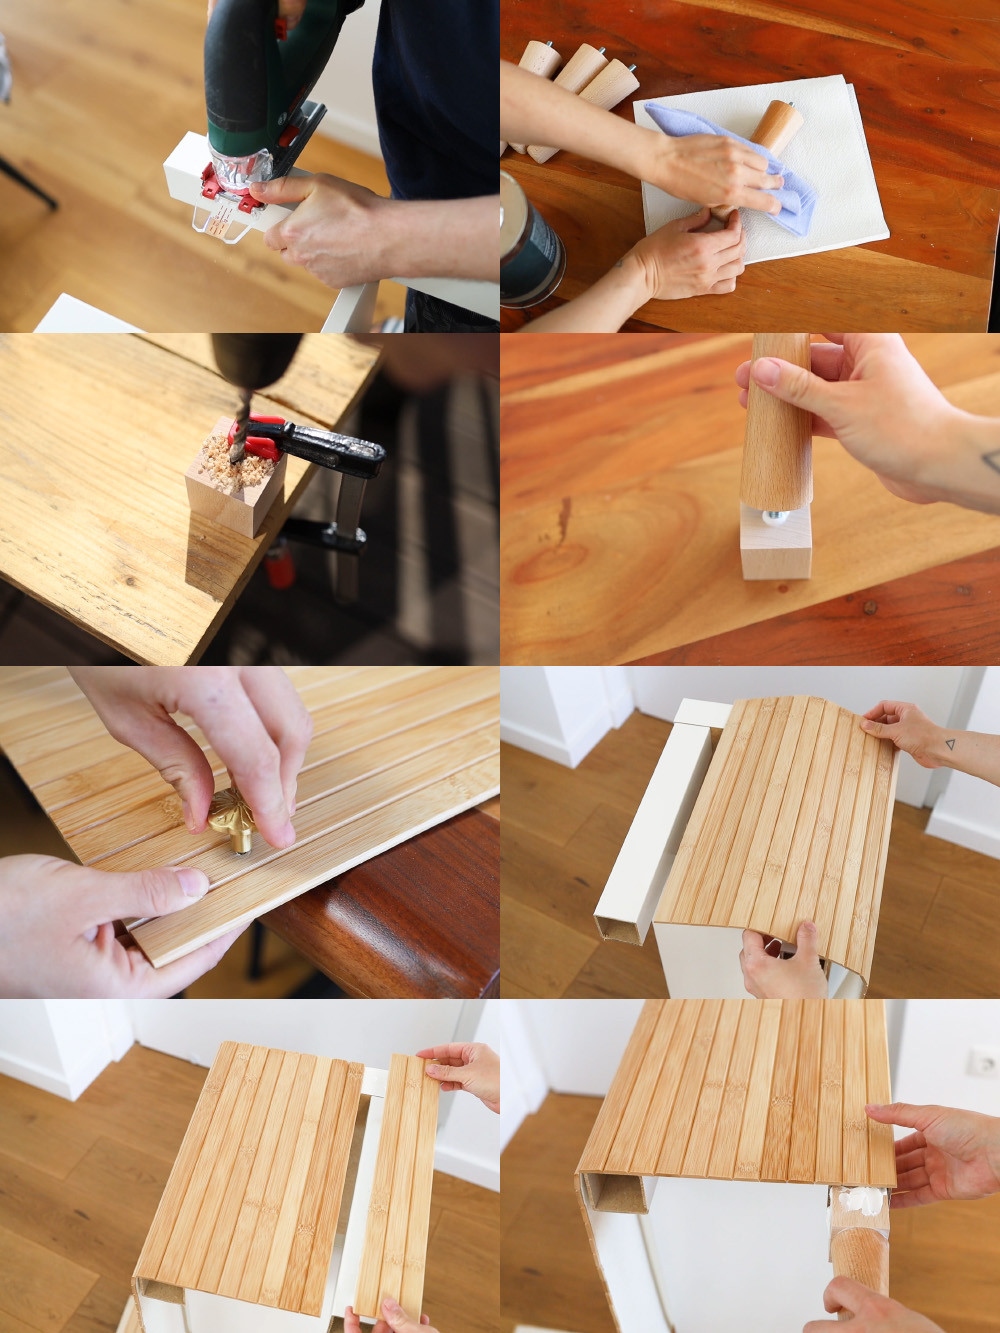
At this point you cut off the legs of the shelf with a jigsaw.
Coat your furniture feet with linseed oil so that the wood darkens slightly and let the paint dry.
Drill a hole in the middle with a wood drill so that the screws for the furniture feet can be inserted there later.
Spread some assembly adhesive into the hole and glue the cubes and furniture feet together. Let it dry well.
Take two of the three RÖDEBYs and place them side by side in front of you in the same way that they will later be attached to the shelf. Mark two points for the handles and drill a small hole at the marks.
Attach the furniture handles to the holes.
Cut two pieces (each with 3 wooden strips) from the third RÖDEBY.
Also spread assembly adhesive on one narrow side of the LACK shelf and first stick one of the narrow RÖDEBY wooden strips on it.
You then cover the remaining surface with one of the two remaining RÖDEBY pieces and simply let the excess end hang down. This will later become the cupboard door.
Let the assembly adhesive dry thoroughly before you turn the shelf over and stick the other side in the same way.
Also spread assembly glue on the outside of the wooden cubes for the furniture feet and insert them into the holes in the legs of the LACK shelf.
For additional fastening, you can also drill a screw into the outside of each leg of the shelf and use it to connect it to the wooden cube inside.
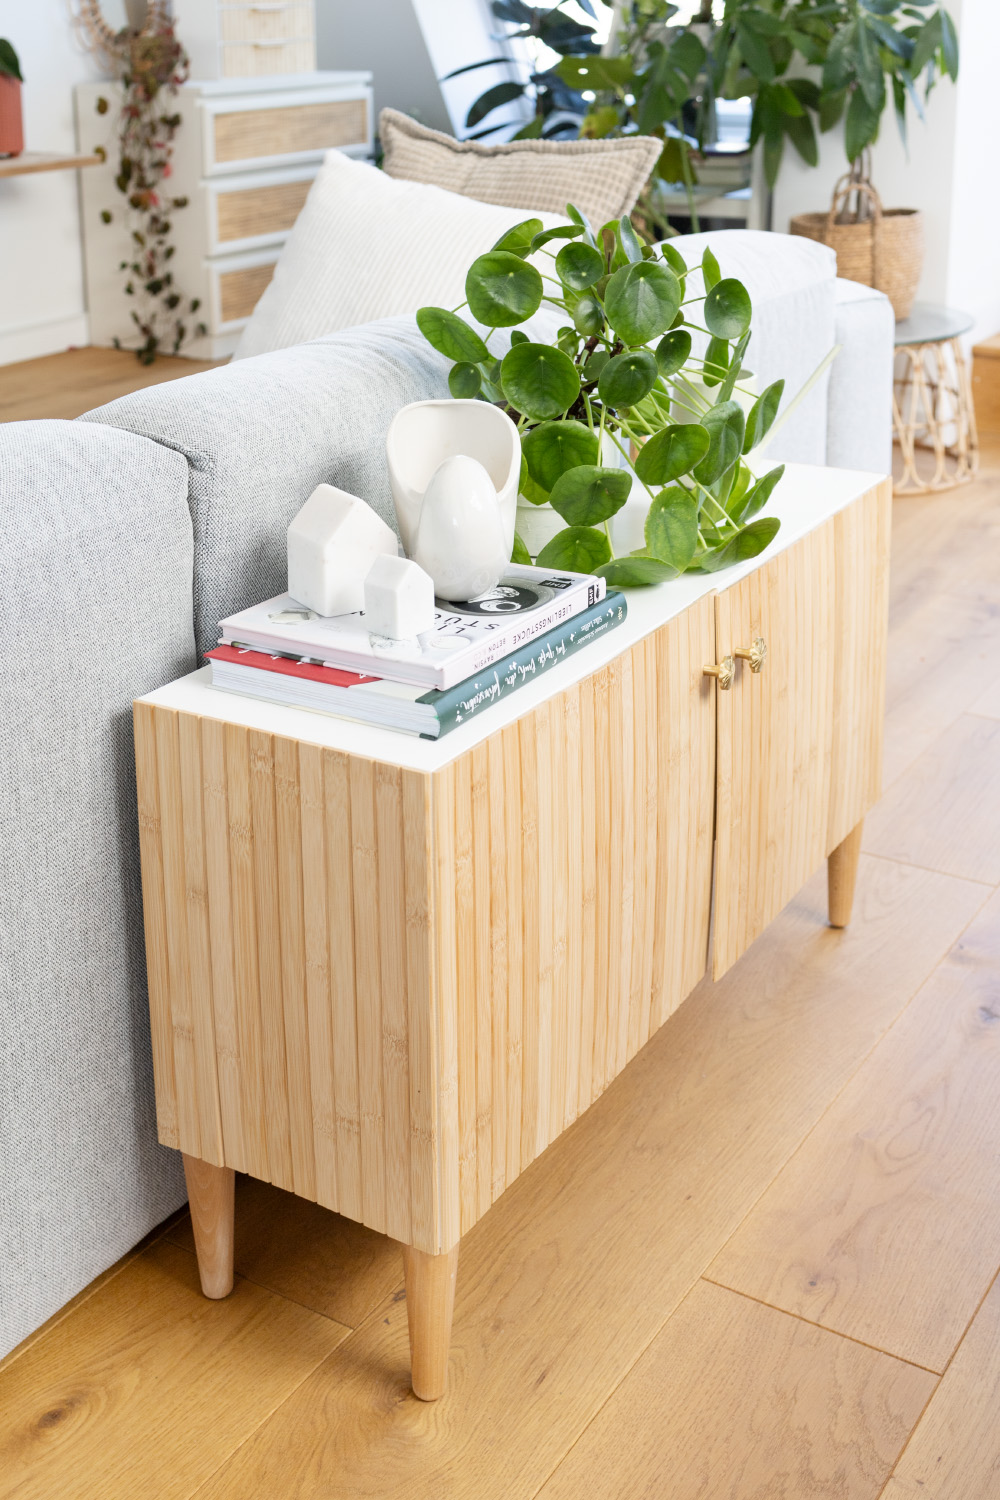
Once the assembly adhesive has dried completely overnight, the LACK shelf can be set up and decorated the next day.
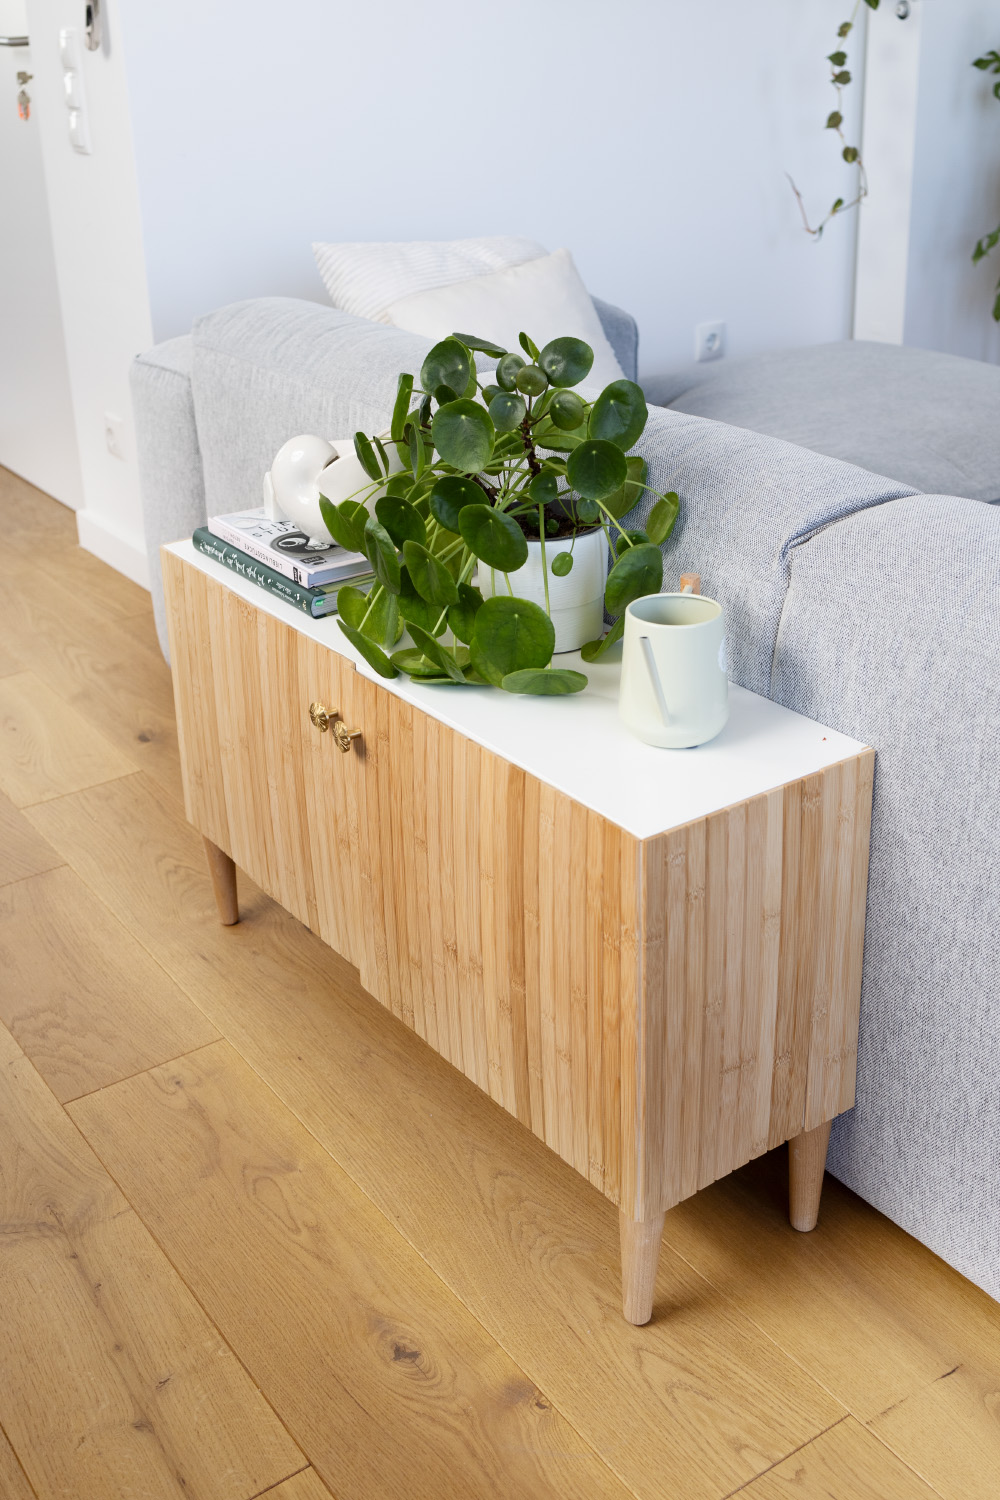
Redesign IKEA LACK shelves
I hope this article has given you some inspiration and ideas on how to transform your boring but inexpensive LACK shelf into a custom piece of furniture. With a little skill and following my instructions, you can make it a real eye-catcher in your home. Of course, there are many other ways to personalize IKEA furniture. What else would you like to redesign?
More IKEA hacks for your home
Want to see more IKEA hacks? Then take a look here: IKEA HACK: Redesign SNIDAD basket as a side table, IKEA HACK: SUNDLANDET cupboard with blackboard surface or XXL IKEA HACK: Redesign KALLAX shelf as a mirror wall.
See you then. Your Laura
Source: trytrytry.de